How To Replace A Thermostat On Dodge Grand Caravan (P0128 Error)
Are you having a problem with your Dodge Grand Caravan’s thermostat? Did you get a check engine light P0128 Error Code? Or you might have noticed your engine overheating or overcooling? In all of these situations, it’s your thermostat that needs replacing and I am here to show you how to do that in the easiest way.
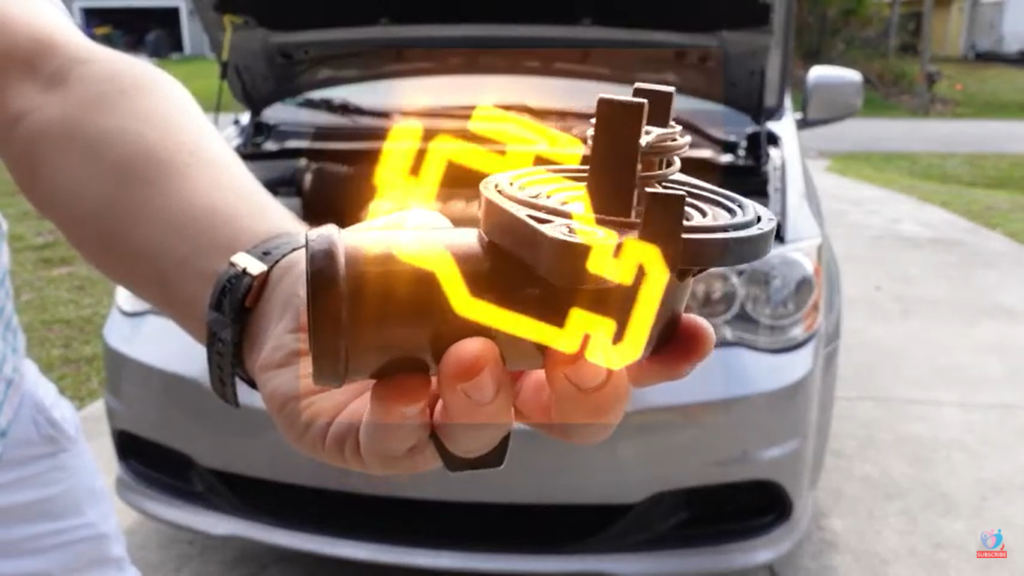
In case you are not sure if your car’s thermostat needs replacing, you can visit a nearby mechanic and get a report on your car. I did mine from AutoZone and they told me my Dodge Grand Caravan’s thermostat needs to be replaced.
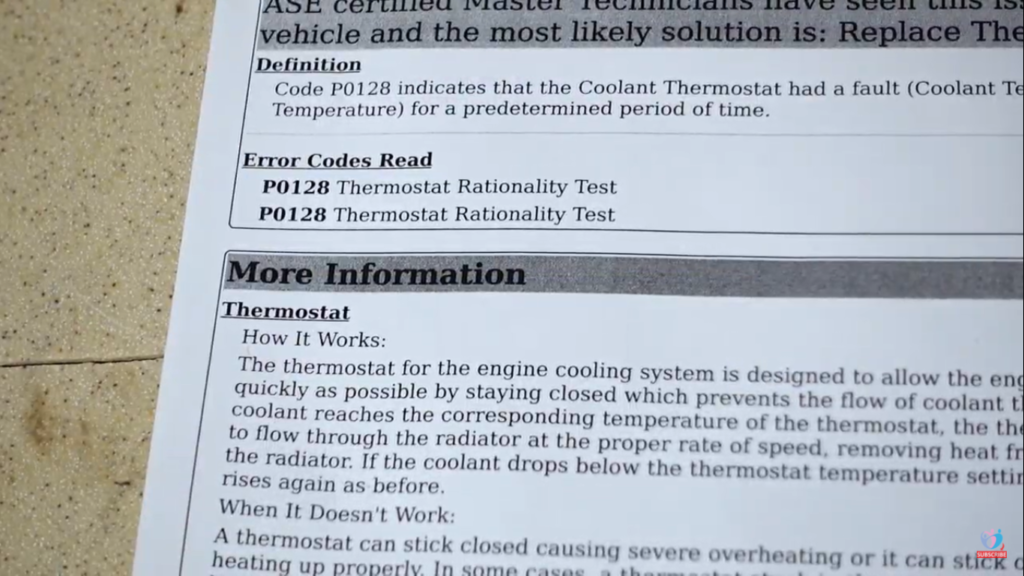
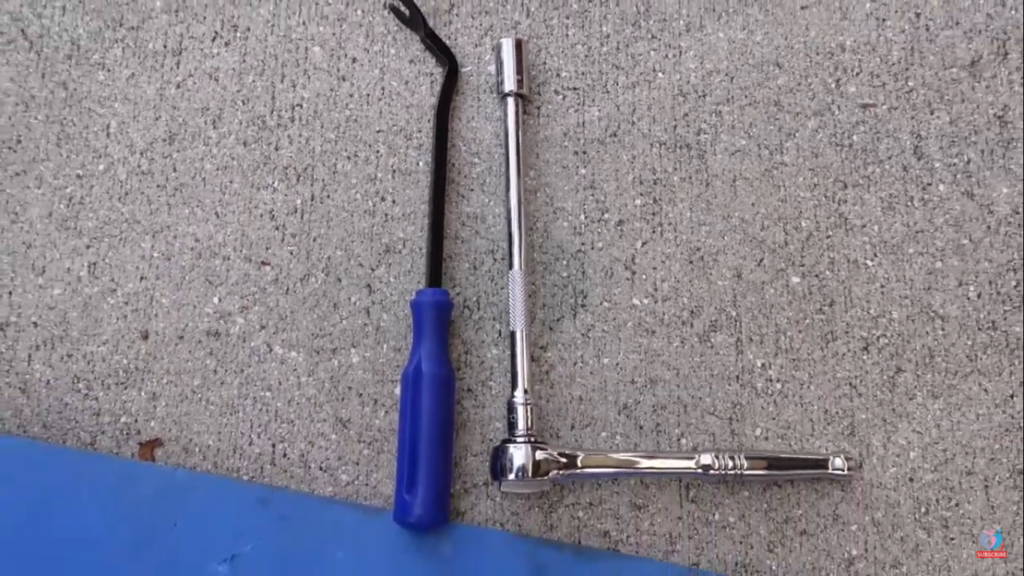
Before you start unplugging your existing thermostat, I suggest you get these tools first.
Tools You’ll Need for This Project
If you have all these tools at your disposal, you can start following the steps mentioned below. Keep in mind, if these steps are ideal for a Dodge Grand Caravan but you can also apply them to a Chrysler Town & Country.
Step 1: Remove The Power Steering Fluid Container
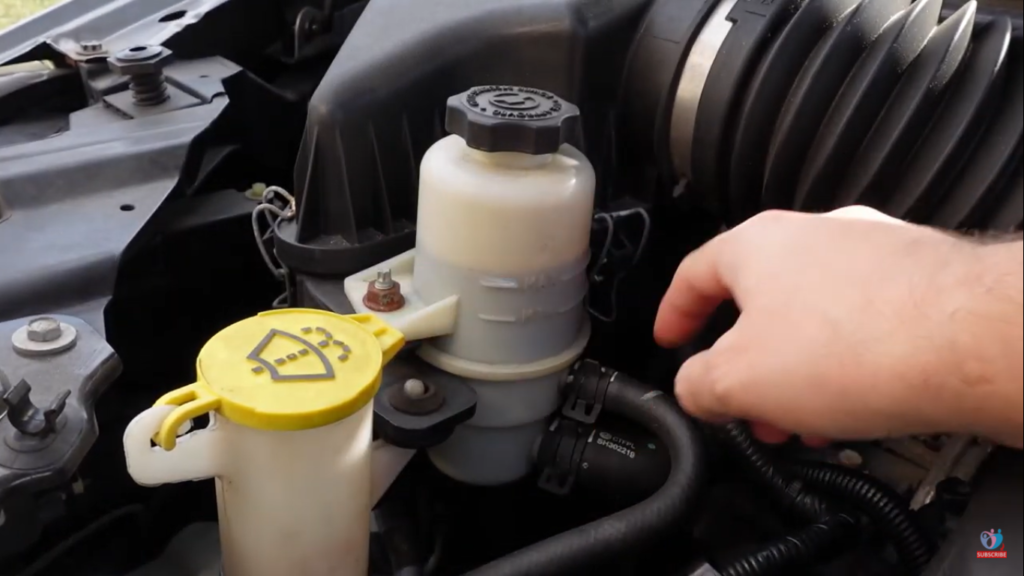
The power steering fluid container in a Dodge Grand Caravan is mounted on the side-clip of the air intake manifold and the thermostat is located below the air intake cover. Therefore, you will have to remove the power steering fluid container to remove the air intake cover and reach the thermostat.
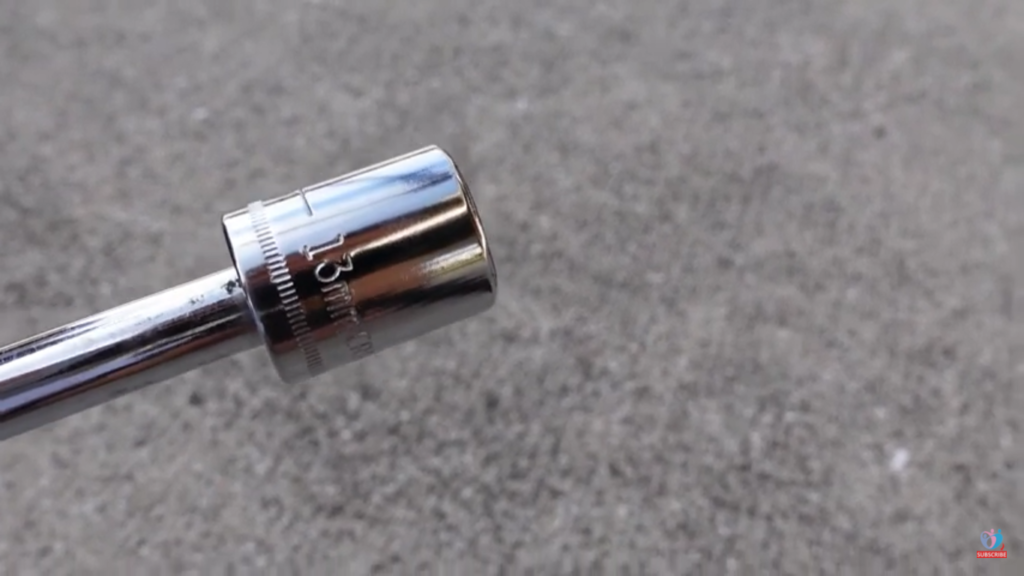
Doing so is simple. First, remove the nuts on the power steering fluid container using a 13 mm socket. Then unclip the three clips on the air intake manifold cover. Now you’ll be able to lift up the power steering fluid container and lift it out of the way.
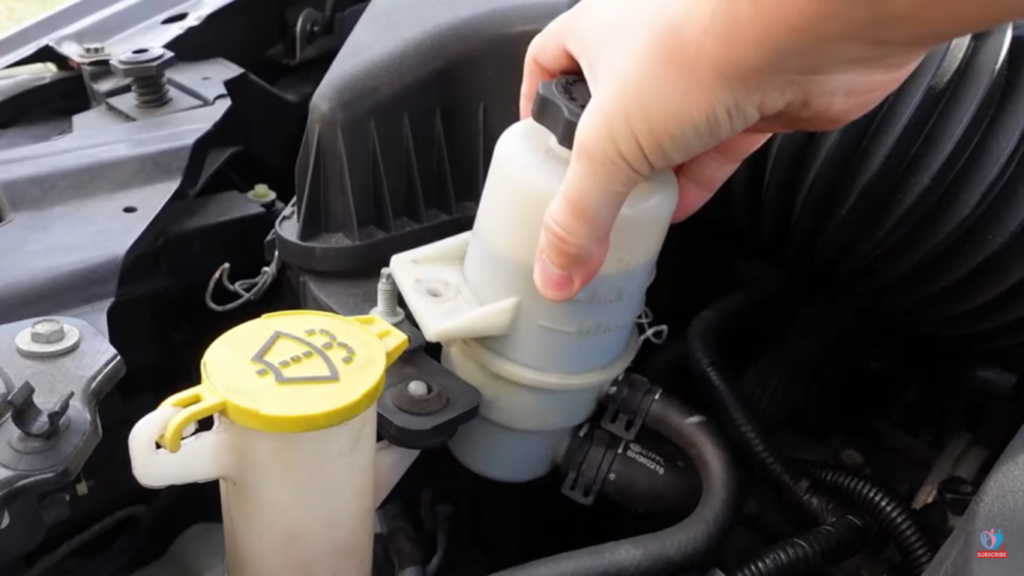
Step 2: Remove The Air Intake Manifold on Dodge Grand Caravan
Once you have lifted the power steering fluid container, you’ll now be able to lift up the air intake manifold cover. Once you do that, your air intake filter will be exposed.
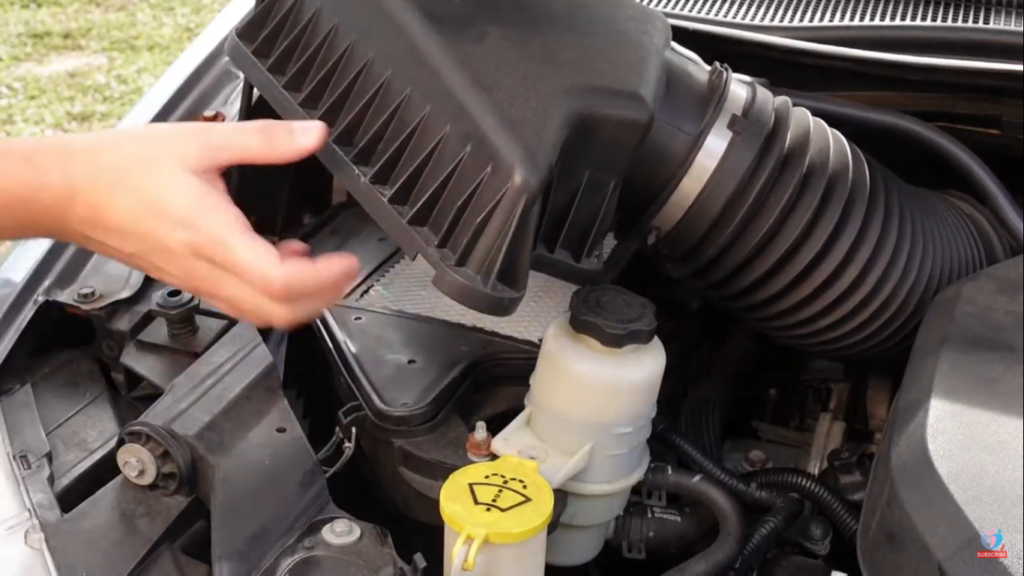
However, the top cover of the manifold is attached to an air pipe, that you don’t need to remove for now. So you can hold the top cover of the manifold out of the way by inserting a stick in between.
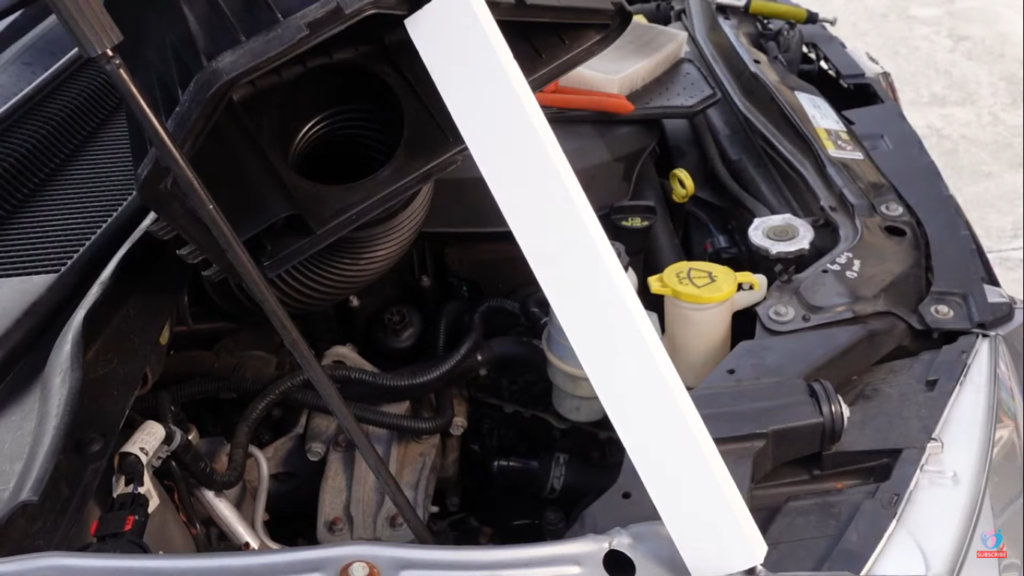
Notice the condition of the air intake filter and if it seems old enough, this is a good time to replace it. Click here to buy a new one. However, you can place the new one later on once we are done with changing the thermostat.
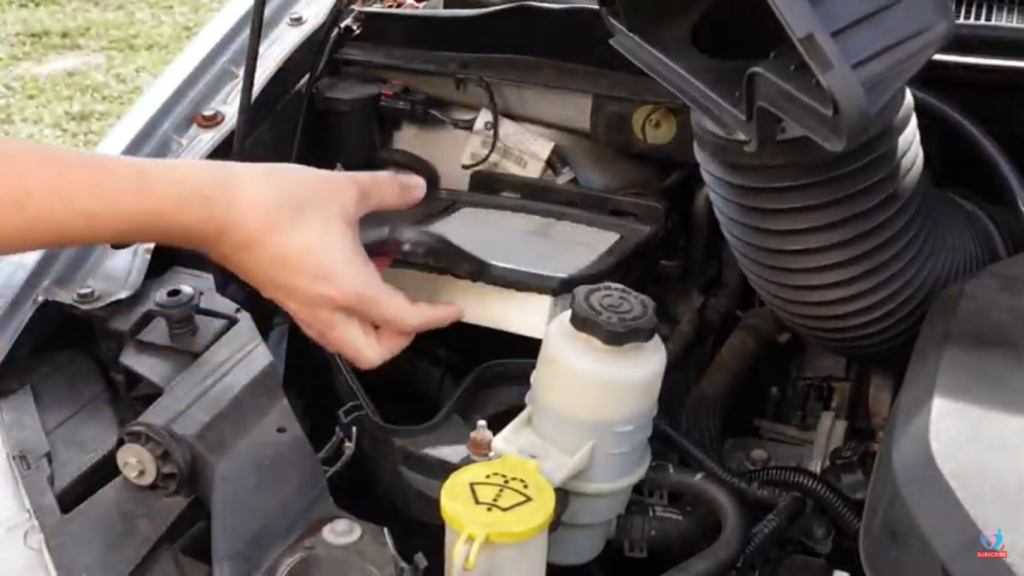
So once you’ve removed your air intake filter, remove the bottom of the air filter manifold. It might need a few soft jerks because it’s attached to three pins below. Once you’ve removed the bottom of the air filter manifold, you’ll be to see the thermostat.
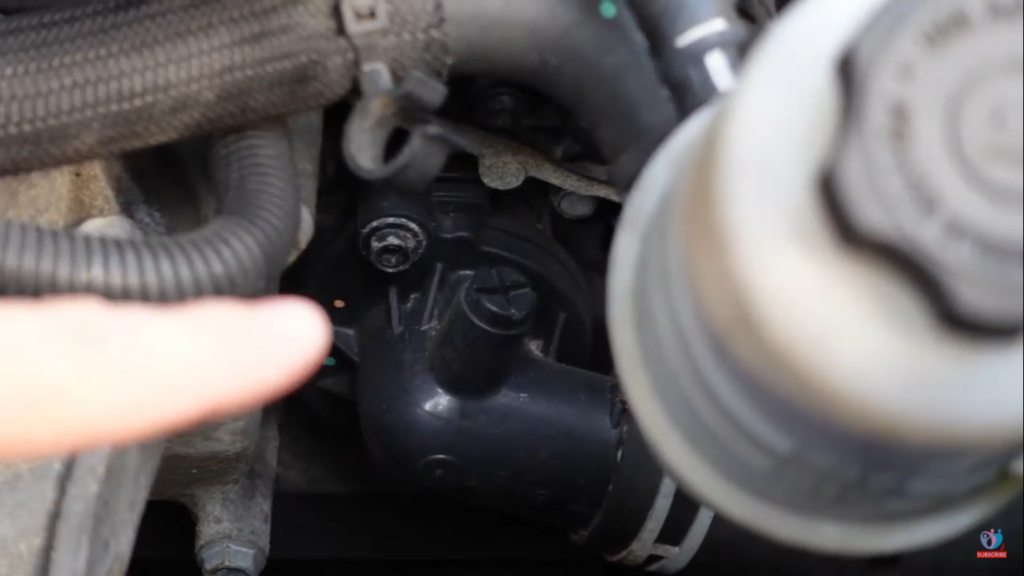
Step 3: Remove The Plastic Cover Below To Make Way For The Coolant To Leak Out
While you can see and touch the thermostat at this stage, you shouldn’t remove it right now. If you do, the coolant will rush down on the ground and on the parts below, making a huge mess.
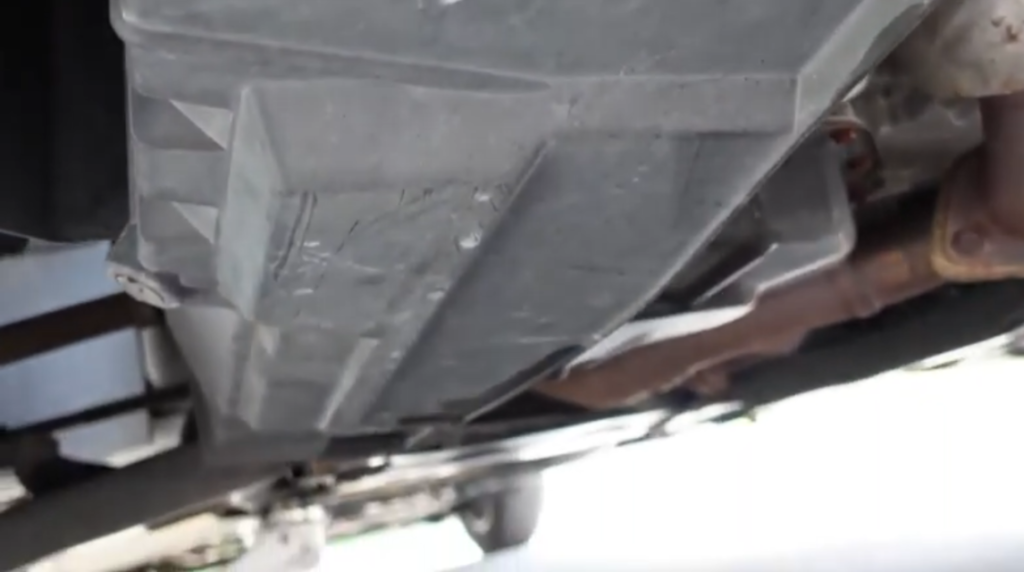
What you need to do at this stage is to remove the plastic cover below the car, as you can see from the picture. To do so you’ll need a clip removal tool and a 10 mm socket. The plastic cover is held by two nuts; one on the far side and one on the near side. Remove them using the 10 mm socket.
There are also clips one on the front and one in the middle. Once those are removed, pulling out the plastic cover will be easy.
Step 4: Place a Bucket Under The Thermostat For The Coolant
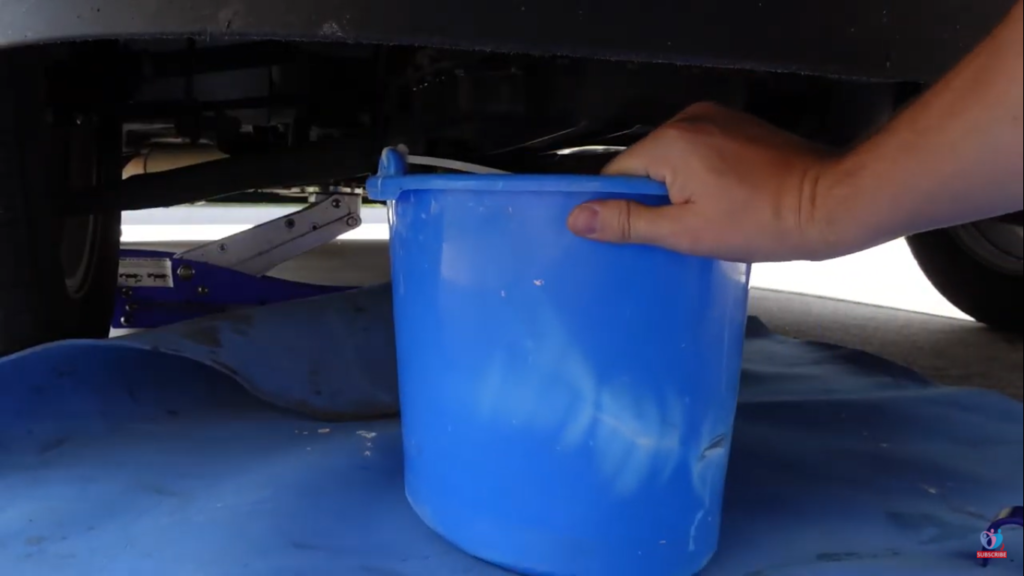
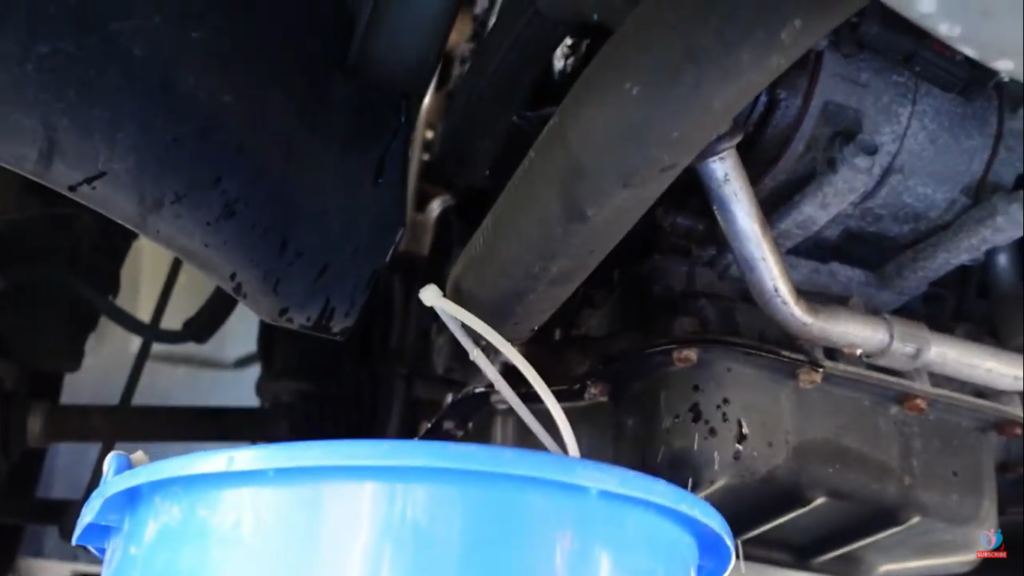
Since removing the thermostat is going to cause leakage of the coolant, it’s better to have a bucket underneath. This will not only prevent spillage on your driveway or garage, but it can also save you some coolant.
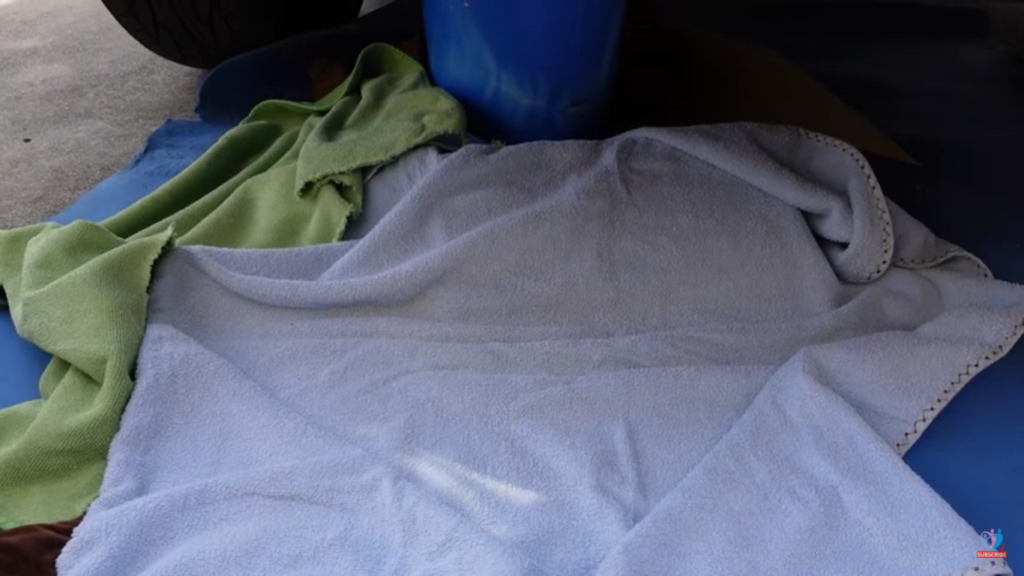
Another layer of precaution you can add is laying dirty towels around the bucket area. It’s also a good practice to wear gloves.
Step 5: Open The Thermostat
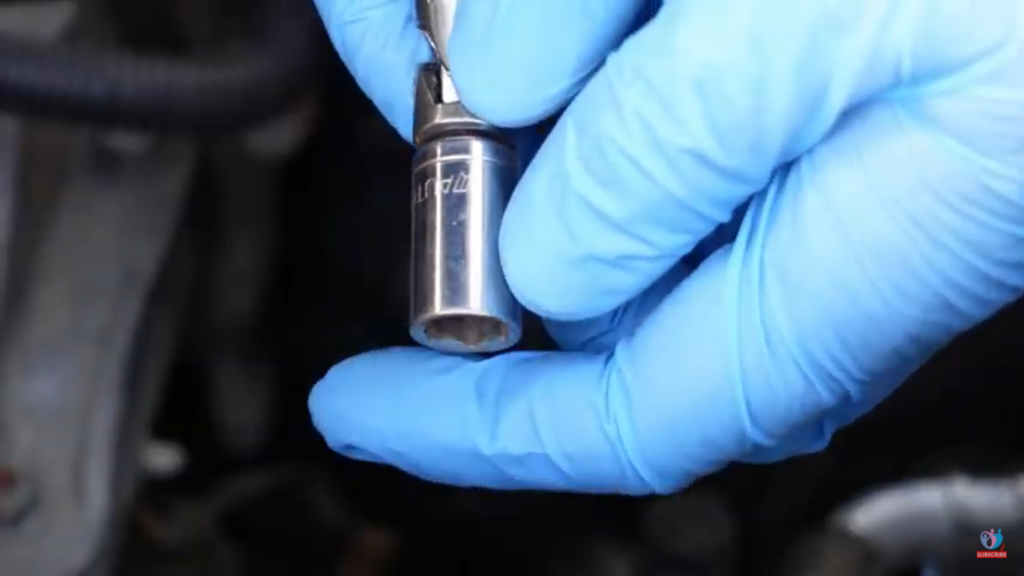
Take a 10 mm socket with a short extension and remove the two nuts on the thermostat. Once the nuts are removed, gently pull the thermostat back and as it comes out, you’ll notice some coolant pouring down.
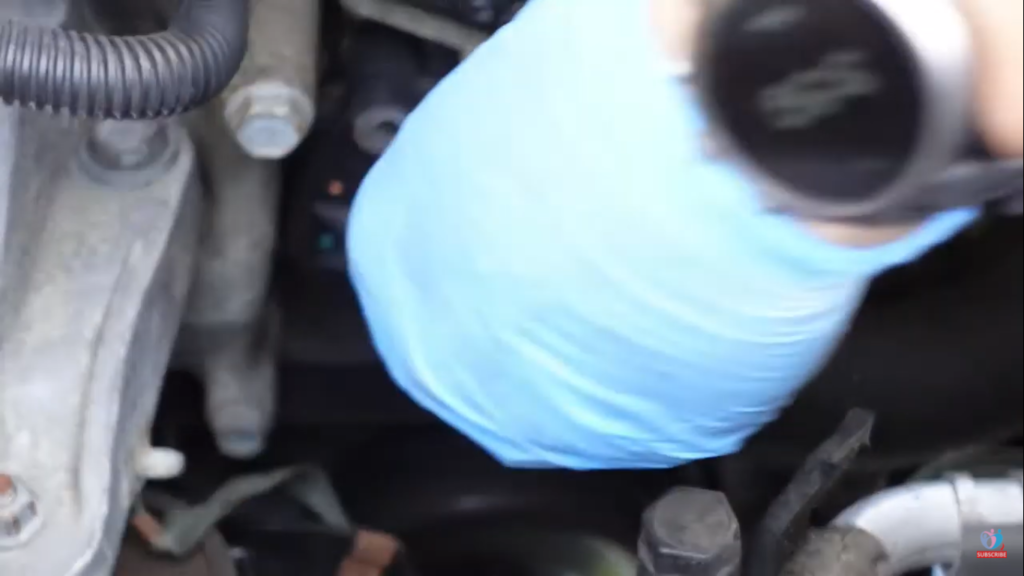
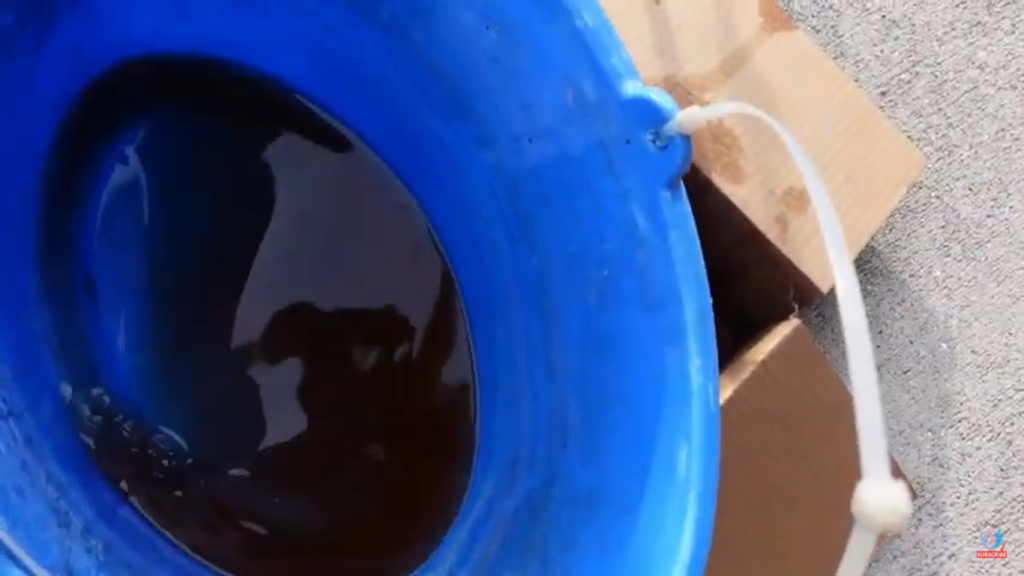
If you’ve followed the previous step, most of the coolant will fall into the bucket but some might splatter around. That’s fine.
Step 6: Remove The Thermostat on Dodge Grand Caravan
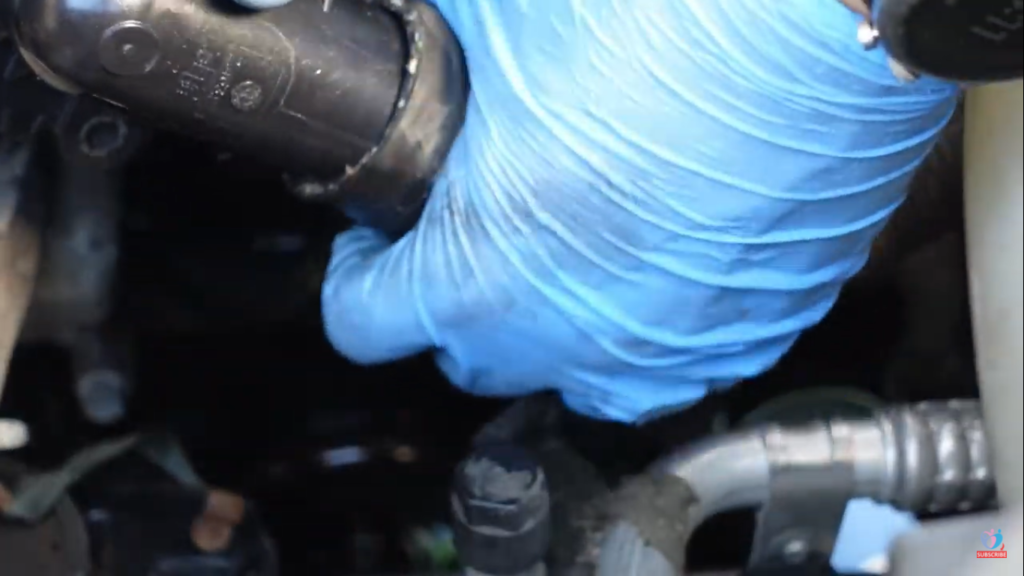
By now your thermostat would have opened from one end but attached to the air pipe using a clamp. To remove the clamp, you’ll have to press it using a vise grip and pull it aside until it’s not holding the thermostat. Once you do that, pull out the thermostat using your hand.
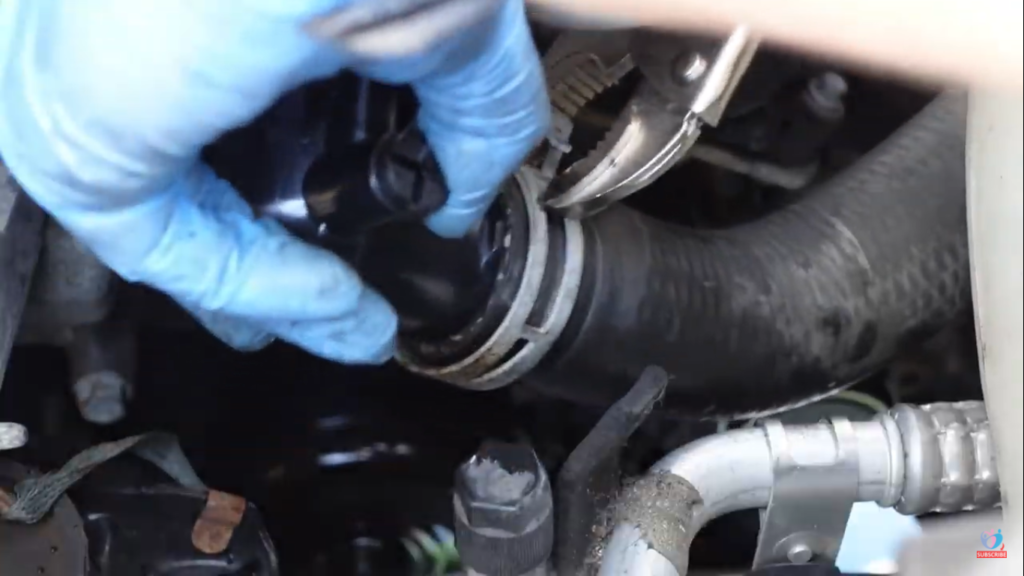
Step 7: Install The New Thermostat on Dodge Grand Caravan
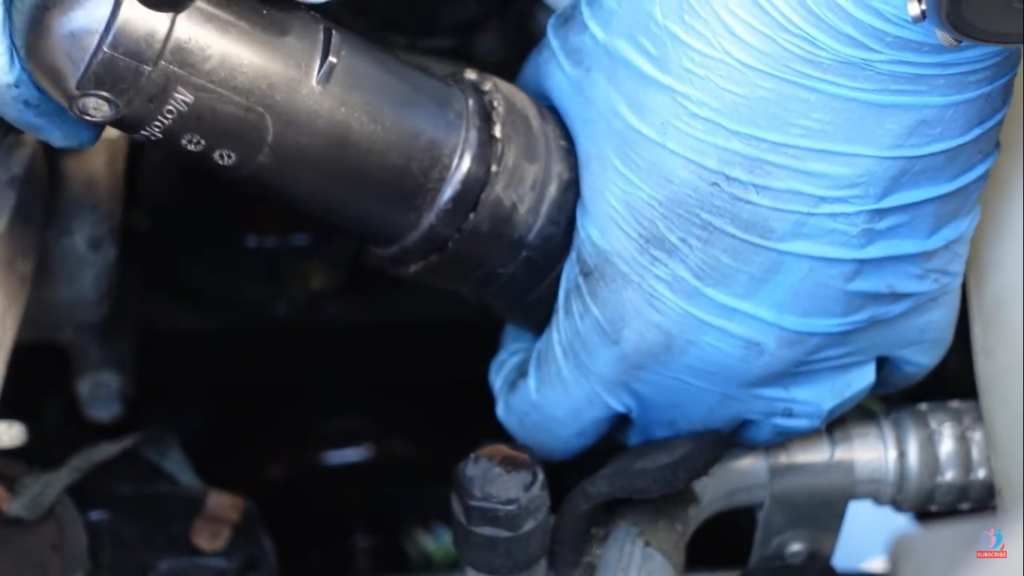
Insert the new thermostat in the air pipe just like the old one was and bring the clamp back over it using a vise grip.
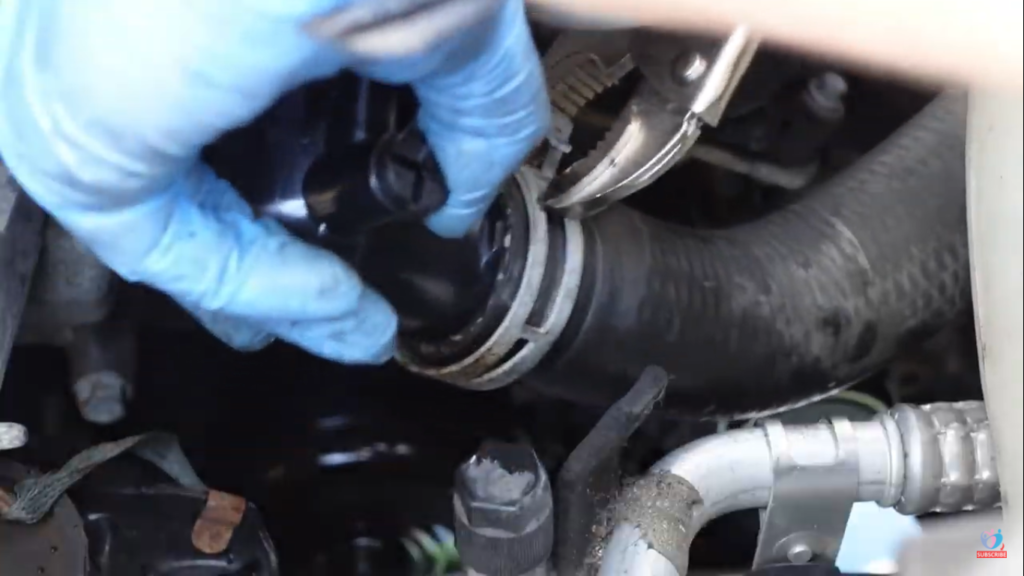
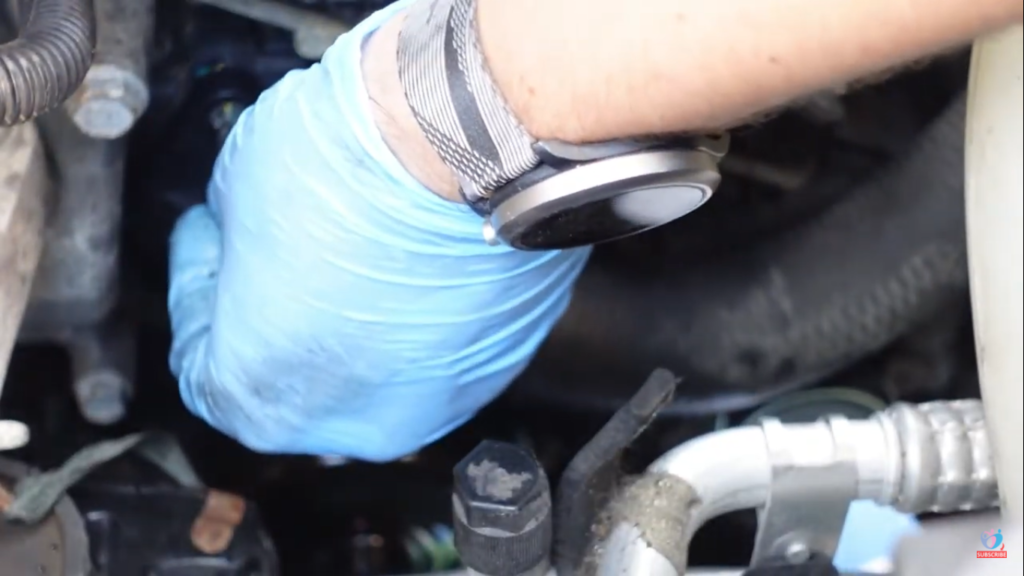
Now put the other end of the thermostat back in place and tighten the old bolts as necessary. By now, the thermostat should be locked back in its place.
Step 8: Install the bottom manifold back into its place

Install the button manifold back into its original place but while you’re doing so, make sure to align its hole and pins with the matching mates on the frame.
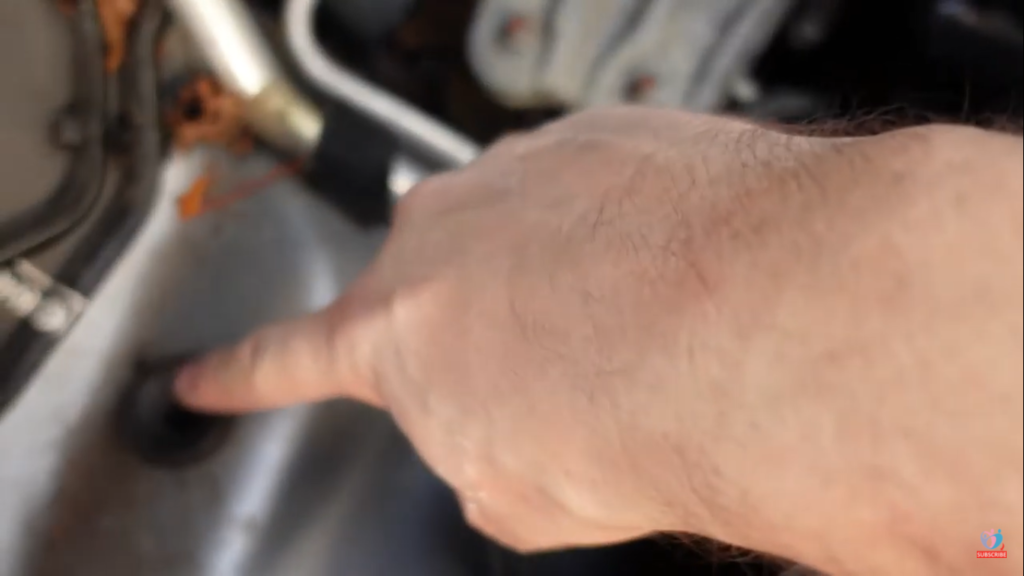
This will require a bit of finesse but you’ll feel it drop down once you get it right.
Step 9: Place the air intake filter (old/new), the steering fluid container, and also the plastic cover below
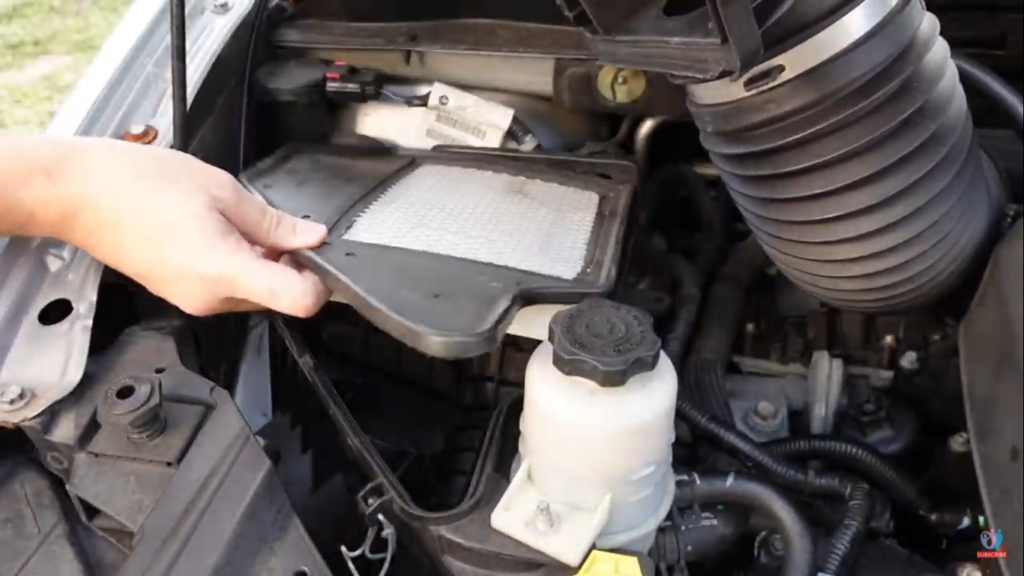
Once the bottom manifold cover is locked in place, either put your old air intake filter inside, or if it’s too old, place a new one.
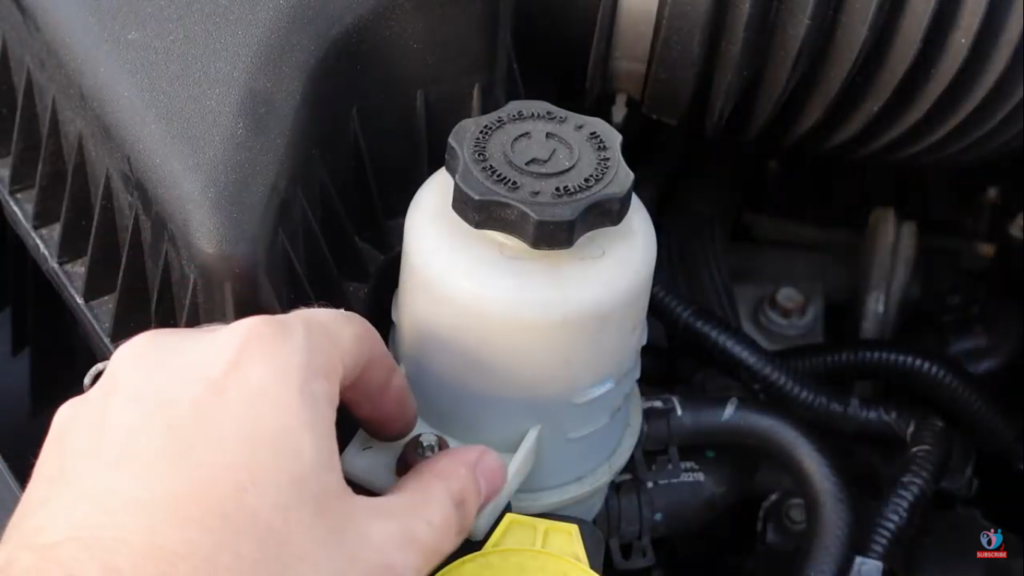
Then place the steering fluid container in the same place you had removed it from and then lock it using the nuts to its sides.
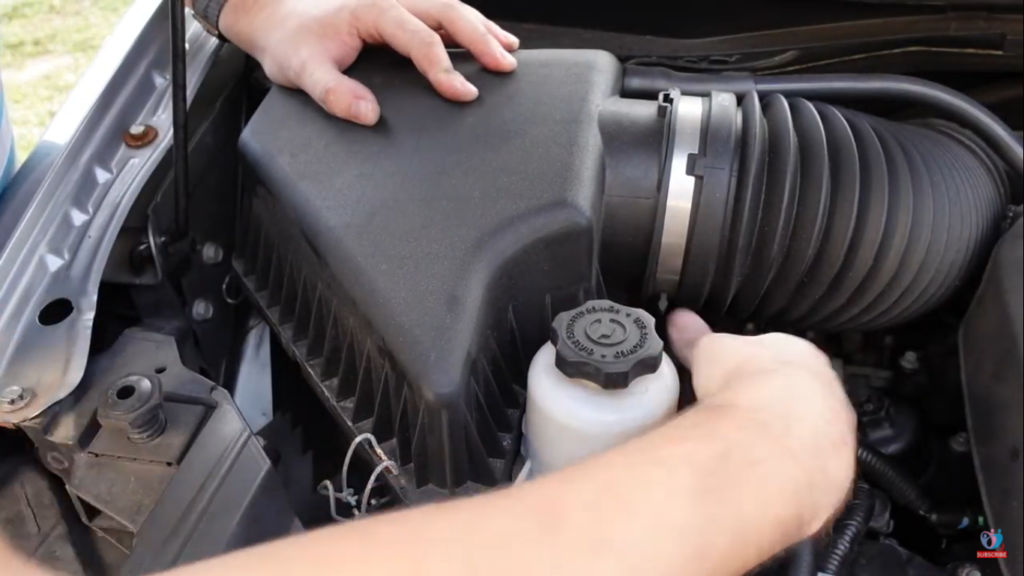
Then close the top cover of the manifold on the bottom half and lock the clips.
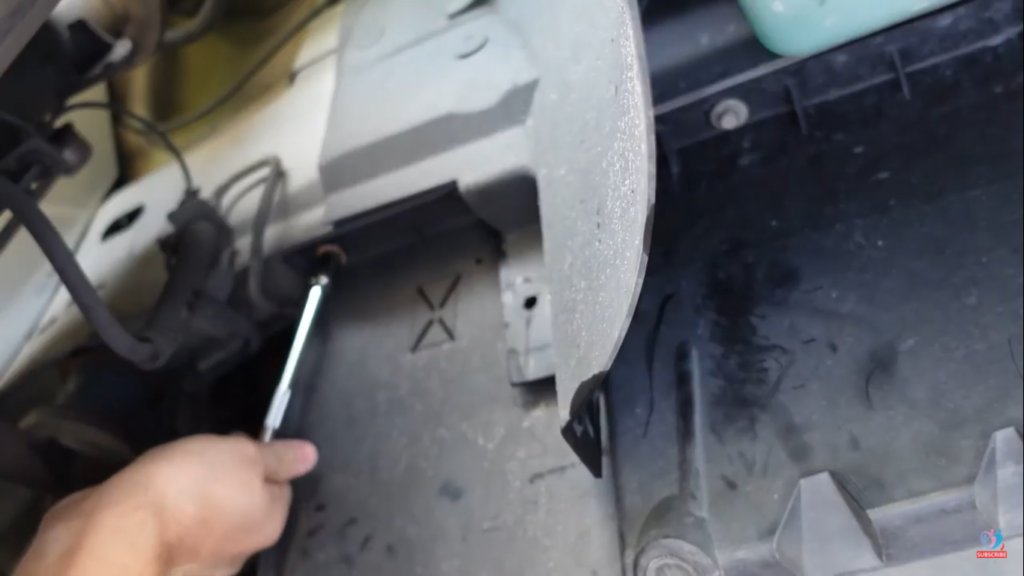
Lastly, put the plastic cover below by tightening its bolts and clips.
Step 10: Remove The Radiator Cap And Pour In Some Coolant
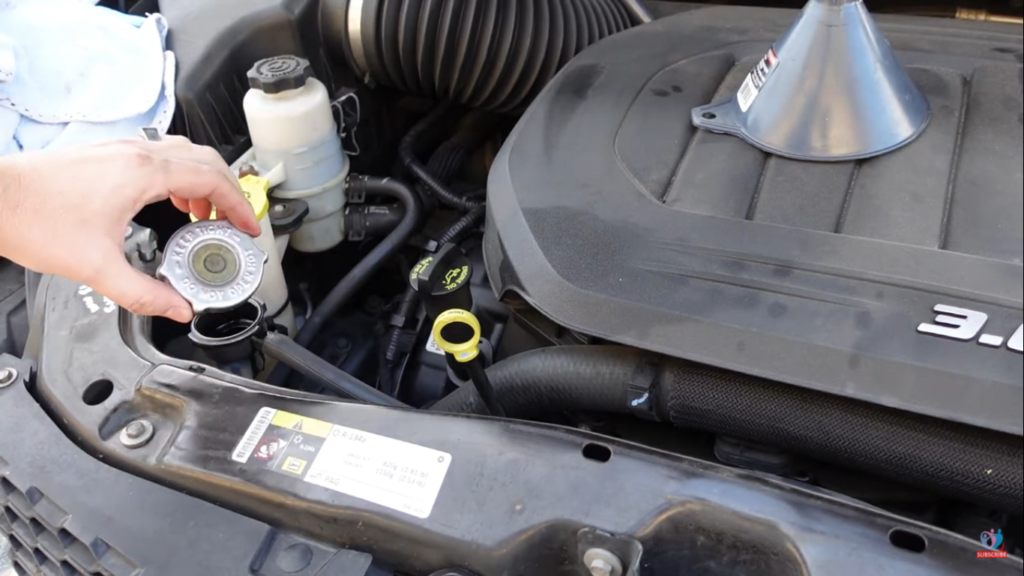
Find the radiator cap and remove it. Pour coolant into it with the help of a funnel. You can use a regular one or you can buy this nice one from Amazon that makes filling a breeze.
STOP – before proceeding to make your life easier you must use the funnel on the right. It makes it so much easier to do this. I didn’t use one when I was doing it because I didn’t have one but it’s worth the $18-$20 investment. Click here to buy one.
You may now proceed.
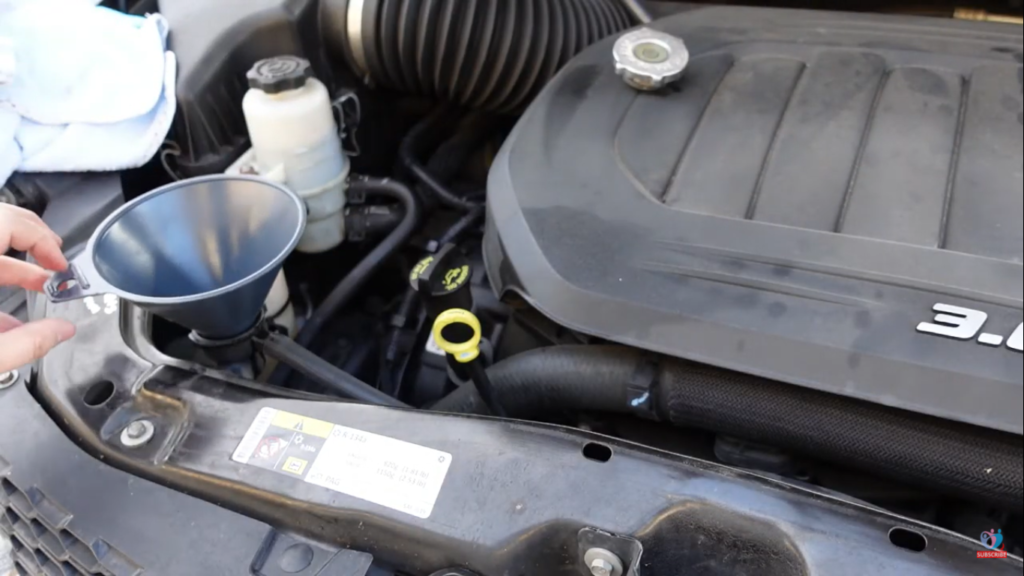
Slowly begin to fill the radiator with a coolant until it’s full and avoid splashing it to avoid making a mess.
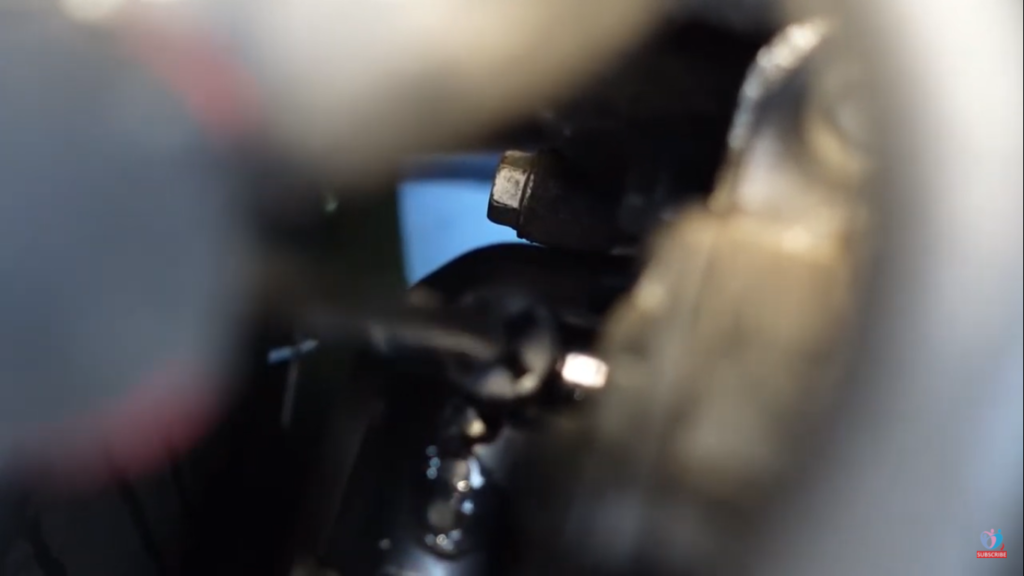
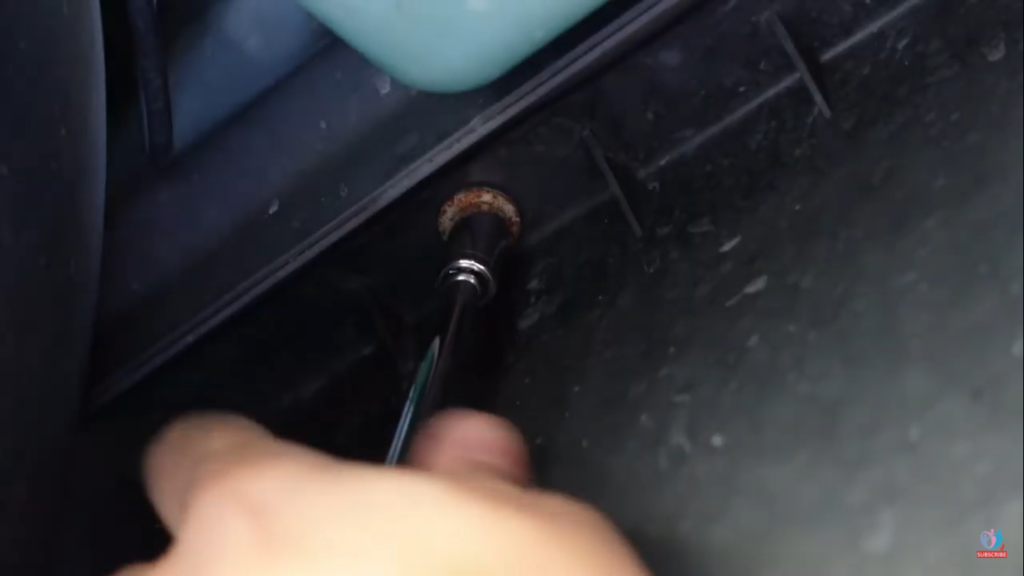
While you are pouring in the coolant, take breaks in between and loosen this knob with a Philips head screwdriver. This will release the air entrapped in the radiator. When you do this you’ll see a little bit of coolant coming out with bubbles in it.
Do this a few times while you are filling the coolant all the way up to the max line.
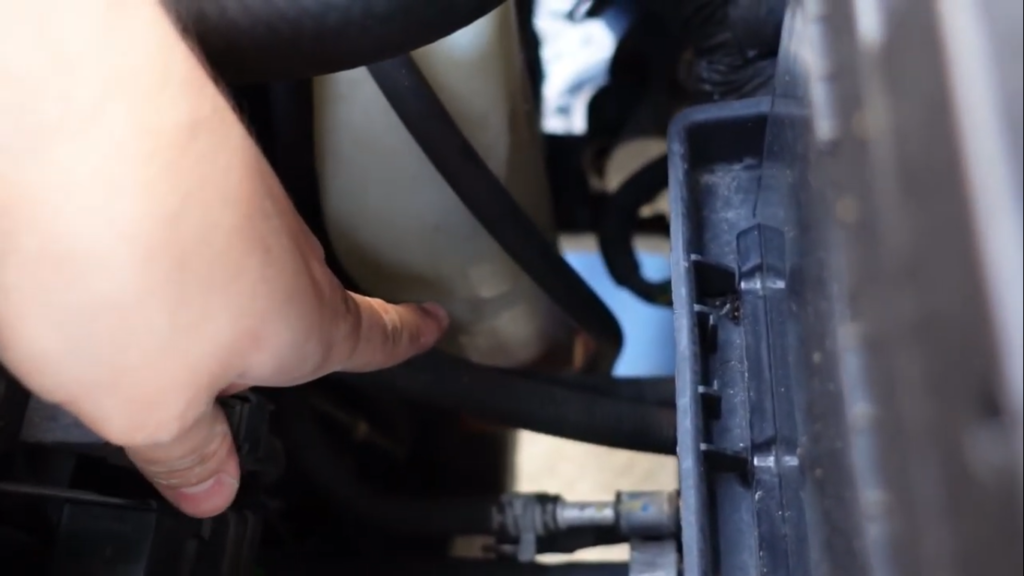
By now, the process is complete but you should start your car’s engine and leave it running for 5 to 10 minutes. You can again loosen and tighten the knob to let out any remaining air.
Final Words
For anyone who has either replaced their Dodge Grand Caravan’s thermostat or that of any other car will agree that’s an easy and fun project. However, most people find it confusing and herculean, and therefore they leave it to mechanics who overcharge.
I am here to tell you that it’s a very easy and fun undertaking that you can do in a couple of hours while saving your hard-earned money.
If you find following these text instructions a bit puzzling, you can watch my video on the same topic to better understand it.


