How To Remove Floor Tile In A Bathroom?
Are you having a tough time figuring out how to remove floor tiles from your bathroom? Well, you’re in the right place because recently I removed floor tiles from my bathroom and I recorded the whole process. So, in this article, I am going to show you how to remove floor tiles from your bathroom step by step.
Before you start, you might want to get these tools so you don’t get interrupted in between.
Tools you’ll need

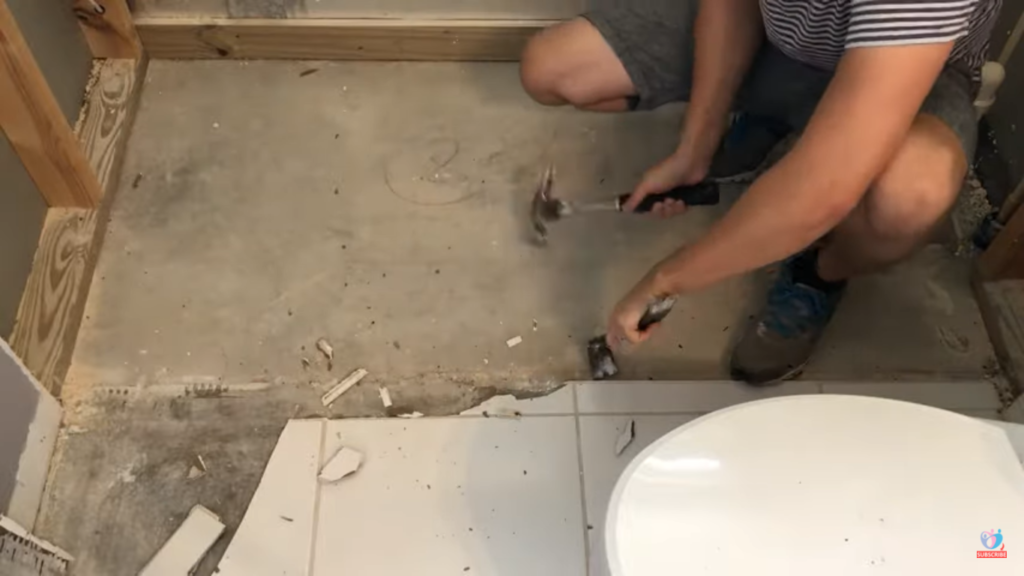
Step 1: See if you can remove the tiles without any power tools
Take a ply bar and hammer it onto the sides of the tiles to remove them. Usually, old tiles are sometimes hollow and they can easily come off this way without using power tools. It’s worth trying and could be less messy.
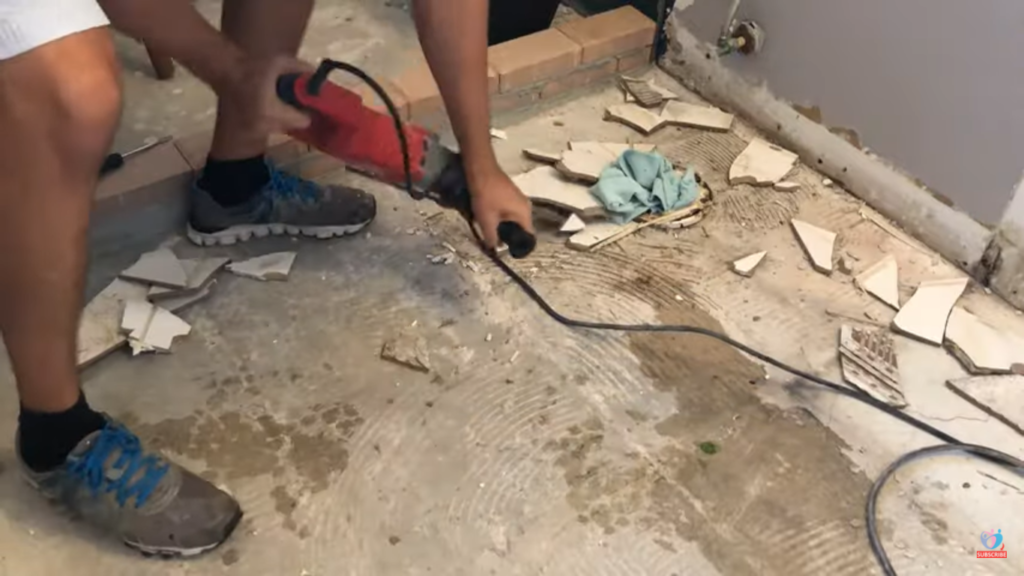
Step 2: Use a jackhammer to remove the rest of the tiles
If step 1 didn’t get you far than you may want to get your hands on a jackhammer. A jackhammer might seem like an intimidating tool but once you use them, you’ll notice that they are quite easy to use. You can buy one here. You may also be able to rent one at your local hardware store.
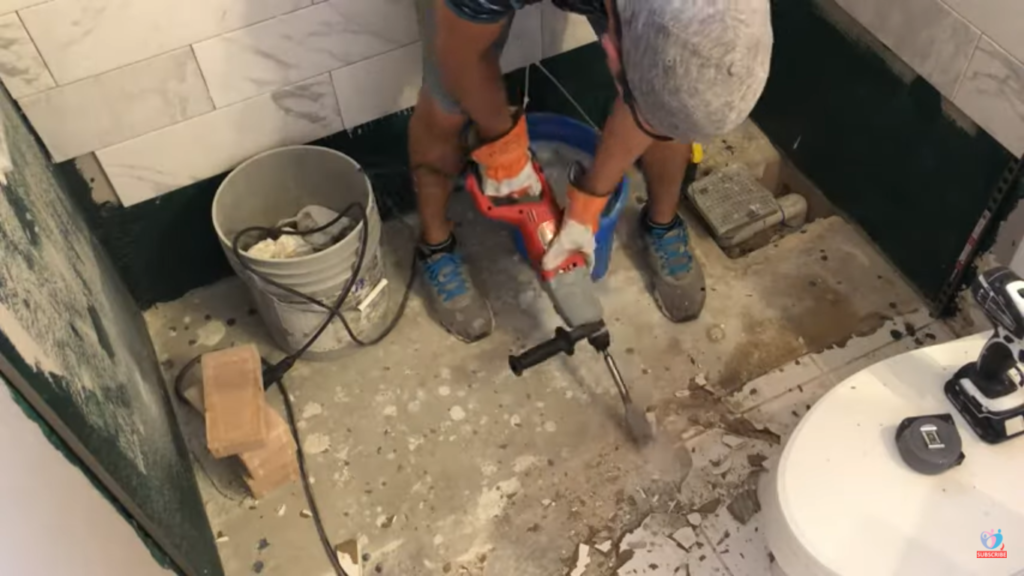
Place the tip on the tile at an angle, push it while firmly holding it in your hands.
Step 3: Make sure you are wearing gloves and a mask
It’s important that you have a mask on because using the jackhammer on the tiles will cause dust to rise up. You don’t want to be breathing all that dust.
Also, the jackhammer is hard on our hands so it’s better to wear a pair of heavy-duty gloves to avoid blisters on your hands.
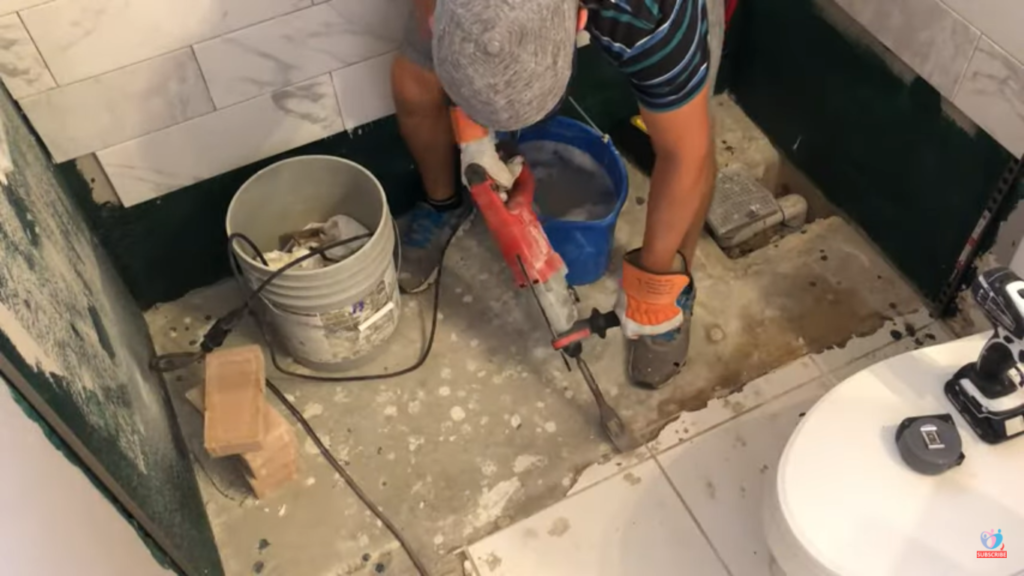
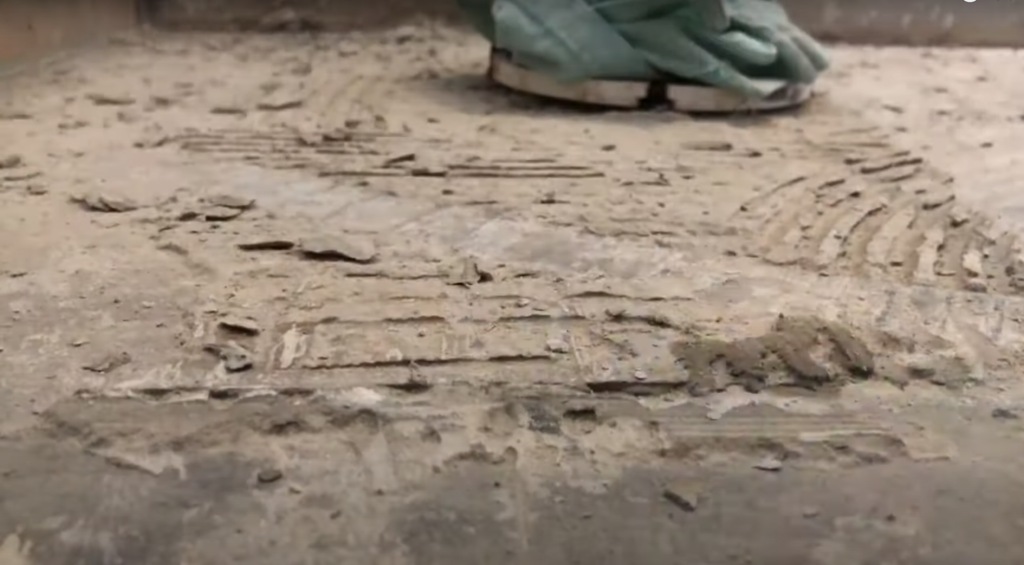
Step 4: Remove the actual tile first
As you start ripping the tile off using a jackhammer, you’ll notice the complete tile doesn’t come off at once.

The thin-set of the tile is hard to remove right away. So, don’t worry, just take out the actual tile from all over the bathroom floor first.
Step 5: Remove the thin-set of the tiles
Once the actual tile has been removed it becomes easier to remove the thin-set.
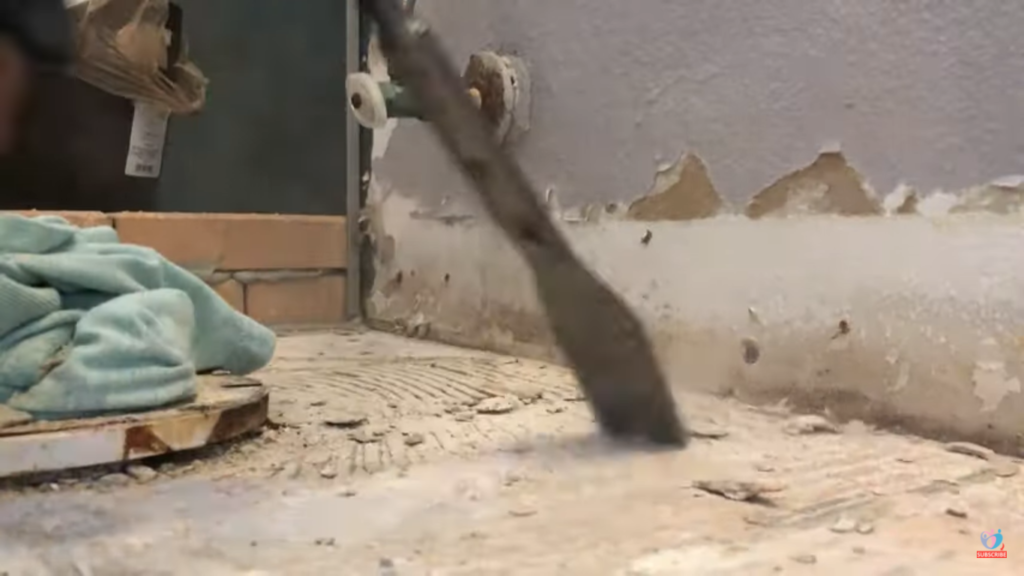
Before that make sure you remove the debris of the actual tiles so that working on the floor becomes easier.
Then go through the entire floor and remove the thin-set, which is going to be a bit harder and longer process.
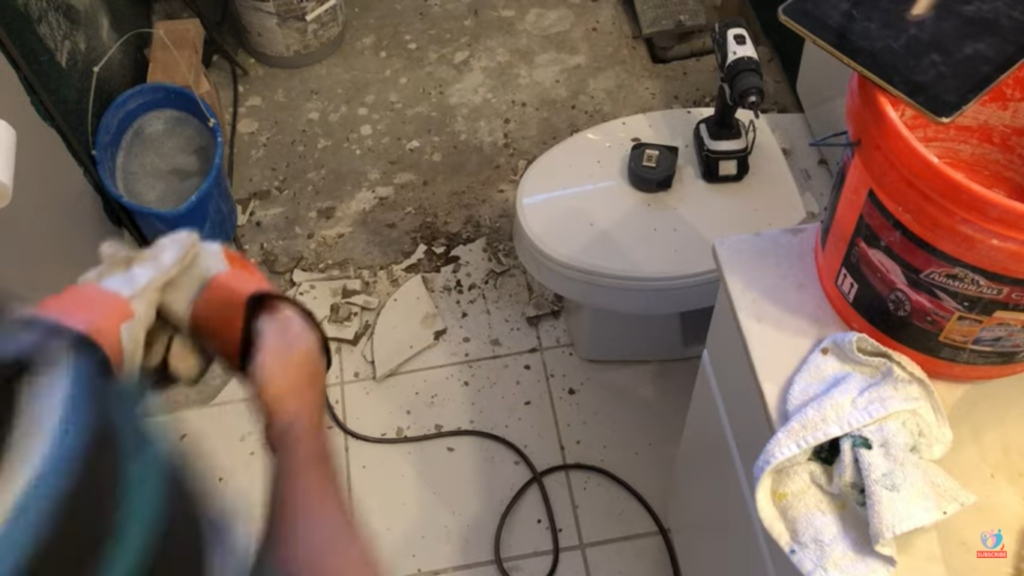
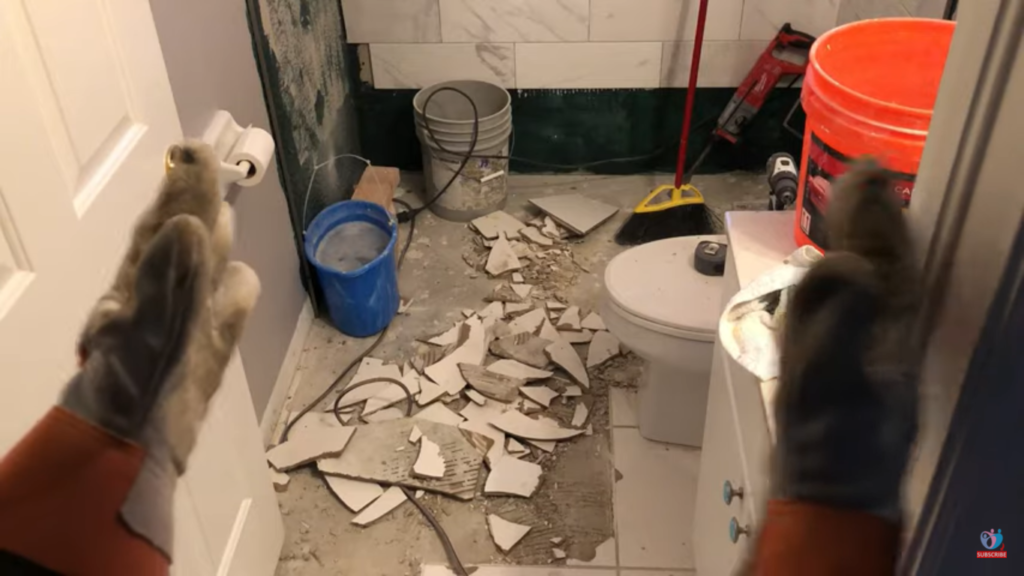
Step 6: Remove the bathroom toilet
Since the toilet sits right on top of the tile, you’ll have to remove the toilet first before taking off those tiles.

If you don’t know how to remove a toilet, watch my video on “How to remove a toilet in a bathroom and DESTROY IT”.
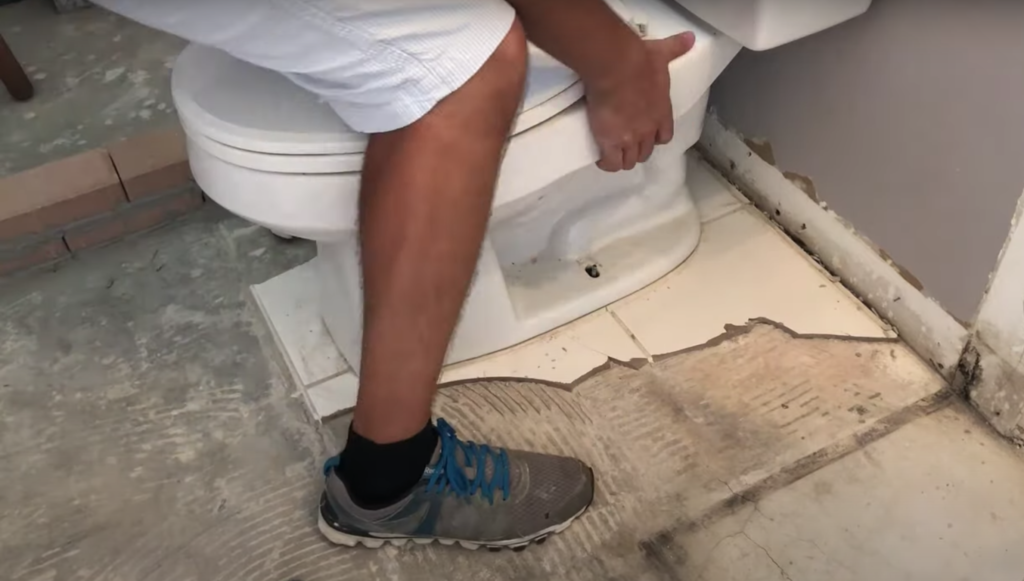
Step 7: Remove the tiles under the toilet
Once the toilet is removed, take out the tiles that were either completely or partially below it.
This process is just like the one we have done above, there’s nothing unique about it.
Related bathroom remodel article: How to Grout Tile in a Bathroom using Sanded Grout
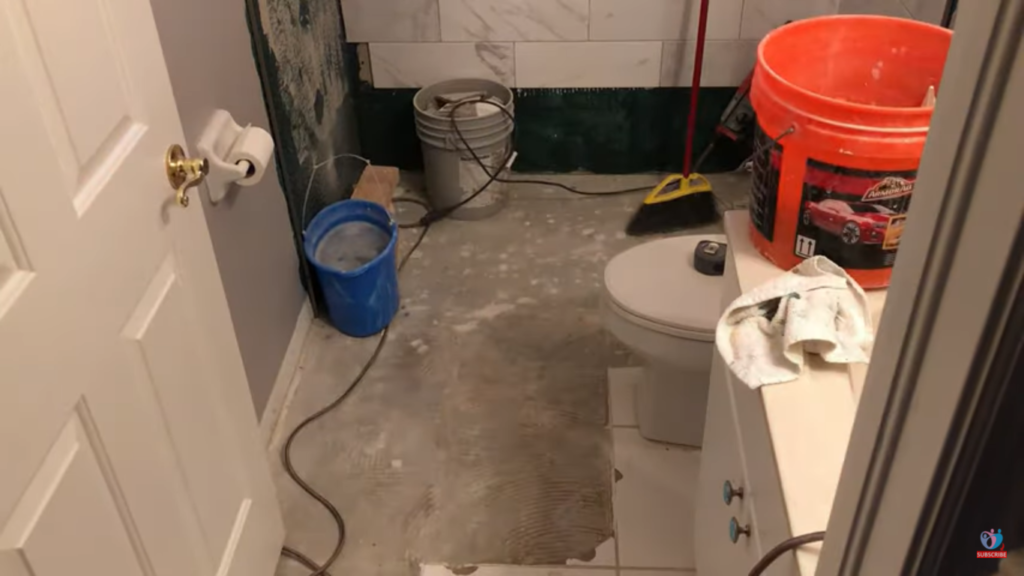
Final Words
That’s it. By now your bathroom tiles are all removed. I hope you’ve found my process helpful and effortless. In case you find text guides hard to understand, I have a video on this process that might be easier for you to understand.