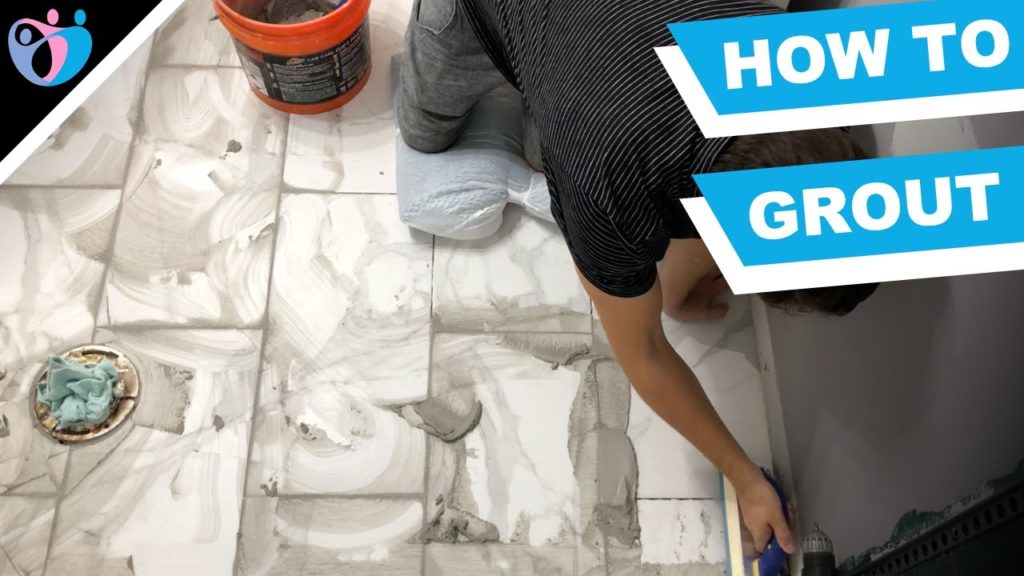
How To Grout Tile In A Bathroom using sanded grout?
Are you looking forward to grouting tile in your bathroom but are not sure how-to? Well, you’re in the right place. Since I recently remodeled my guest bathroom, I recorded every process separately to show others the right way. One of these processes was grouting tiles and in this article, I am going to share my easy step-by-step guide on how to grout your floor tile.
Before you start the grouting process, I suggest you get these tools so the process can run smoothly and it’s easy when you have the right tools.
Tools you’ll need
Grout Cleaner Tool 1
Grout Cleaner Tool 2
Utility Knife
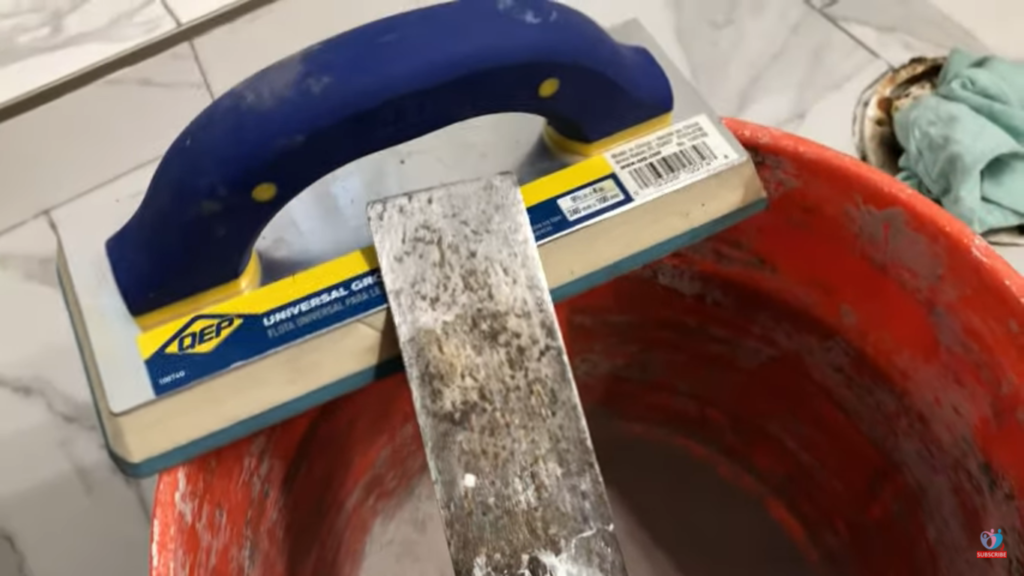
Margin Trowel
Big Yellow Sponge
Sanded Grout
Buckets
Grout Float

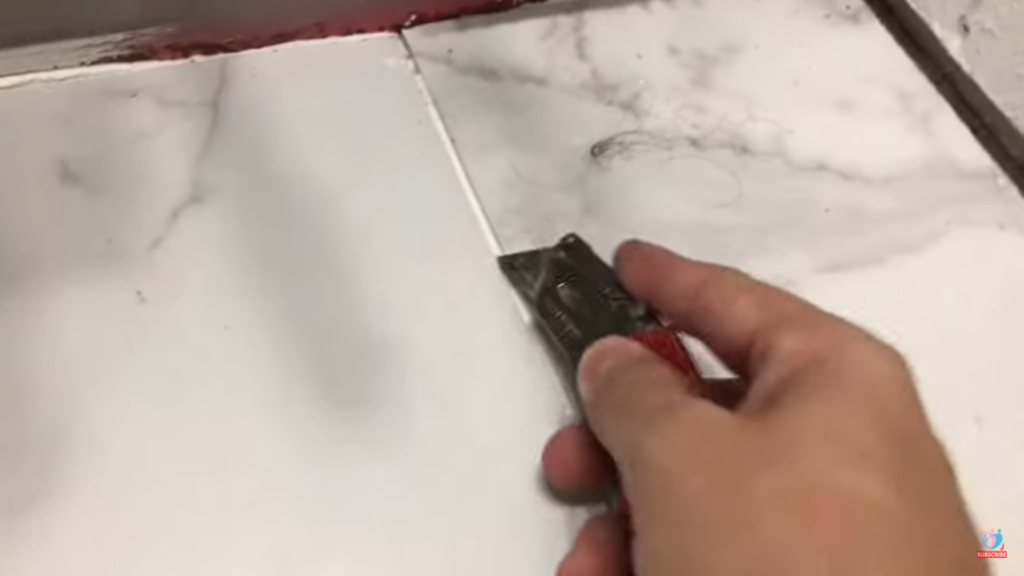
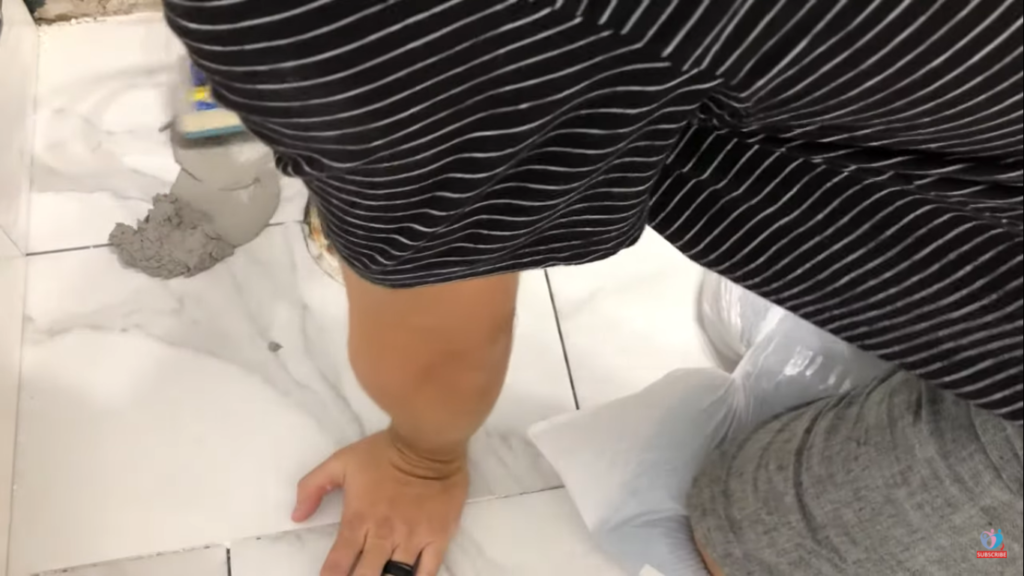
Step 1: Clean the grout joints and remove tile spacers
The very first thing you need to do is go through all the grout joints and clean the necessary spots in the grooves. What you are looking for is the tile cement that may be protruding in the grout joints. Removing it will ensure they are not sticking outside of the grout joint. During this time you will also attempt to remove any of the spacers that you use for the joints.
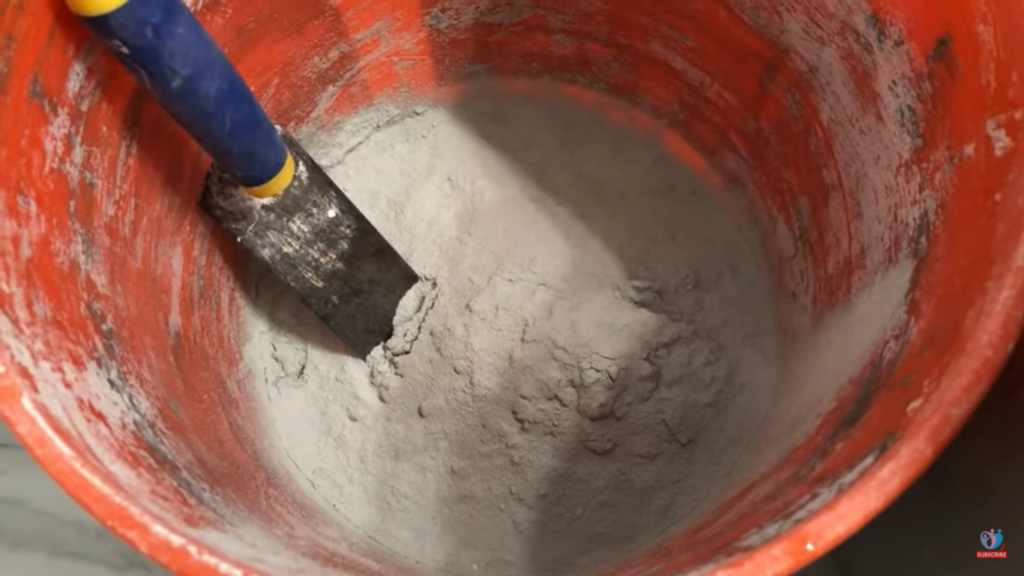
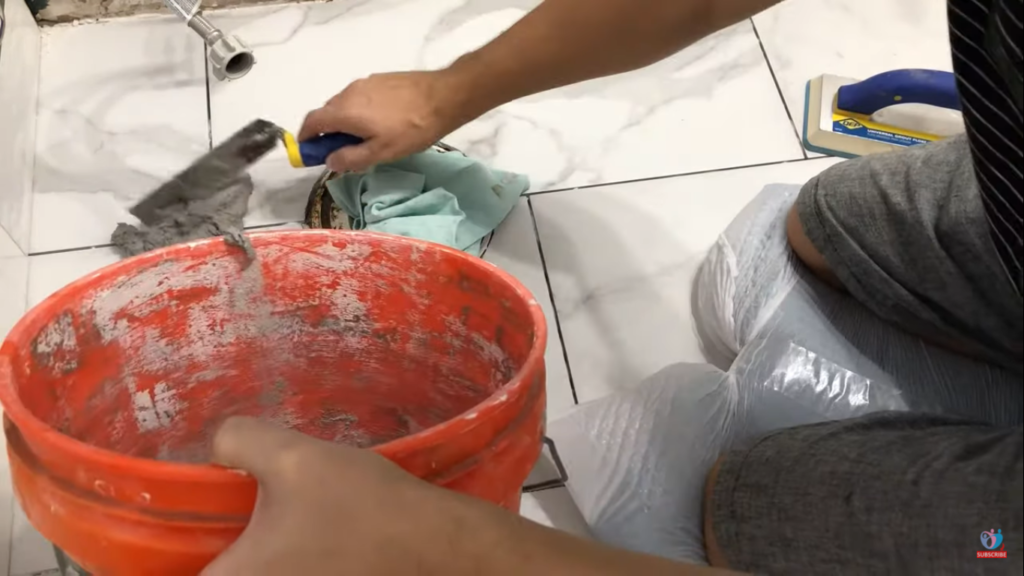
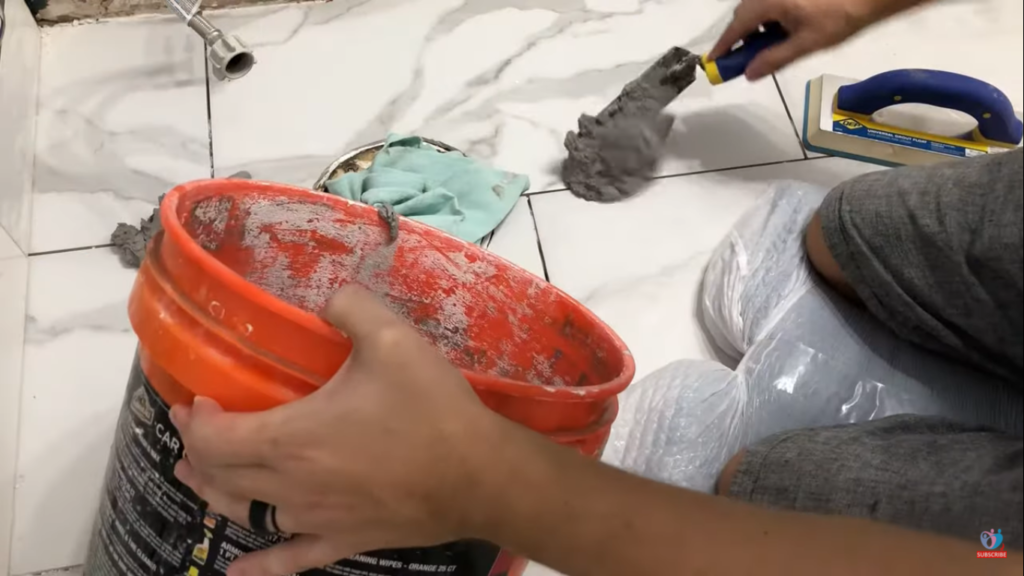
Step 2: Create a mixture of sanded grout and water
Just like cement, the sanded grout needs mixing with a proportionate amount of water to be able to bind yet still remain somewhat liquidy for easy of installation.
Therefore, place the amount of sanded grout you think is enough for your bathroom floor in a bucket. It’s always better to overestimate a little rather than underestimate.
Pour a small amount of water at a time and then mix these two ingredients using a margin trowel. You can use the big yellow sponge to help you control how much water to add.
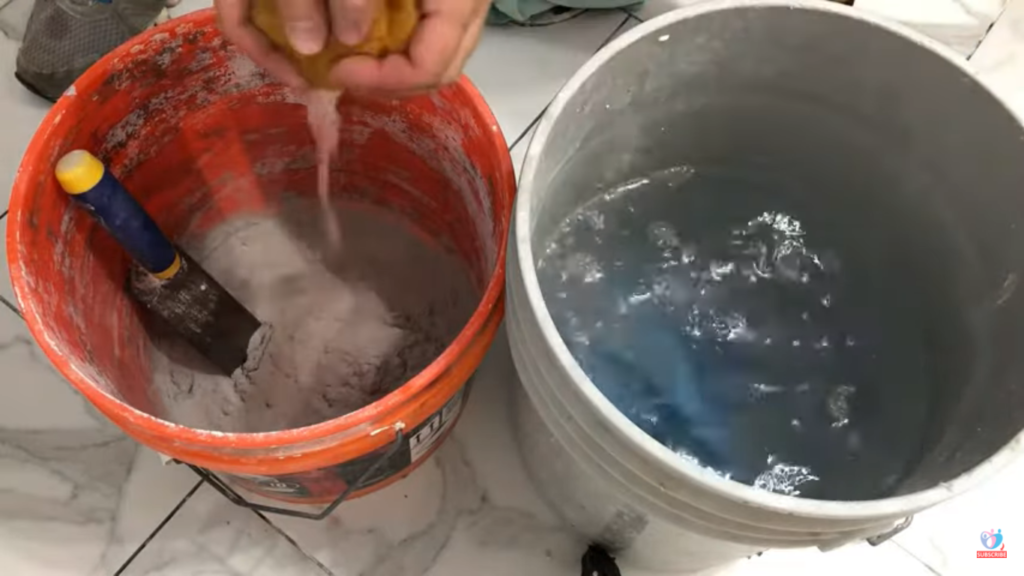
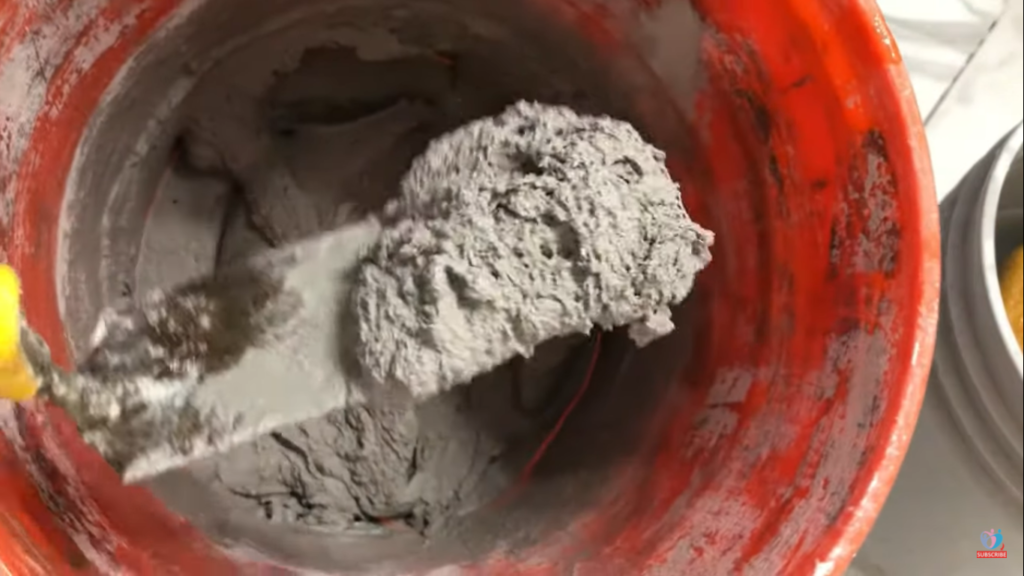
The goal is to achieve a mortar-like mixture, such that the end product is neither too dilute nor too hard.
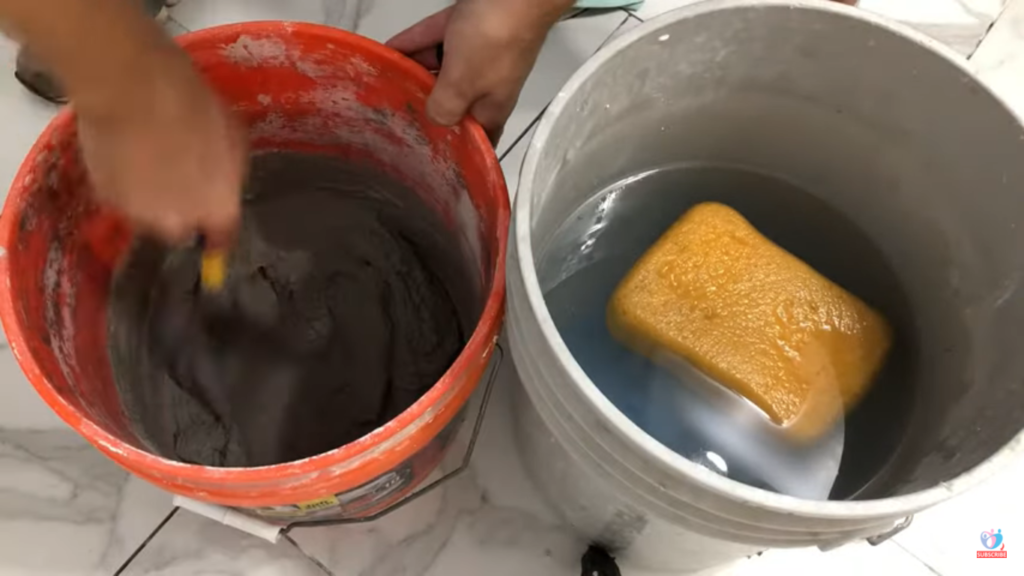
Keep adding water and stirring until such a state is achieved. You can watch my video to better see what the consistence looks like.
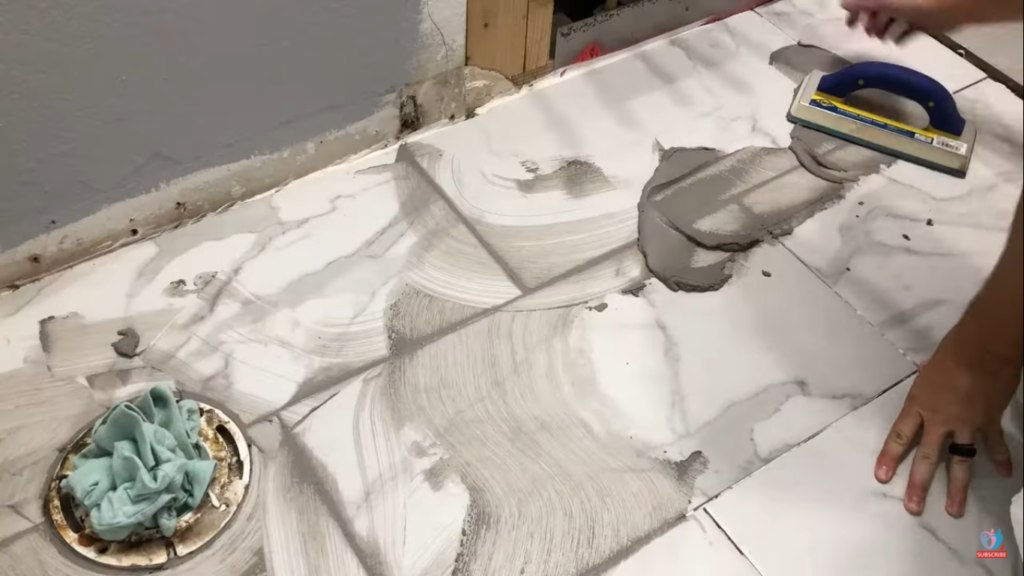
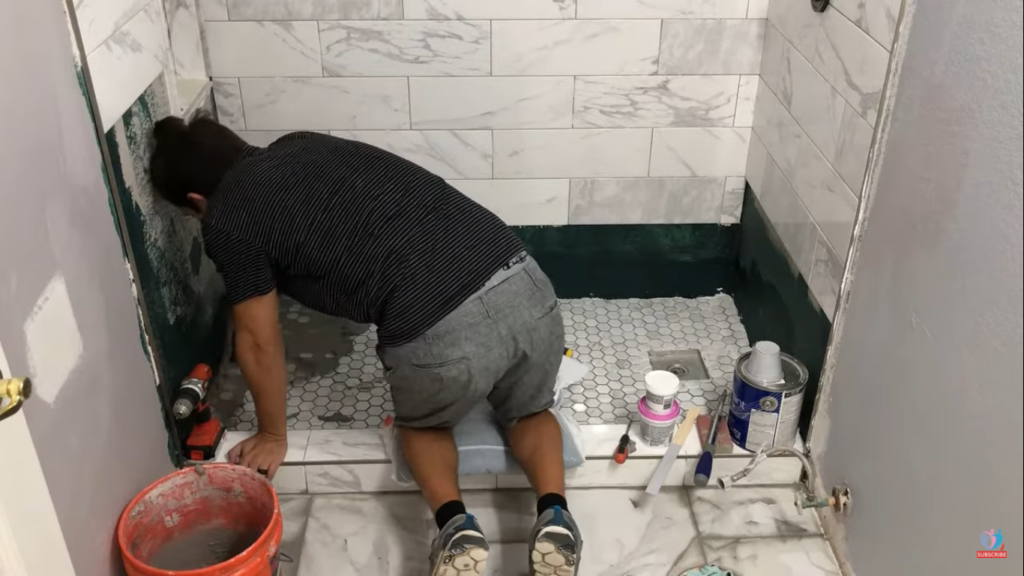
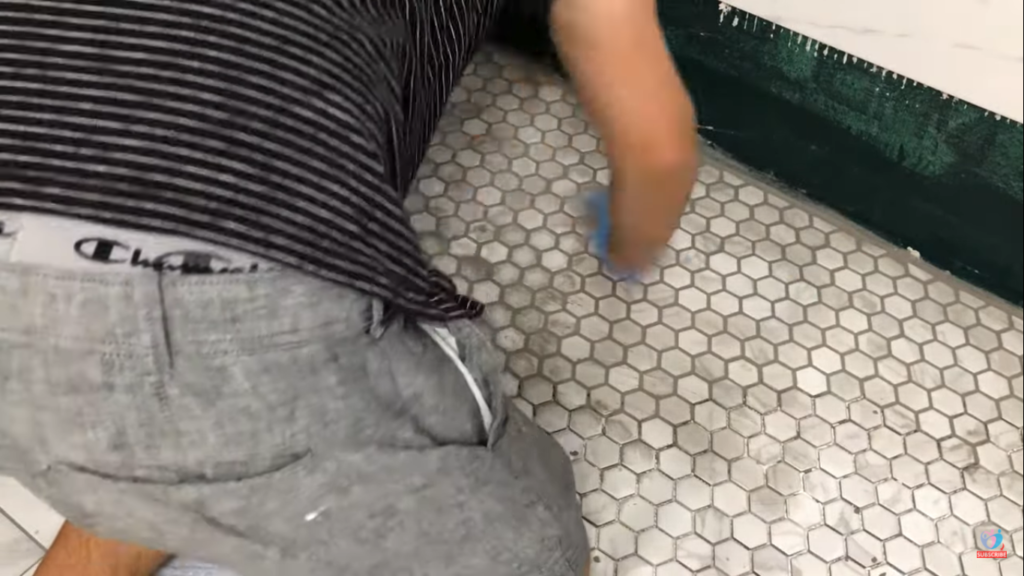
Step 3: Dump two piles of grout onto the floor tiles
Starting from the farthest corner of the bathroom, dump two piles of grout onto the edges of tiles.
Spread the piles using the grout float such that all the joints between the tiles get filled.
Now typically smaller joints with less than an eighth of an inch will need unsanded grouts while greater joints with thickness greater than an eighth of an inch will need sanded grouts.
The reason I suggest you start from the farthest corner is that if you do otherwise you’ll have to step on the grout later when you want to leave the room.
Since there will be some grout left on the tiles, stepping on them will muddy your booths, which will then create a whole lot of mess.
Once push the grout into the grooves, use the rubber float to also clean the excess grout from the tiles.
Keep in mind, you won’t be able to clean every inch of the tile using the rubber float. Cleaning the tiles will be a separate task later on.
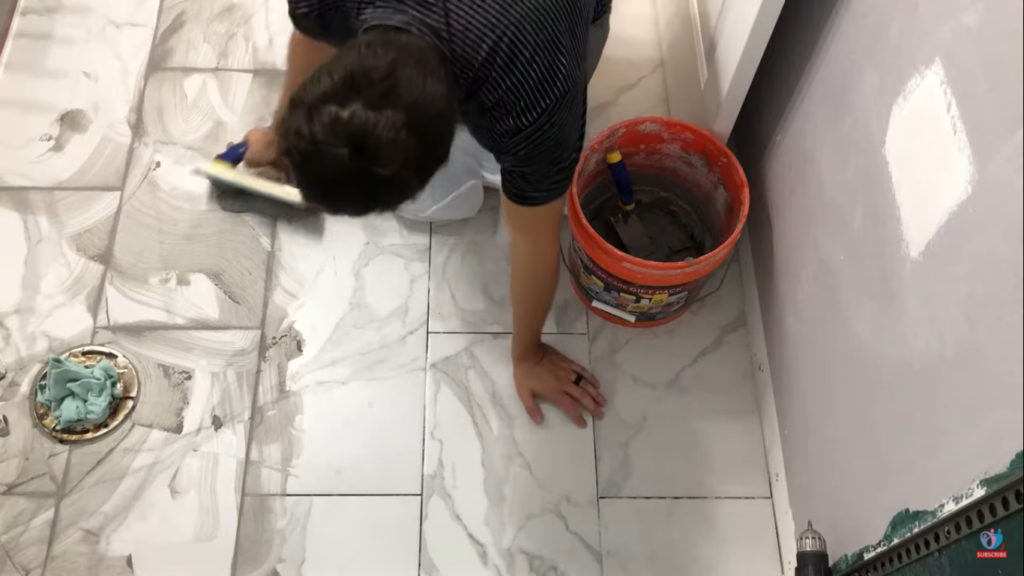
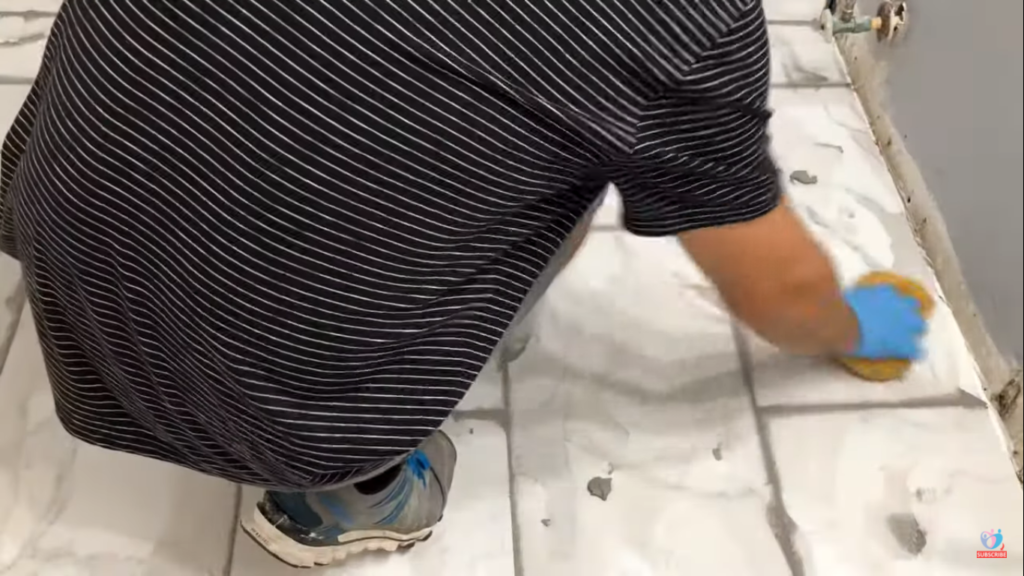
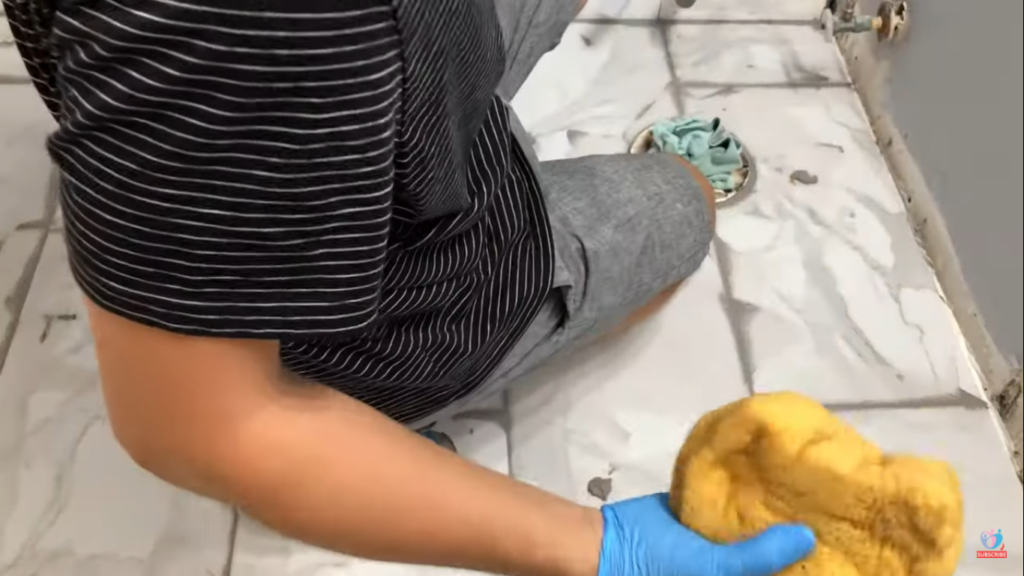
Step 4: Wash the Grout Off
Once you’ve filled all the grout joints in your floor tiles up until your bathroom door, now is the time to clean the mess. Start by having a bucket of clean water, a big yellow sponge, and a pair of gloves.

Don’t start washing the tiles in big portions. Start with small areas or a few tiles to see if the grout is ready to be washed.
Do this by dipping the sponge in the bucket of water, rinse the sponge, and rub a few tiles to see if the grout comes off quickly. If the grout washes off too easy straight out of the grout joint then it’s not ready and you want to wait maybe another 5-15 minutes. If it washes off with easy but the joints look nice and smooth than you are golden.
Also, don’t wait too long because then the grout on the tiles will be harder to wash and it will feel like you are scrubbing the floor. Trust me it’s not fun I have done it many times.
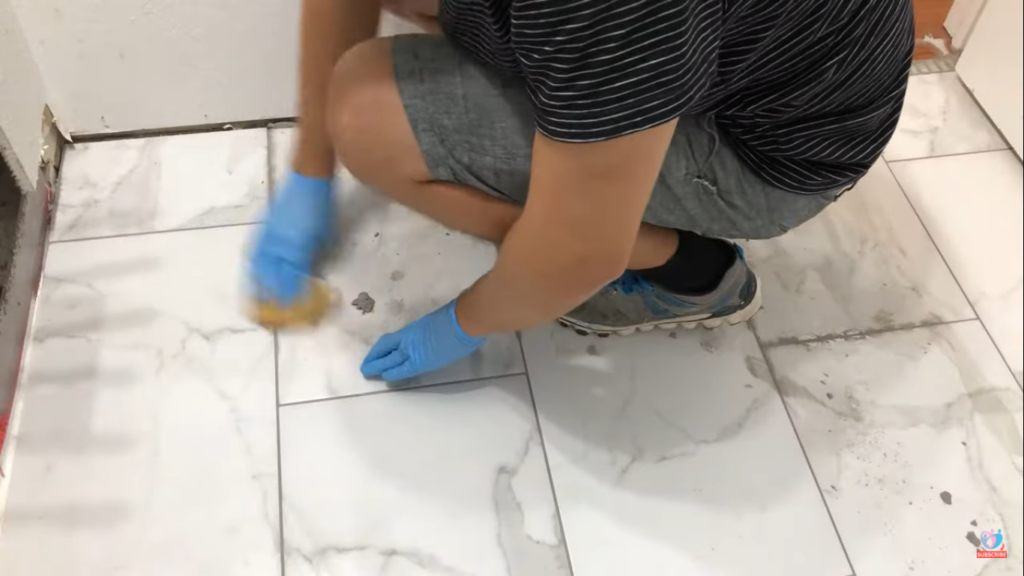
Step 5: Don’t use too much water to wash the grout
Squeeze the sponge every time you dip it in the water because you don’t want it to flood the bathroom floor. Leaving too much water on the recently grouted floor can cause discoloration in the grout in the future.
Typically I like to first wash the excess grout from a tile, then rinse the sponge and wash the same tile again. Go through this process tile at a time. Until you wash the entire floor.
Washing the shower floor follows the same technique, it just takes a bit longer and a little bit more rinses because you have more grout joints.
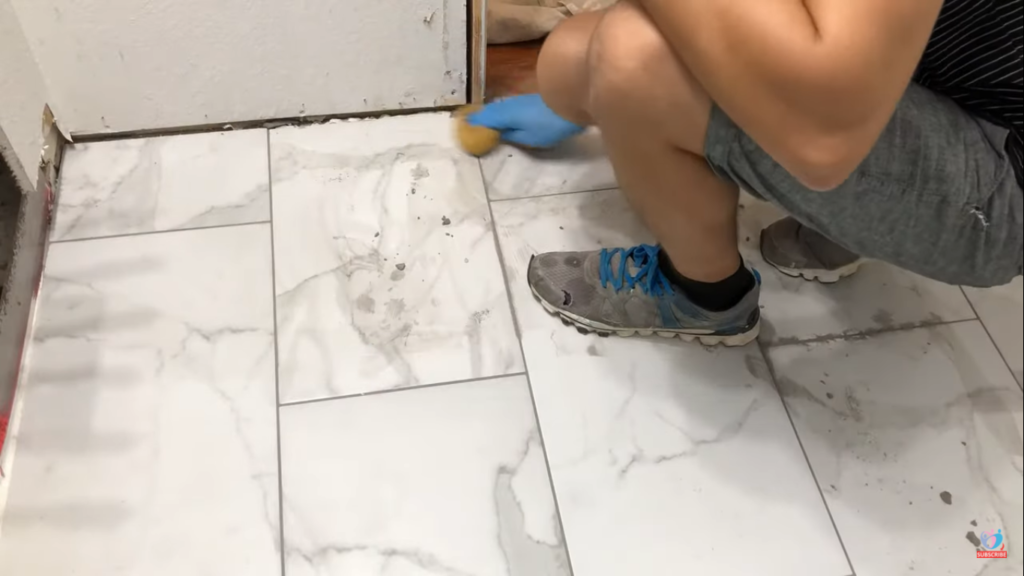
Step 6: Final Washing for Cleaner Results
Lastly, take a bucket of clean water and start washing one tile at a time from the farthest corner up until the door. For best results, you may want to wait 20-30 minutes after you did the first wash before doing this final wash. The purpose is to make sure you don’t have any grout residue left after you are done washing.
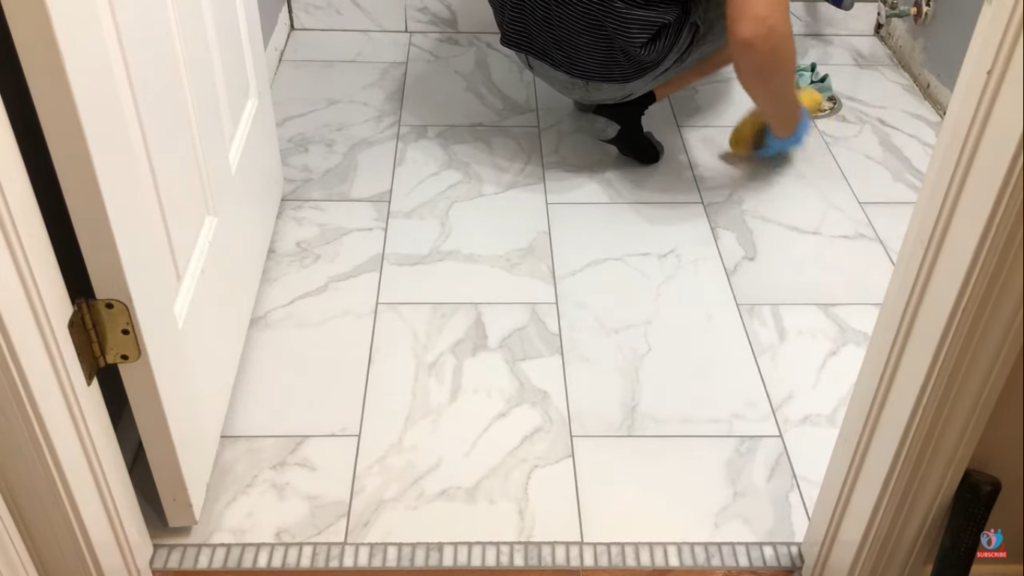
The way I do it is first I use one side of the sponge to clean a tile, then I turn it upside down and clean an adjacent tile with the other side of the sponge.
This way ensures that you don’t have any haze leftover. In case you have any haze leftover, you might want to repeat cleaning once more in another hour or two.
Step 7: How long should I wait for grout to dry?
For best results allow the grout to dry at least 24 hours before walking on it. I mean you can walk on the tile sooner as long as you avoid the grout joints but I recommend you wait until the grout is fully dry the next day before doing anything on that floor.
Final words
That’s it. I hope you’ve found my process helpful and effortless. In case you find text guides hard to understand, I have a video on this process that might be easier for you to understand.
I have similar articles and videos in my bathroom remodeling series, one of them is “How to Convert Bathtub Drain to a Shower Drain?”