How to replace Mazda 3 Intake Manifold Throttle Controller Runner Solenoid Valve DIY instructions
I had my Mazda 3 for a few years and I didn’t have any major problems until I had to replace the intake manifold throttle controller runner solenoid valve. So here are the instructions for those that may find this useful.
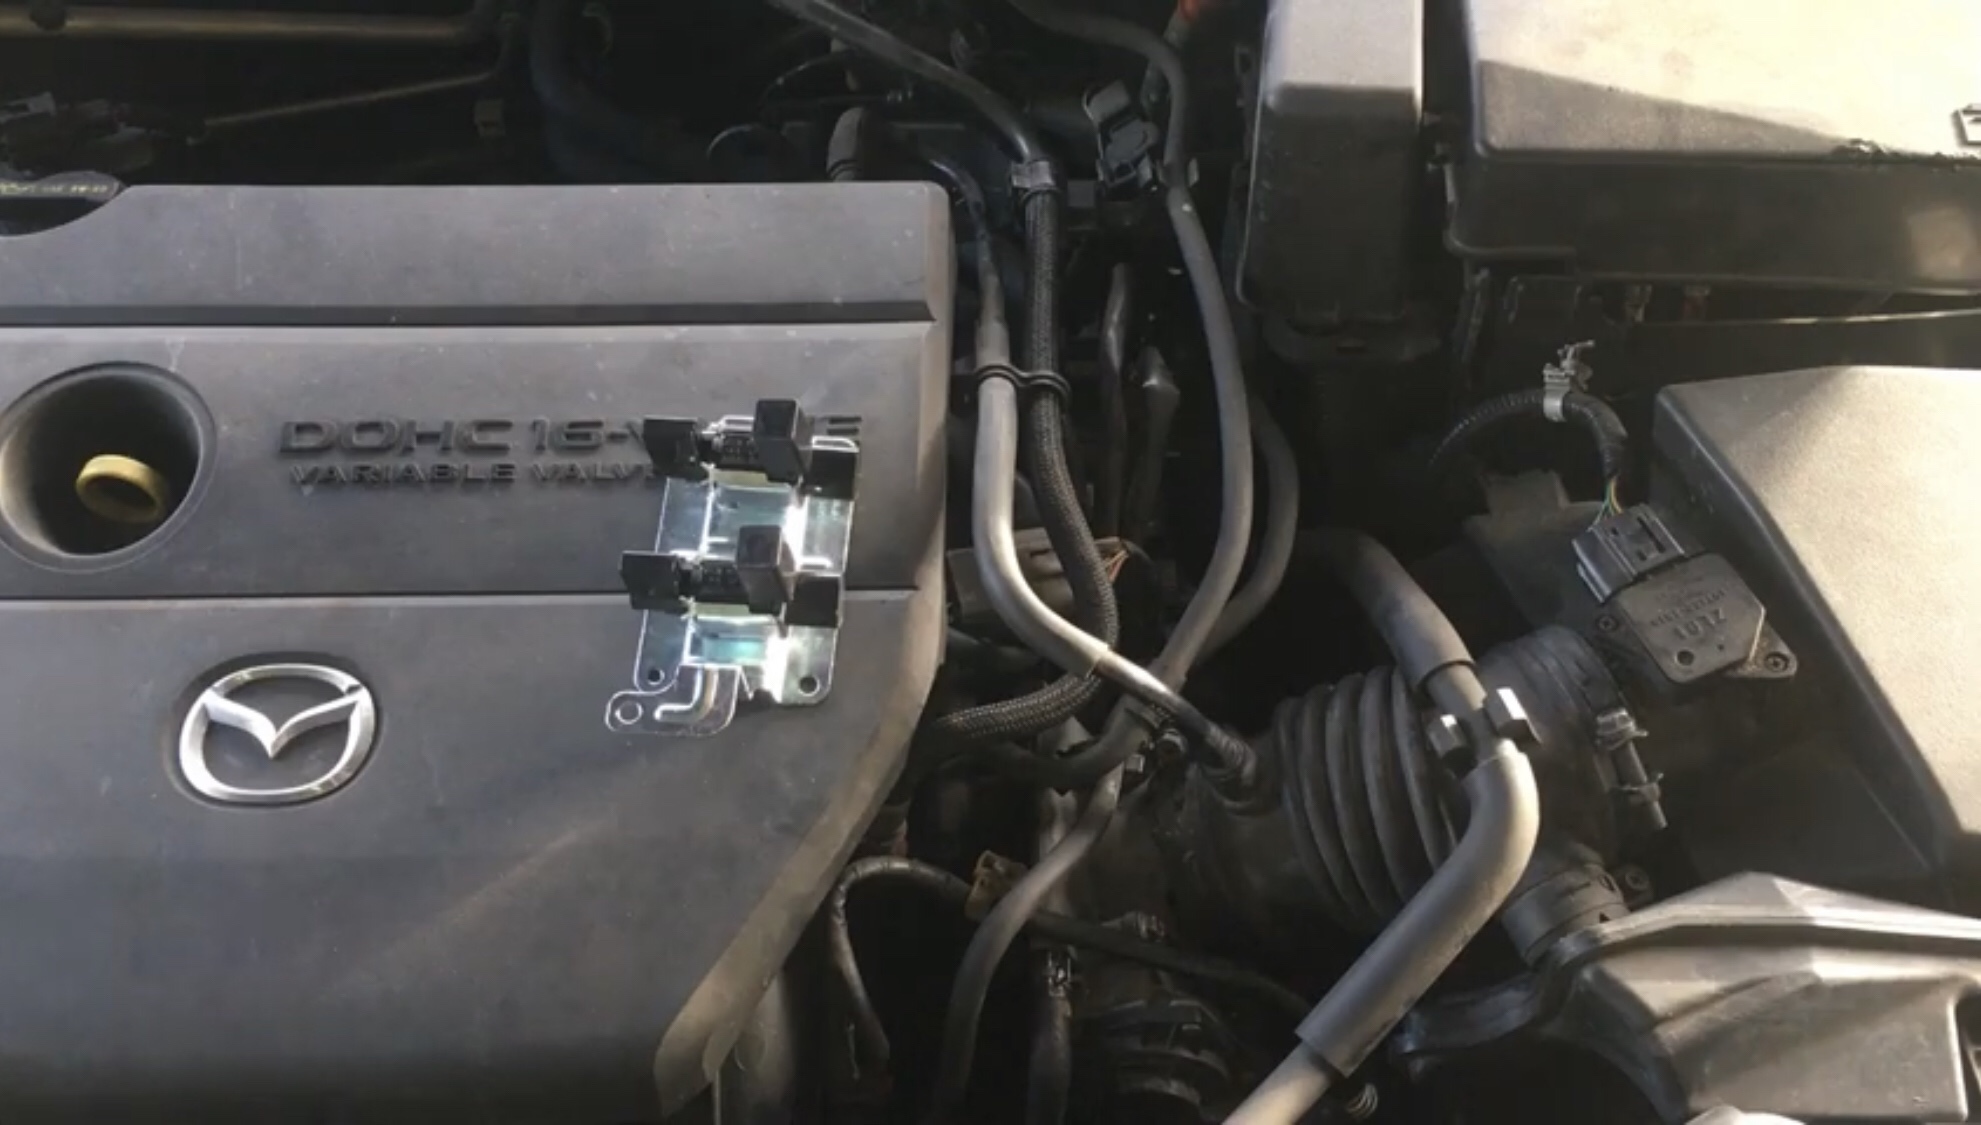
Difficulty Level: Easy
Time: About 10 mins
Cost: $20
Tools You’ll Need
Step 1: Accessing the Mazda 3 Intake Manifold Throttle Controller Runner Solenoid Valve
Take off the plastic engine cover. It is not attached by any bolts so it can come right off without much effort.
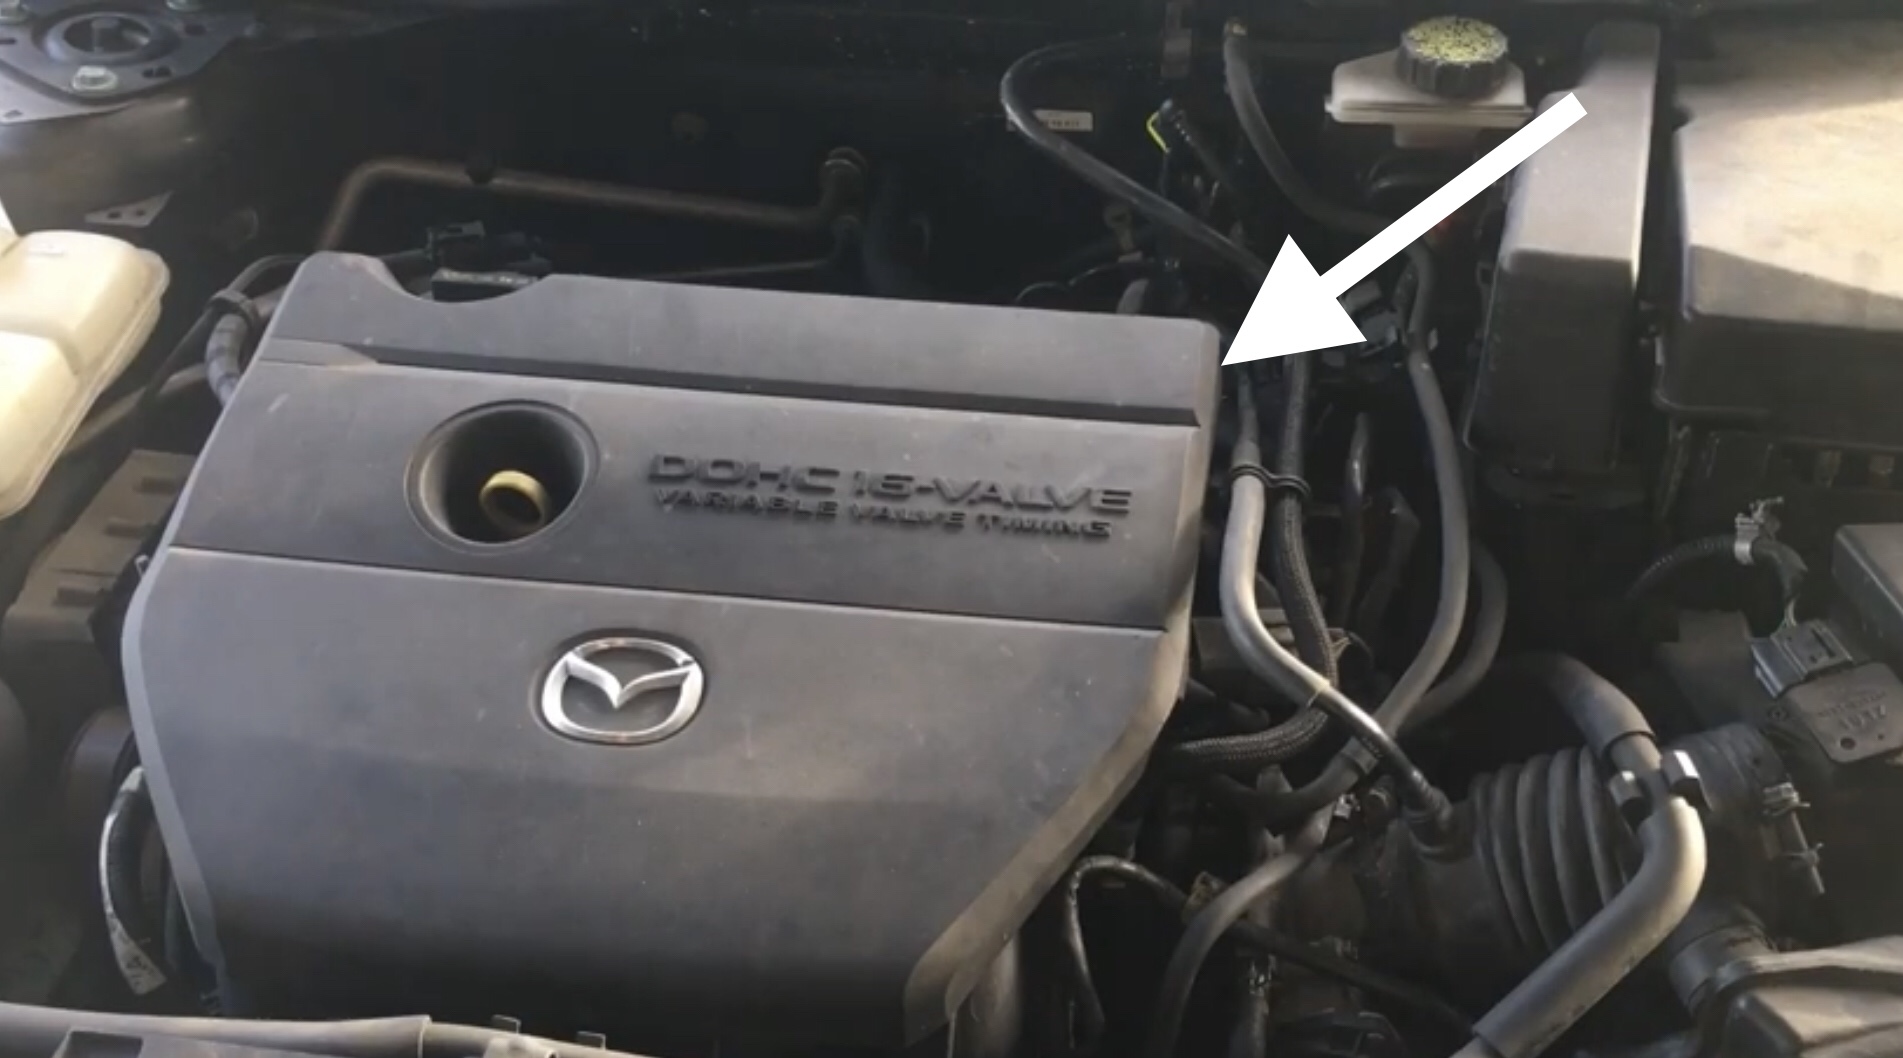
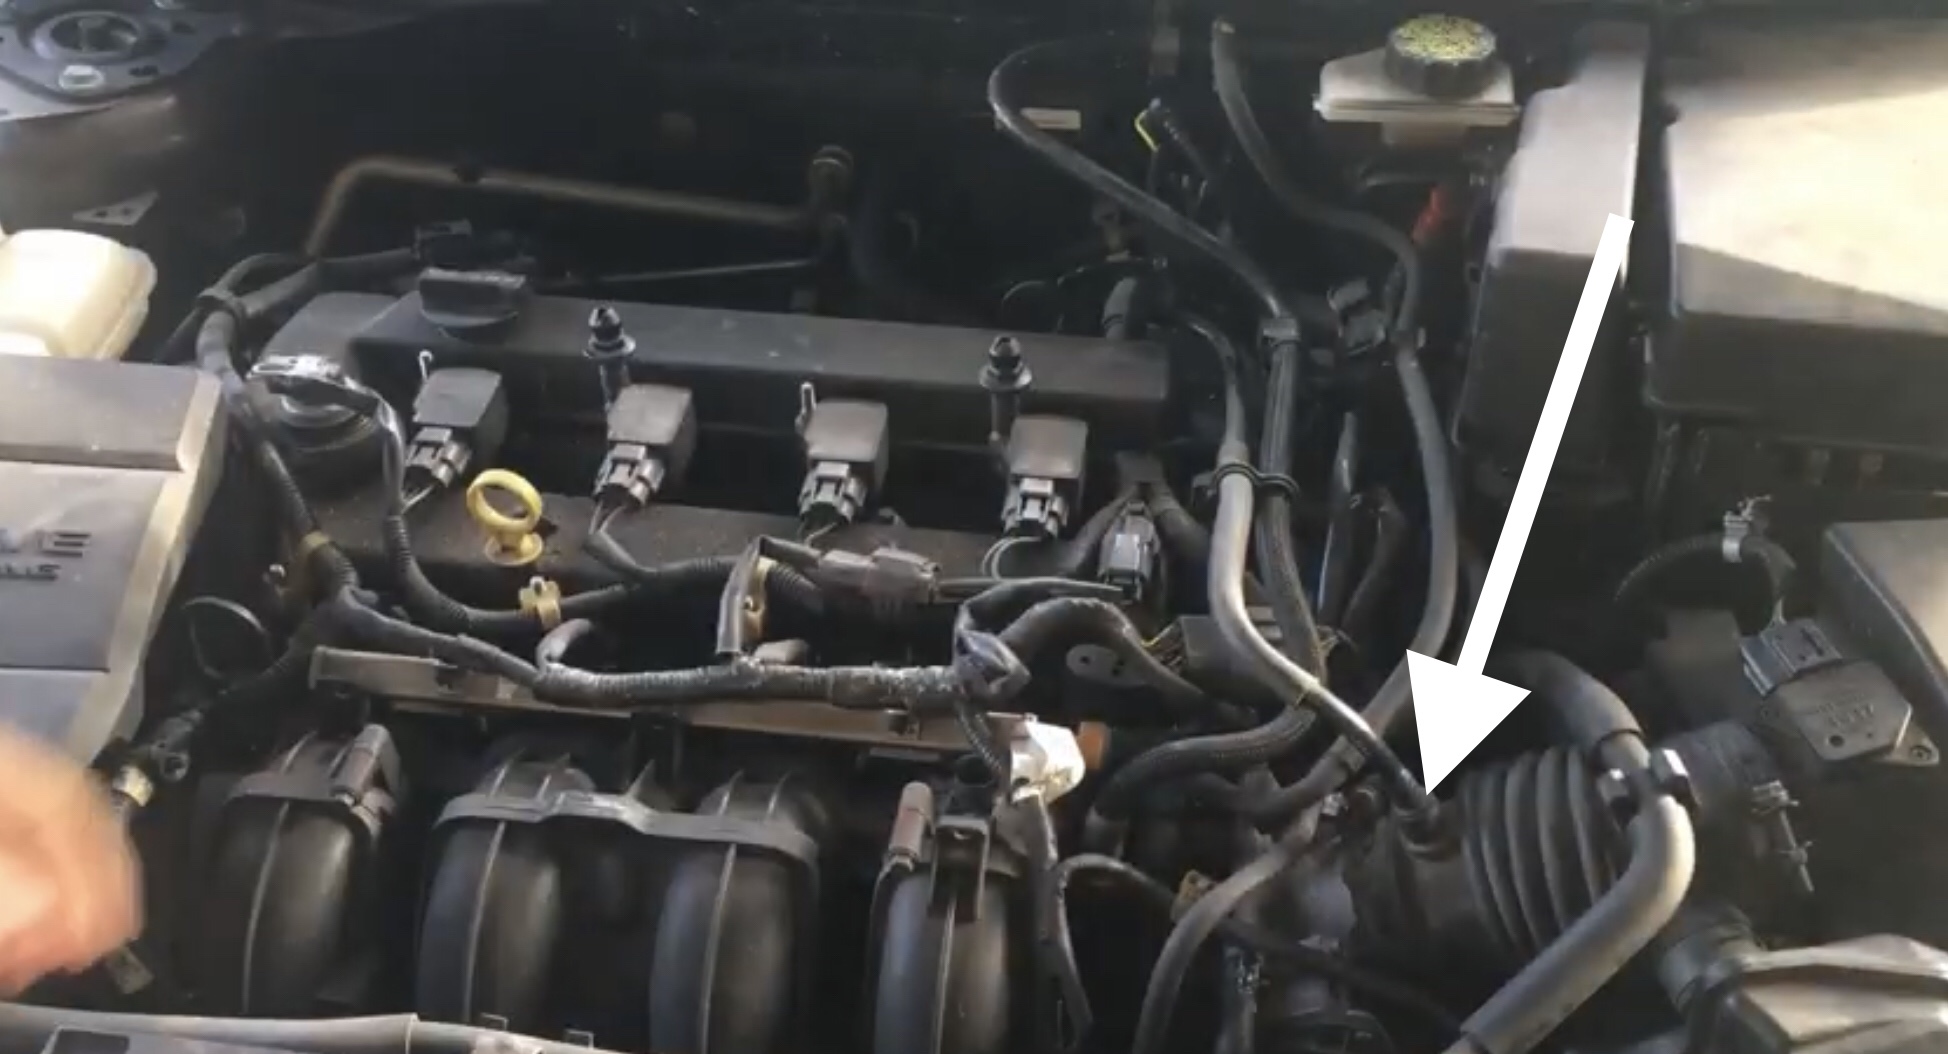
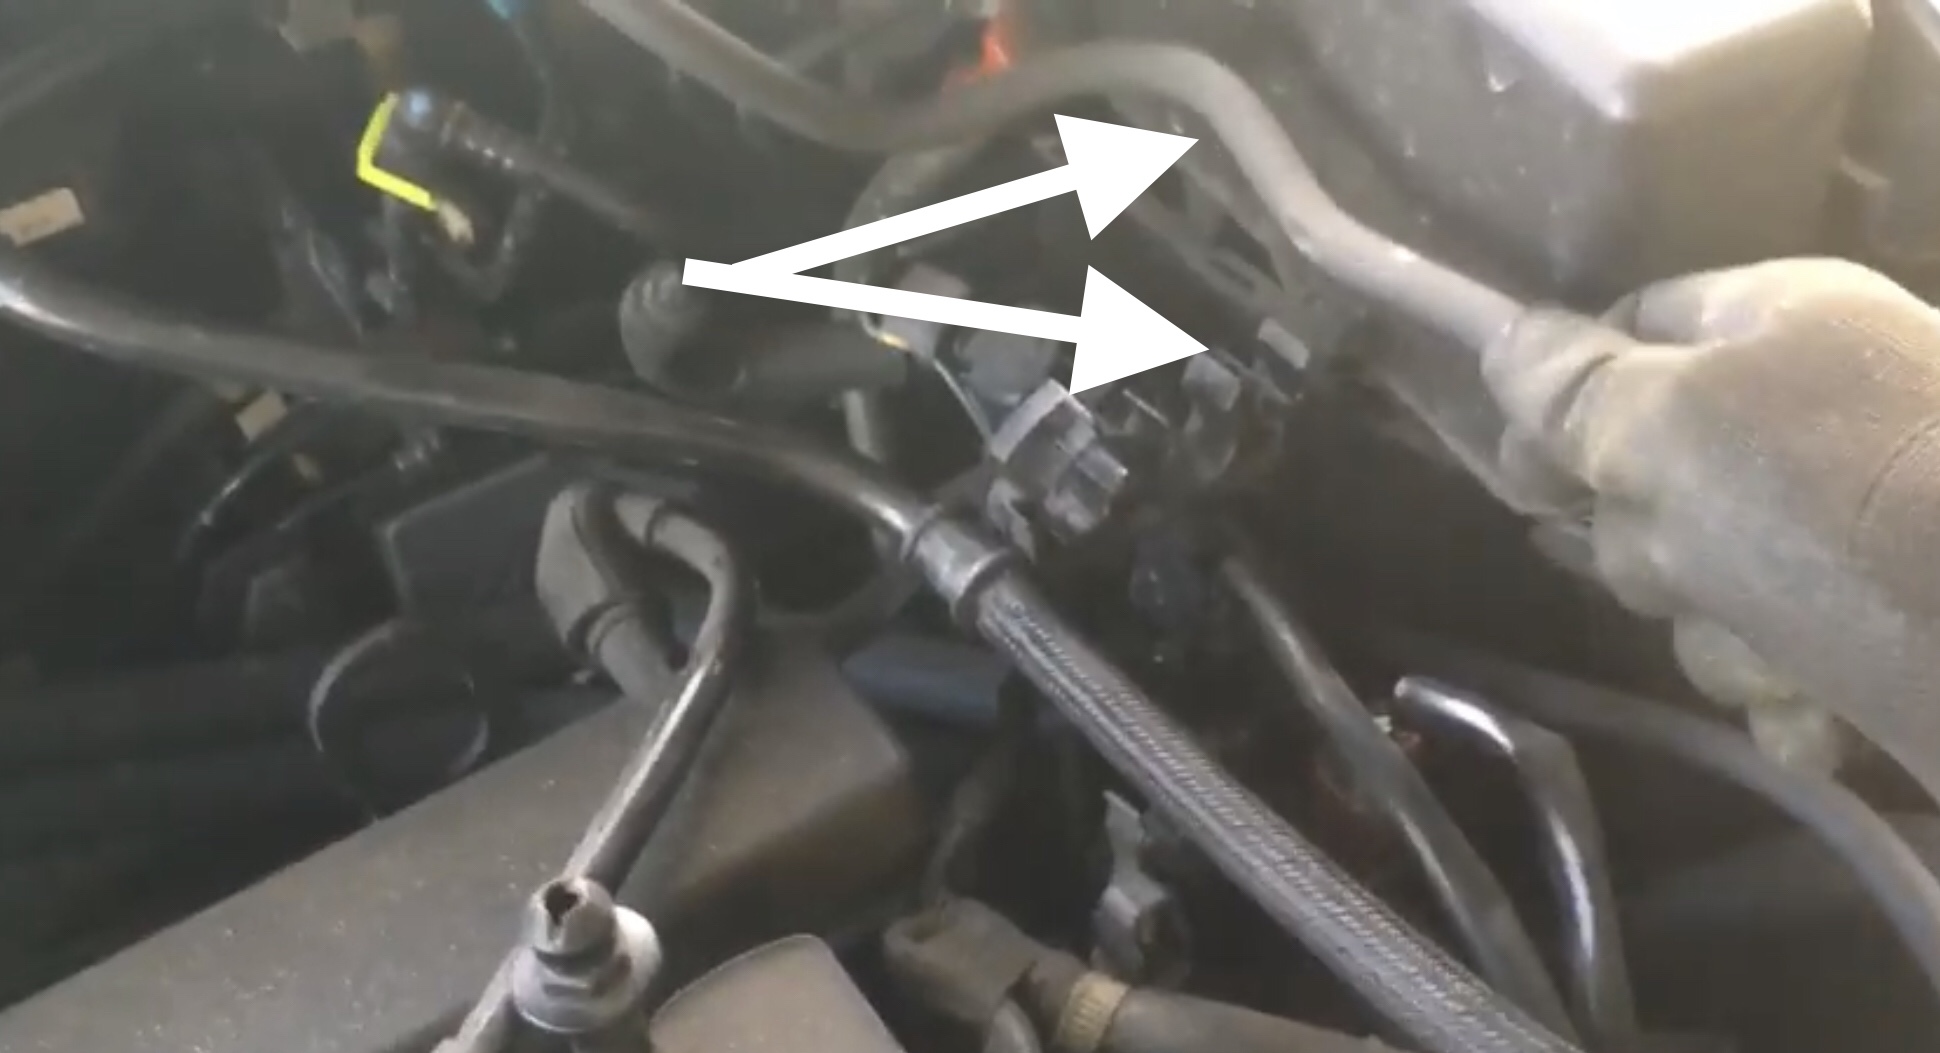
Next, there is a hose that is going into the intake air manifold. Pull-on the hose and it should pop out. You may want to give it a little twist back and forth when you pull on it.
That same hose is held in place by a plastic clip. The clip has kind of a latch thing that you must open first before being able to get the house out of the clip. See the image below.
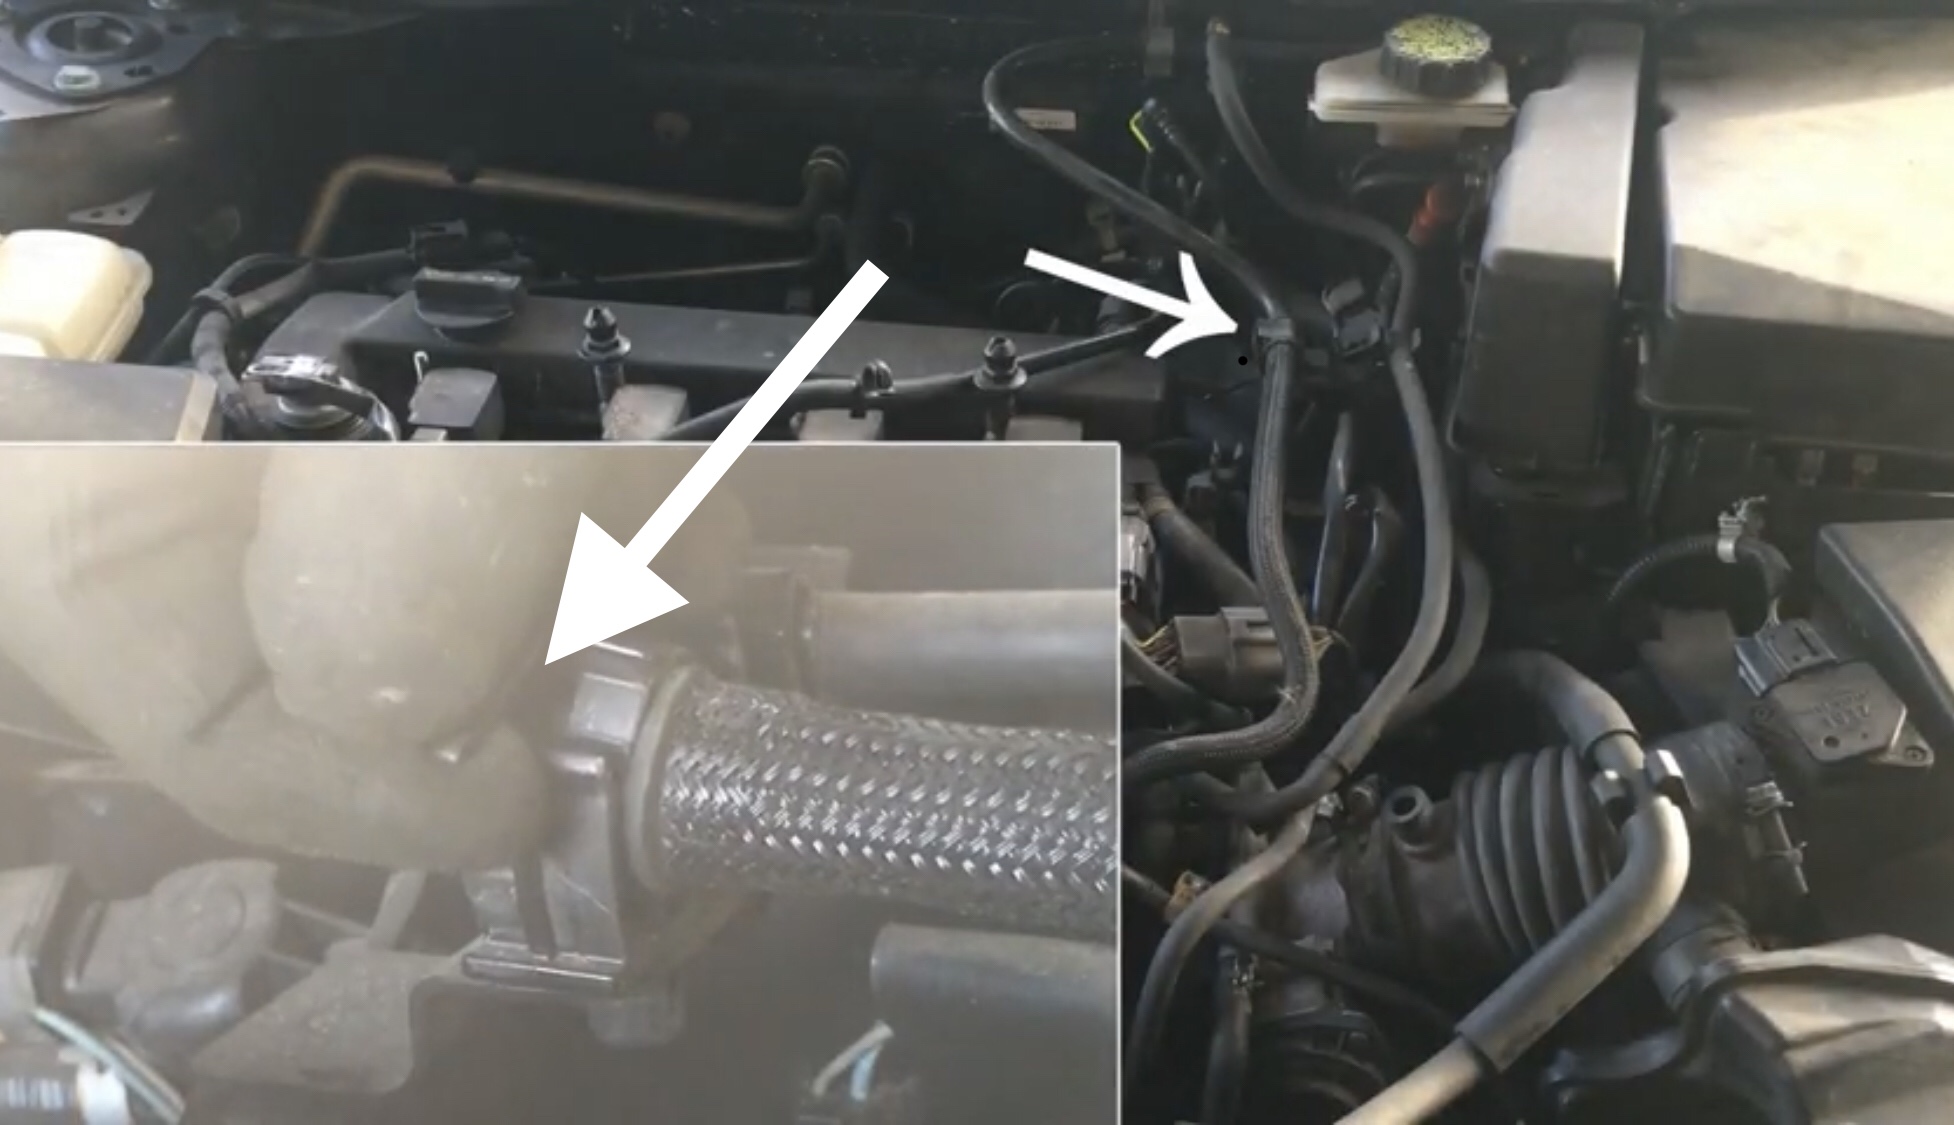
Finally, there is one more hose that you need to move out of the way. This hose is held by a simple snap-on clip. Simply pull on the hose and it will come out of the clip.
Step 2: Disconnect Power and the Connectors on Intake Manifold Throttle Controller Runner Solenoid Valve
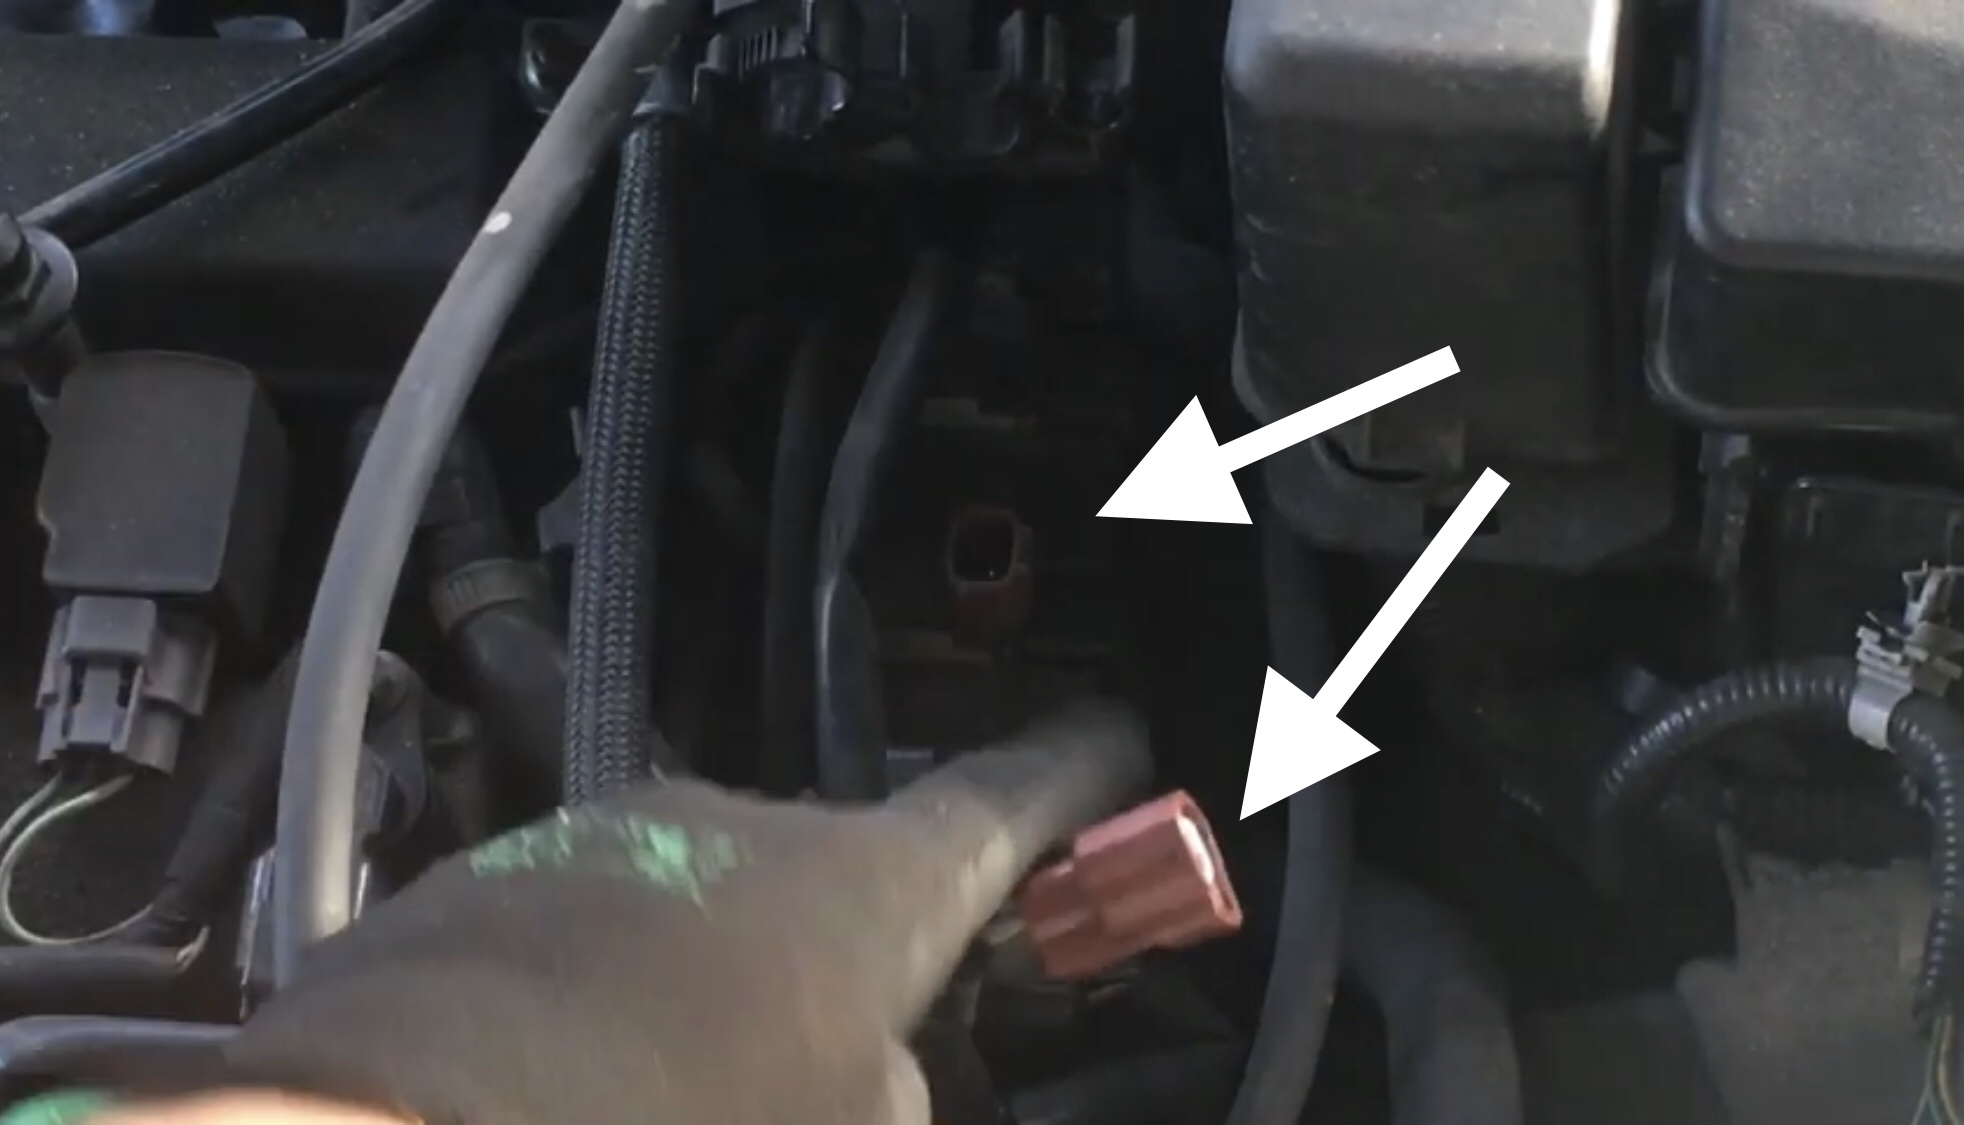
First and for most disconnect the battery. The Intake Manifold Throttle Controller Runner Solenoid Valve has two connectors, a brown one and a black one. Disconnect both of the connectors on the Intake Manifold Throttle Controller Runner Solenoid Valve.
Step 3: Remove the Intake Manifold Throttle Controller Runner Solenoid Valve
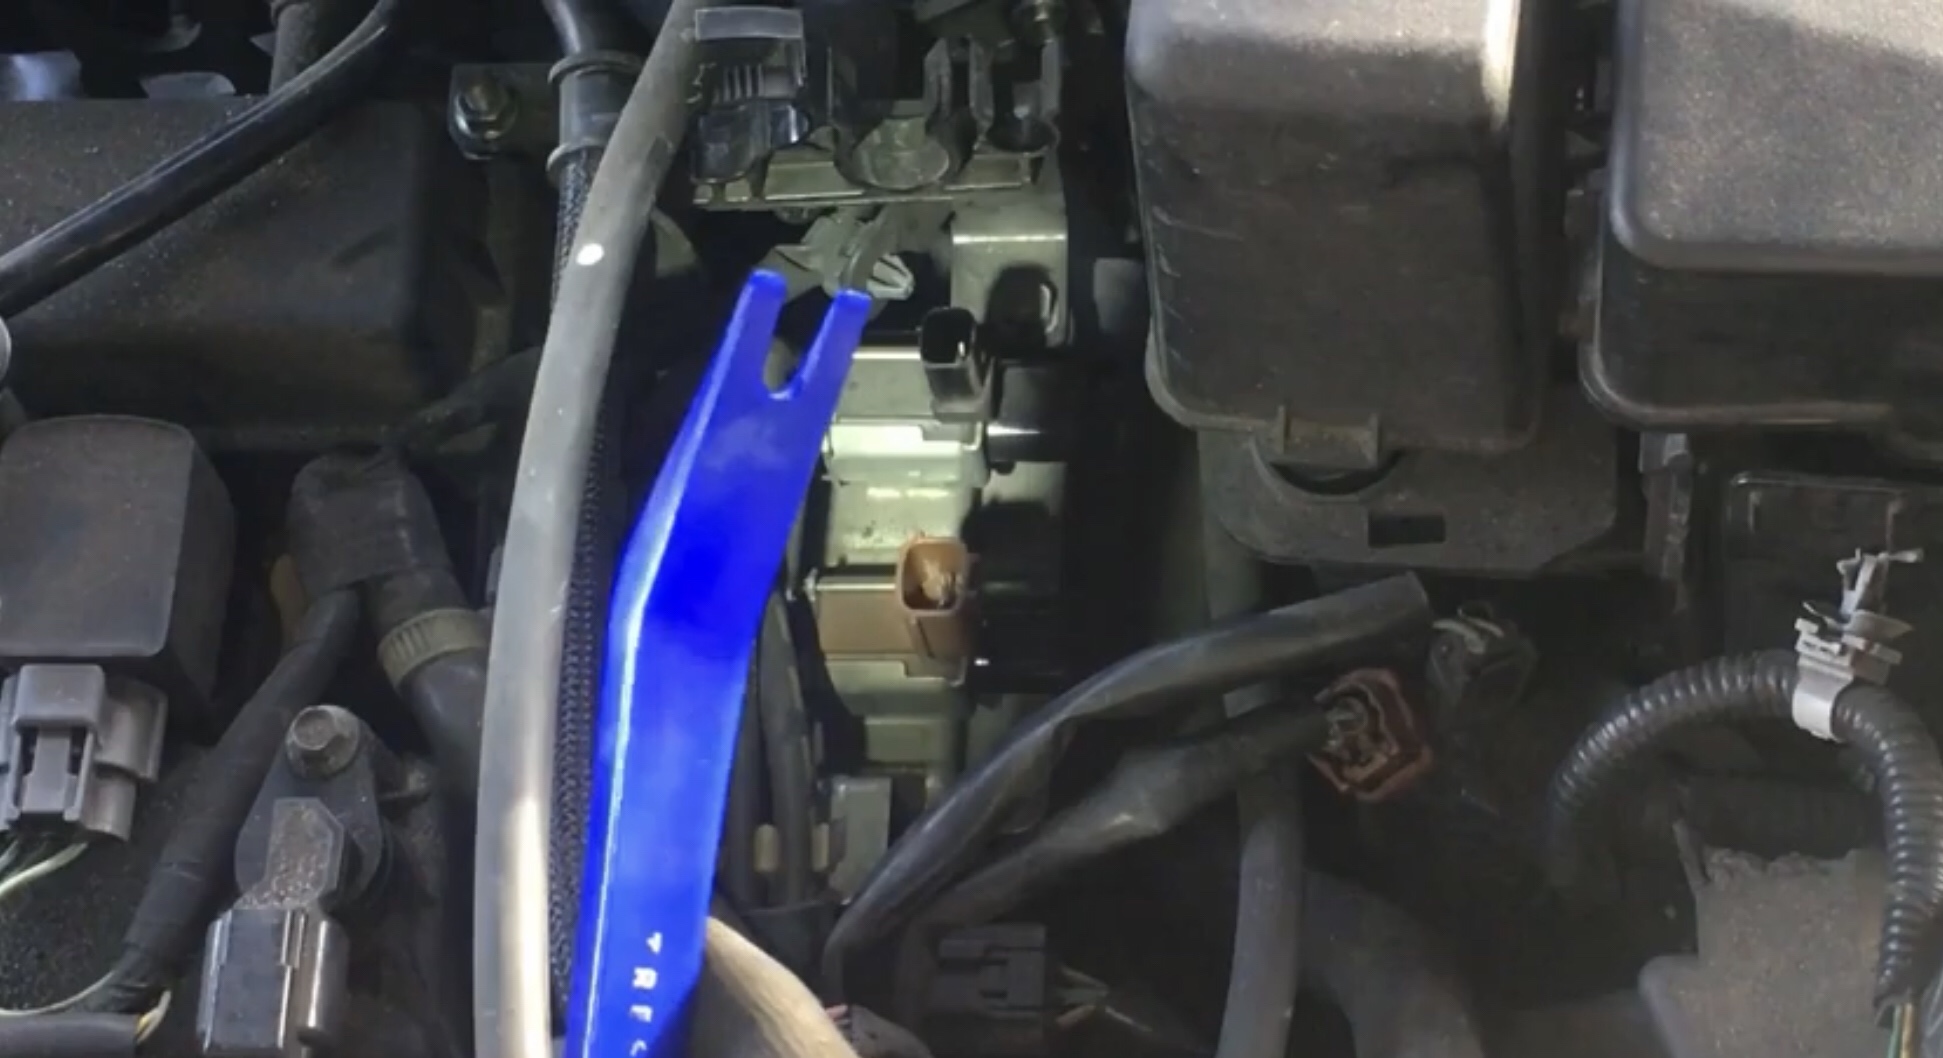
There are a couple of clips that are attached to the throttle controller runner solenoid that you must remove first. It’s helpful to use a trim removal tool as shown below.
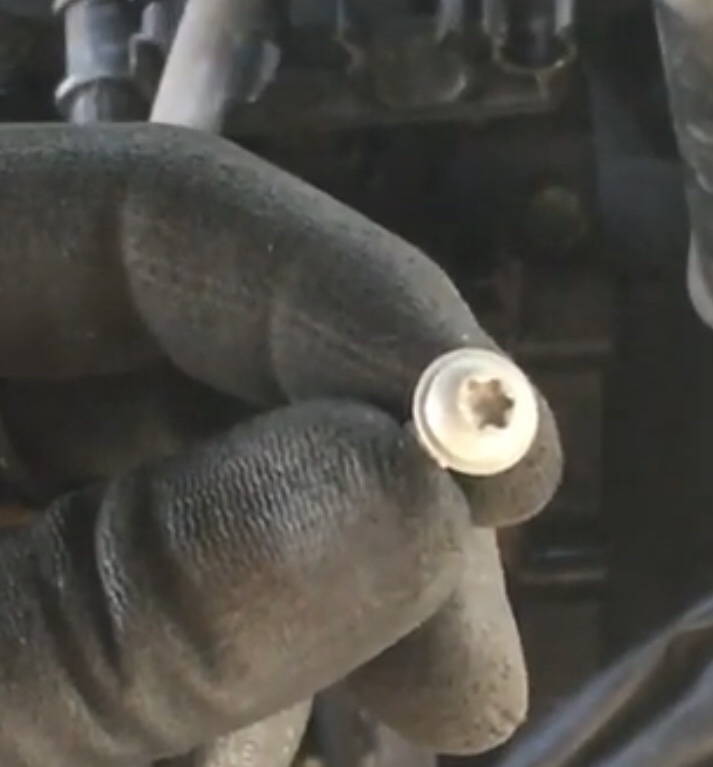
Next, the controller is held by four torx screws. Use a T20 torx to remove the four screws on the solenoid runner controller.
In order to create more room for removal of the Manifold Throttle Controller Runner Solenoid Valve, remove this plastic cover that is right next to it. This will help with the removal process.
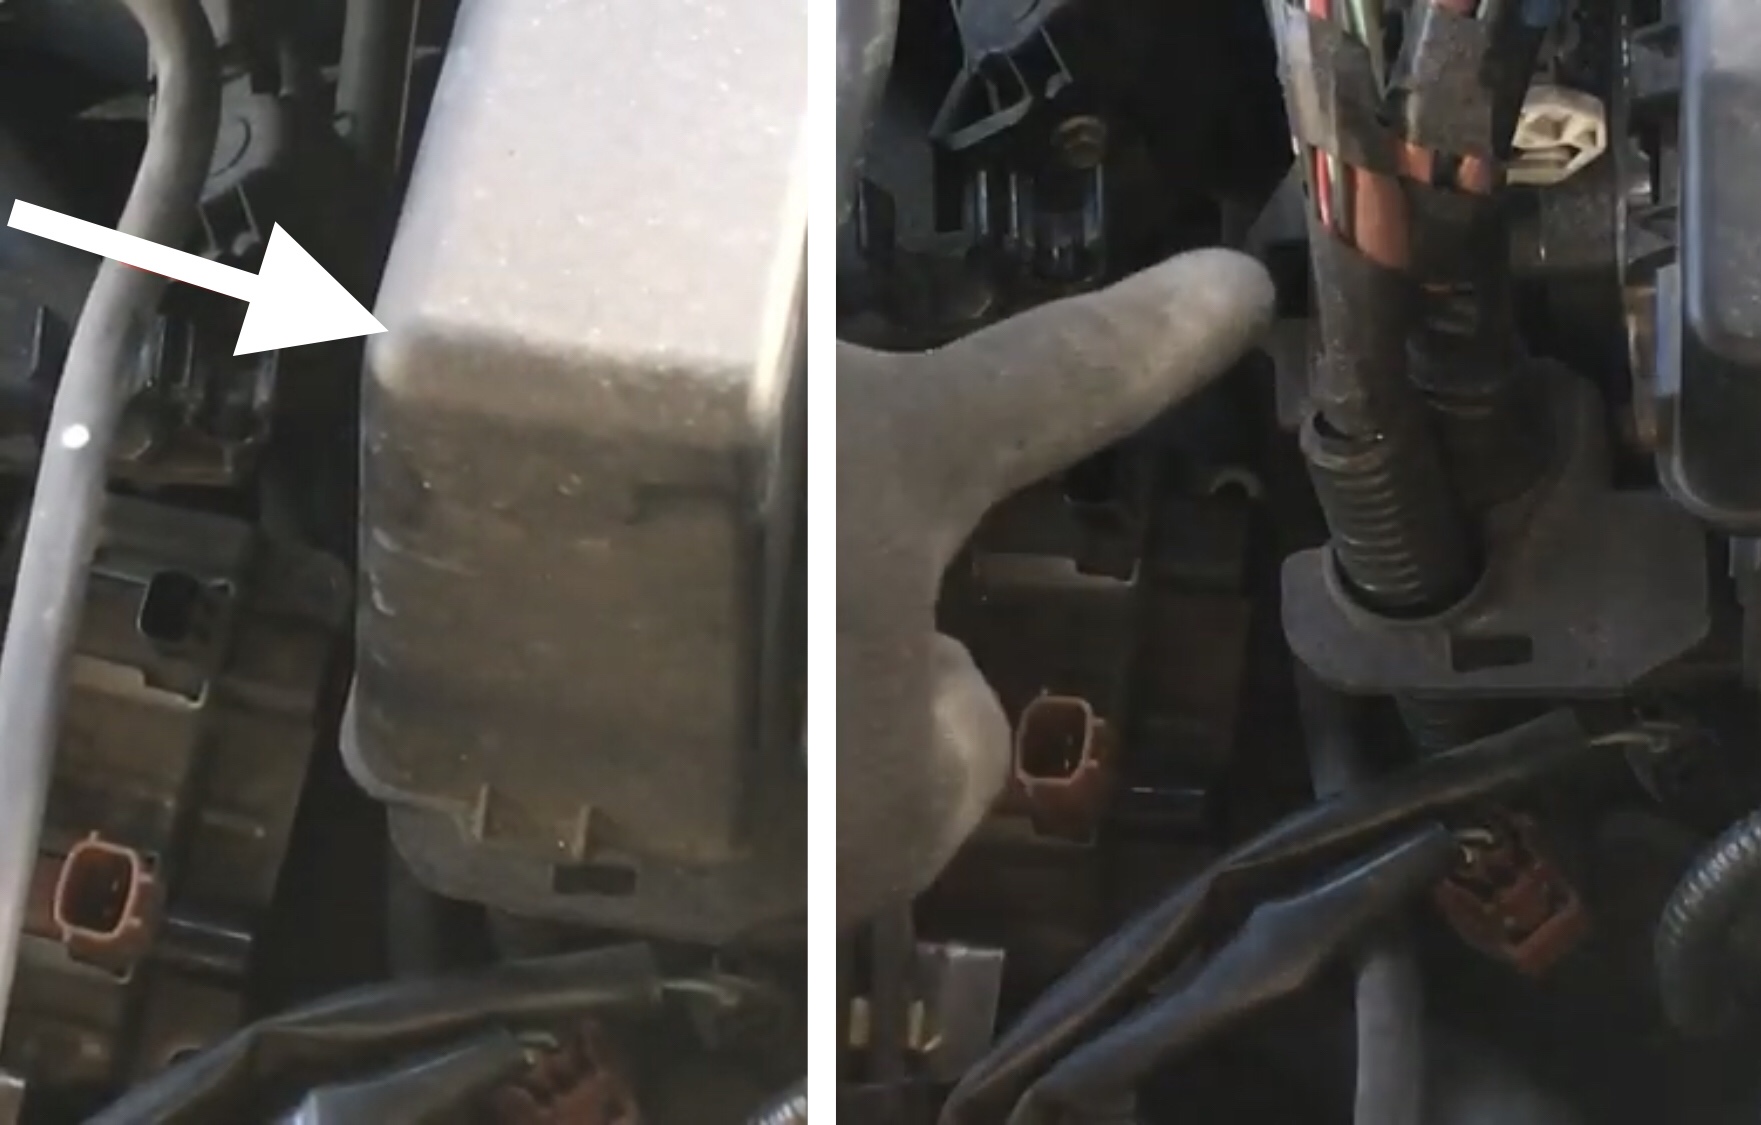
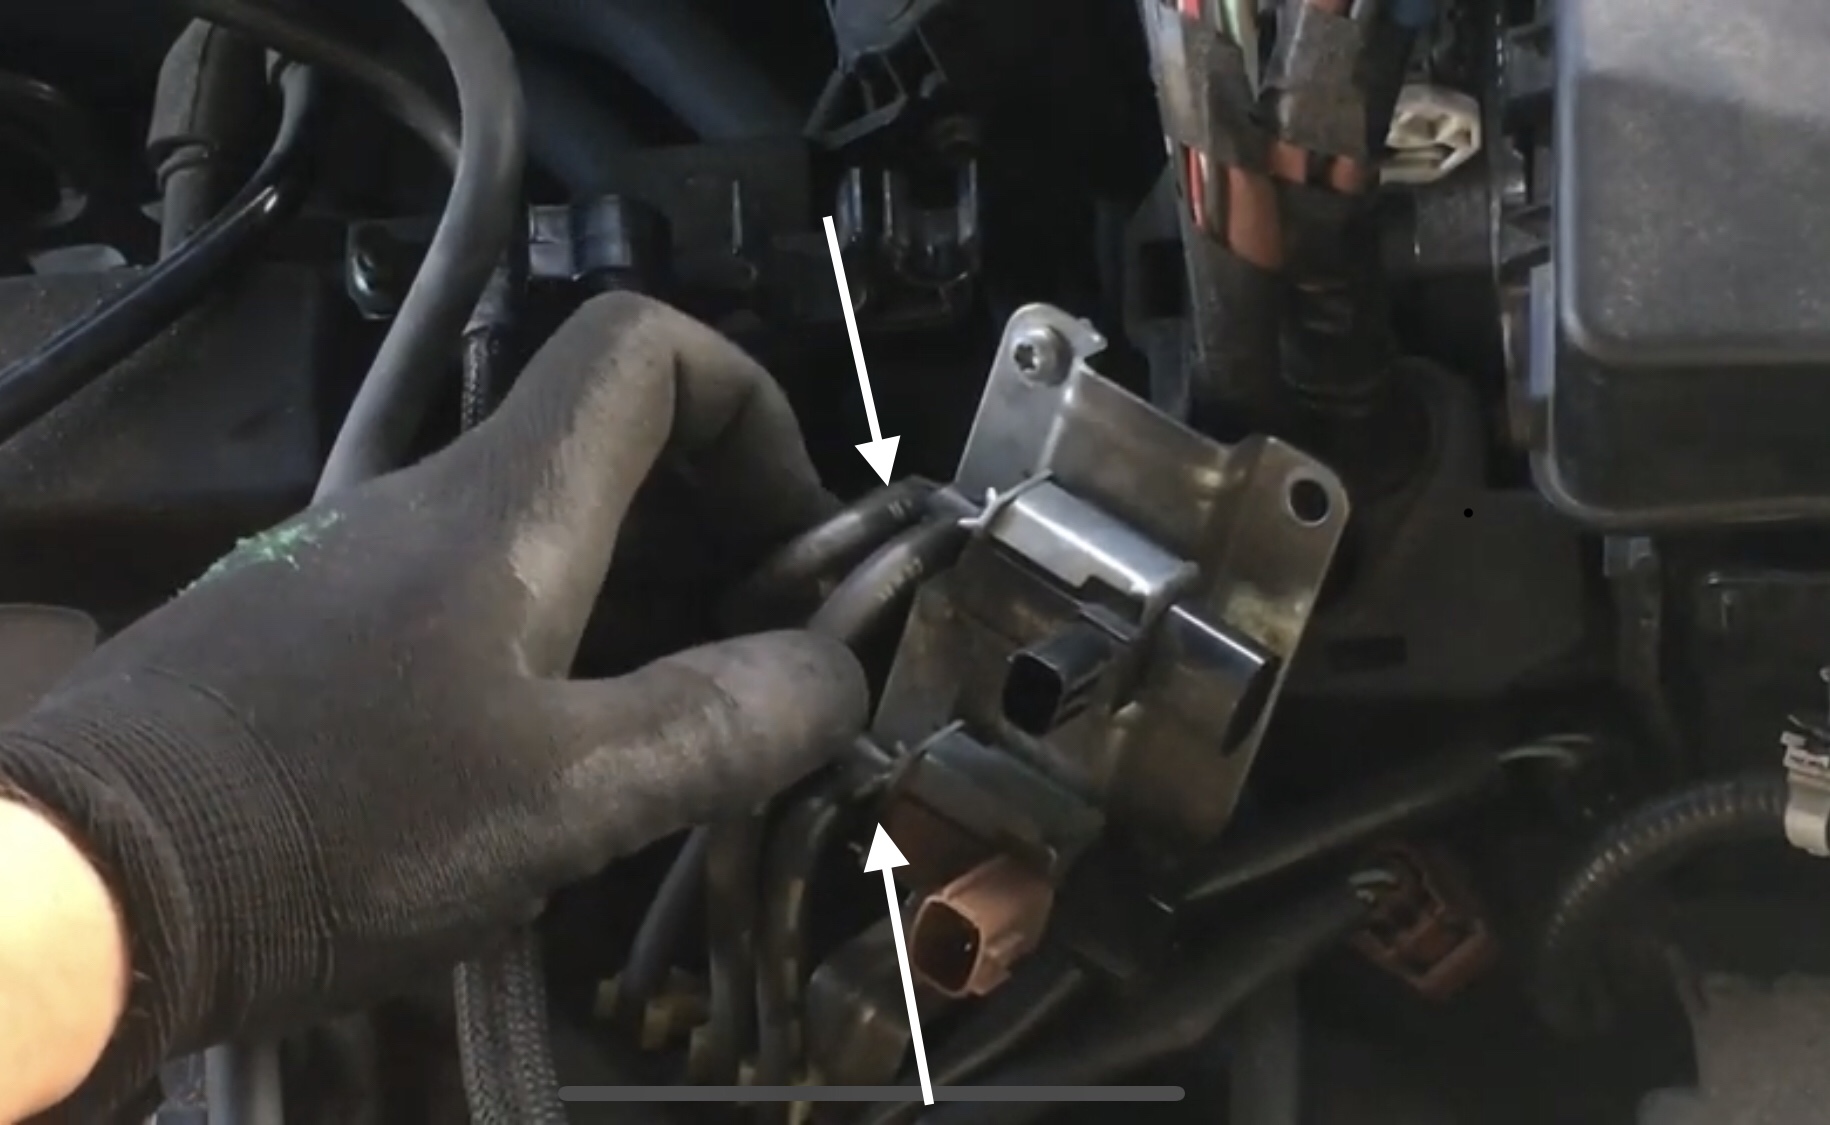
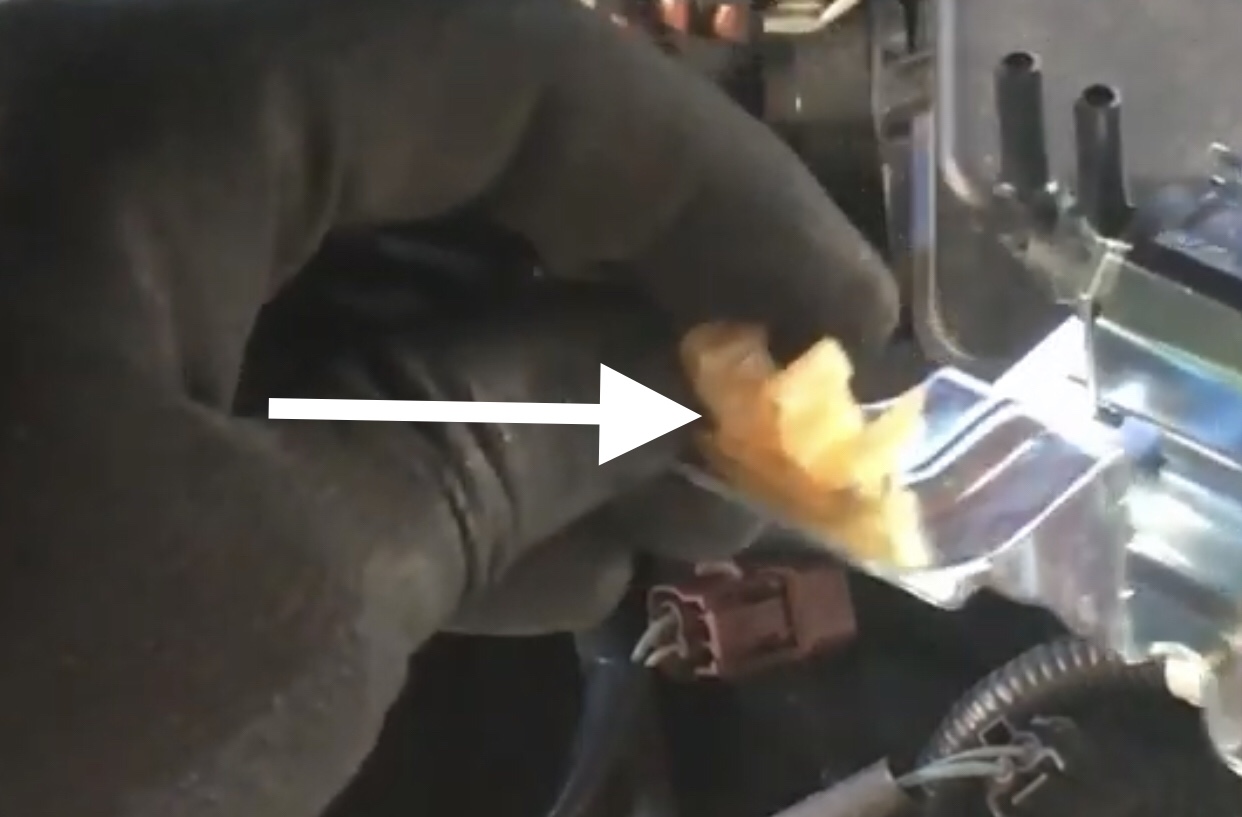
Lastly, move the Manifold Throttle Controller Runner Solenoid Valve out and unplug all the hoses. It’s best to have the new one nearby and plug the hoses in the new one. This way you know exactly where each hose goes. There is also a plastic clip that holds the hoses. Make sure you remove it and transfer it to the new Manifold Throttle Controller Runner Solenoid Valve.
Step 4: Install New Manifold Throttle Controller Runner Solenoid Valve
Follow the steps above in a reverse order to install the new Manifold Throttle Controller Runner Solenoid Valve.
Make sure to connect all the hoses to the correct ports and plug all the connectors to the correct solenoids. Lastly don’t forget to reconnect your battery and you are good to go.
Video Replacement
Common Error Codes
Check Engines codes such as P2009 and P2004 can mean that one or both of your solenoid valves are bad.
Other Mazda’s
This may be helpful in other Mazda models such as Mazda 6 or Mazda CX-5, CX-9. Years 2010, 2011, 2012, 2014, 2015.
Other Mazda 3 Videos
Front ABS Sensor Replacement
Throttle Body Removal/Clean
Follow My Journey
Read another car-related article: How to replace headlight bulb on Audi Q7?
