How to replace an AC Service Port Schrader Valve on a car A/C line
Do you think your car’s AC is not providing the desired cooling effect? There could be several reasons but one of the most common is leakage in the AC Schrader valve. It’s super easy to solve but most car owners are not aware of it. They think it’s only fixable by the mechanic or car’s electrician. The frustrating part is finding out the time and sometimes the energy to visit a mechanic.
If you are facing this problem then rest assured you are in the right place. I want to help my readers and subscribers save their time and hard-earned money by showing them how to solve their menial car problems on their own.
Difficulty level: Easy
Time: 10 mins
Cost: $10
Replacement Tool Kit You will Need

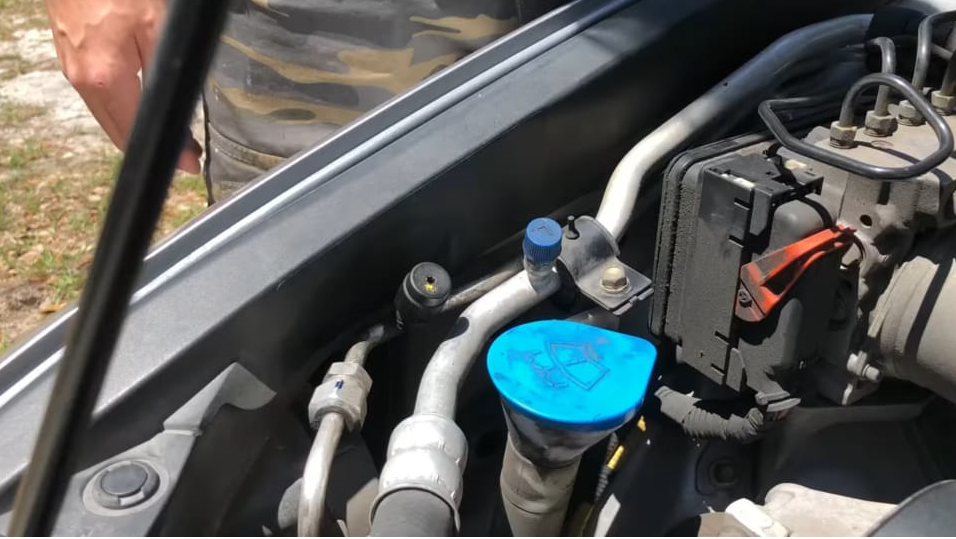
Step 1: Identify your A/C line and the high and low schrader valves on it
This may seem like a no-brainer to most but I want the one’s not familiar to understand the process from the ground up. Usually, the low-pressure valve has a big “L” written on its cap and while the high-pressure valve has “H” written on its cap.
In case these signs are not present on the valve caps, there are a few other ways to identify them apart. You will find the low-pressure valve on the A/C line connecting the AC compressor and evaporator. Also, the low-pressure valve is located on the thicker pipe than the high-pressure pipe.
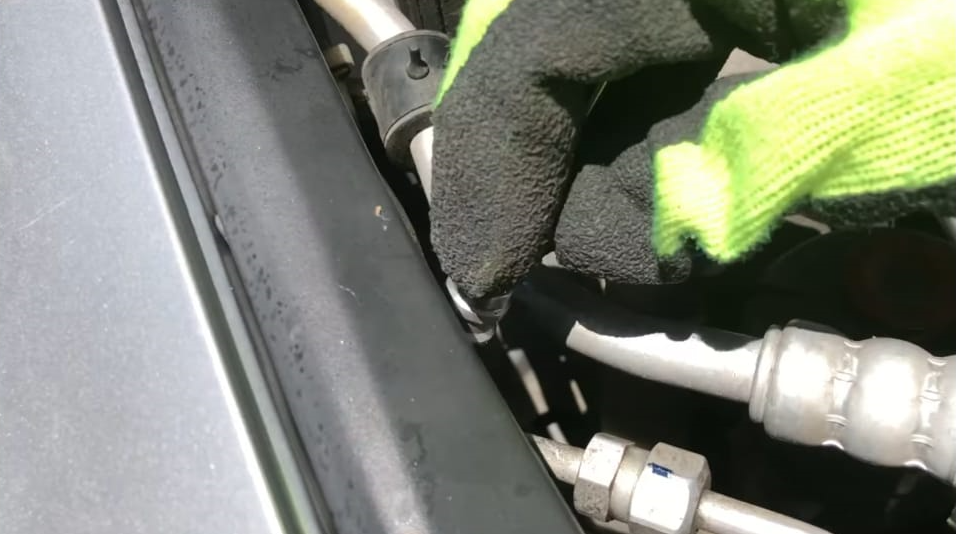
Step 2: Check if one of the schrader valves is leaking freon
You can do this either by noticing a “hissing sound” coming out of the valve or applying a drop of water and noticing whether bubbles are being formed in that drop. In my case, I used a drop of my spit because it’s easier than putting a drop of water.
If bubbles are being formed in the drop of water or spit, it means there is a leakage.

Step 3: Make sure there is no refrigerant remaining in your AC line
In most cases, by the time people identify the leakage in their AC line, it’s already too late. However, let’s say you identified beforehand, so now you’ll have to discharge them properly. Knowing how to discharge the refrigerant is a whole other topic but make sure you follow the EPA guidelines.
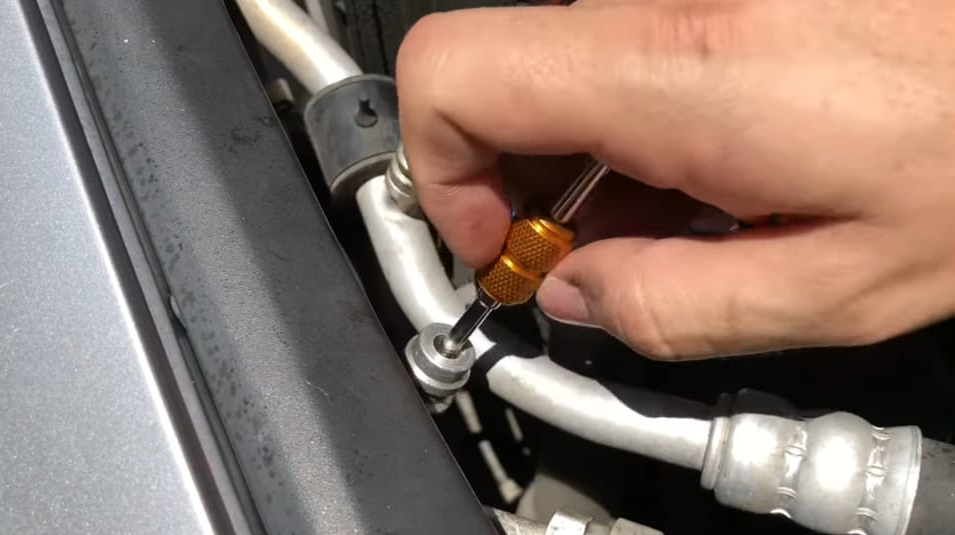
Step 4: Unscrew the schrader valve core with a Valve Core Remover
You will need a valve core remover, and a valve core to replace. Here’s a link to the ones I got. You can also get this one and this one. All these will do a good job while being quite inexpensive.
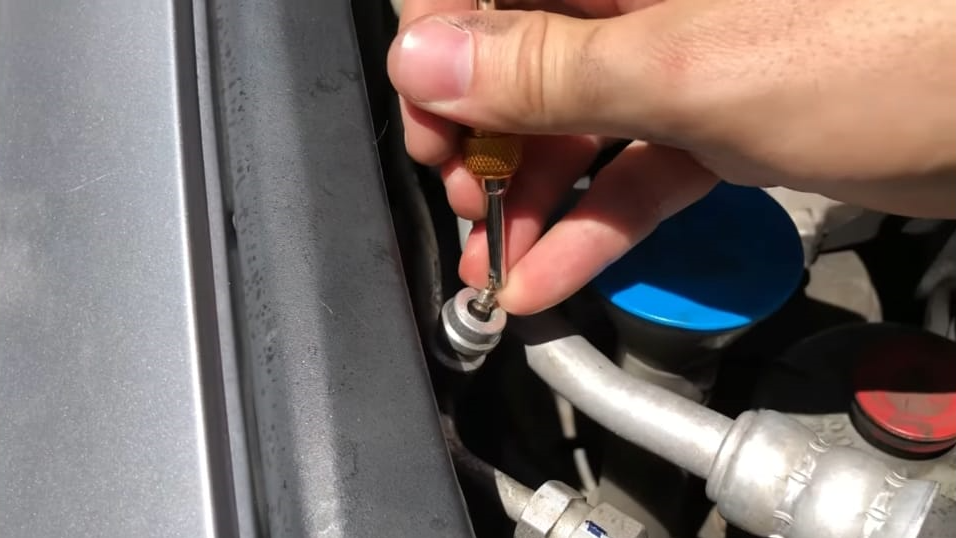
Once you have all the tools, use the core remover to unplug the Schrader valve core inside the valve. Once it’s out, you’ll notice it’s worn out and dirty.
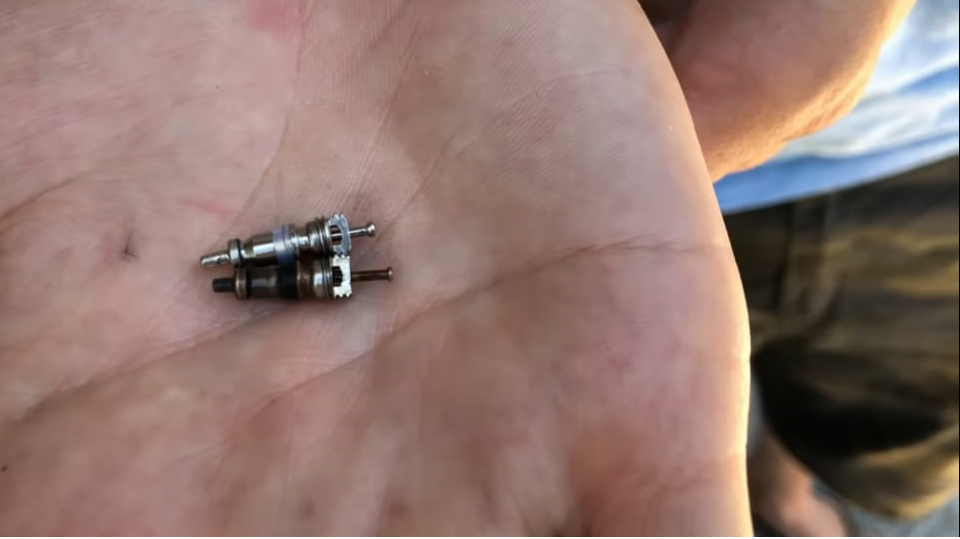
Step 5: Screw the new schrader valve core in the place of the old one
Using the same remover kit, screw a new Schrader valve exactly into the place of the one you’ve just removed. Make sure the new Schrader valve is of the same size and pattern as the old one. Also, make sure it’s tightened but not over tightened.
Step 6: Refill the refrigerant and enjoy your AC
Now that the valve cores are back in their place, refill the refrigerant and you should be good to go.
Conclusion
That’s it. It was that simple. Had you left your car at the mechanic, they would have charged you $100 easily. If there’s anything you’re having trouble sorting out in this process, let me know and I would eagerly respond.
You can also watch How to replace an AC Service Port Schrader Valve here:
Read another related article: how to replace serpentine belt