How to Remove a Bathroom Vanity?
Are you tired of your old bathroom and want to remodel it? What bathroom accessories are need replacing to make it new? Firstly, a bathroom vanity, but you might not know how to pull it out. Don’t worry, you’re at the right place. In a few easy steps, I am going to tell you how to take out the bathroom vanity.
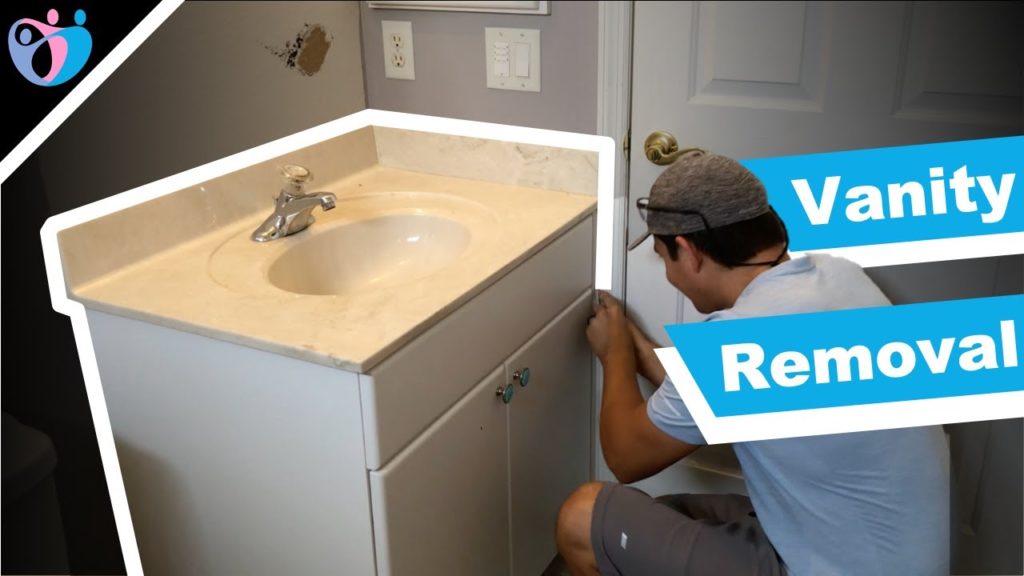
Before you start, make sure you have these tools right by you to make the process flow smoothly and quickly.
Tools for the Bathroom Vanity Removal
After you have collected all the tools, let’s start with a step-by-step procedure to detach the bathroom vanity. Make sure you use the tools carefully, in case you are a beginner.
Step 1: Closing the Valves under the bathroom vanity
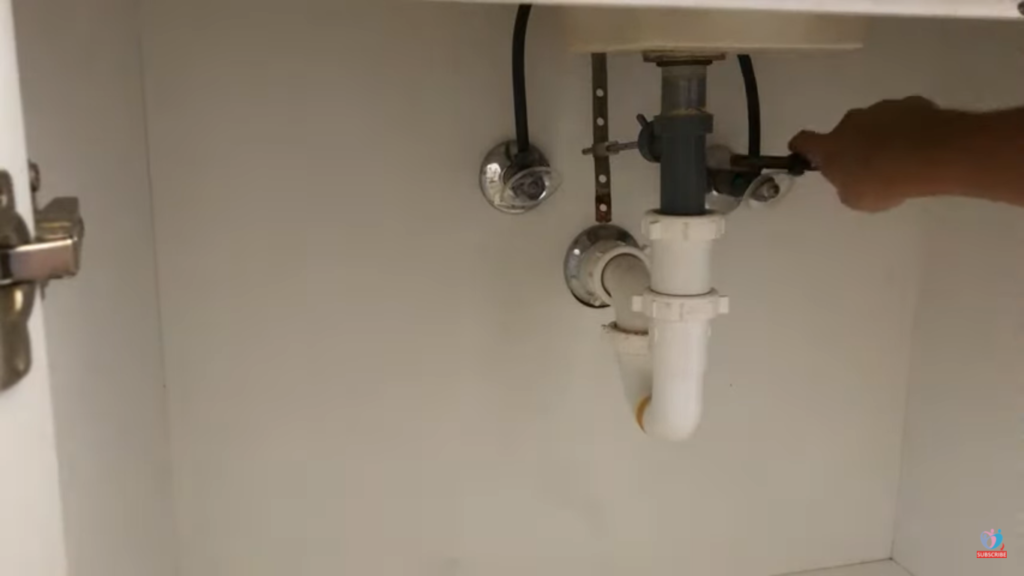
To avoid any mess, start the work by closing all the valves under the sink of the bathroom vanity.
Step 2: Disconnect the Hoses from the Valves to the Faucets
Next, disconnect the hoses that connect the valves to the sink. This can be done very easily using the channel locks or a crescent wrench.
Step 3: Remove the drain piping under the vanity sink
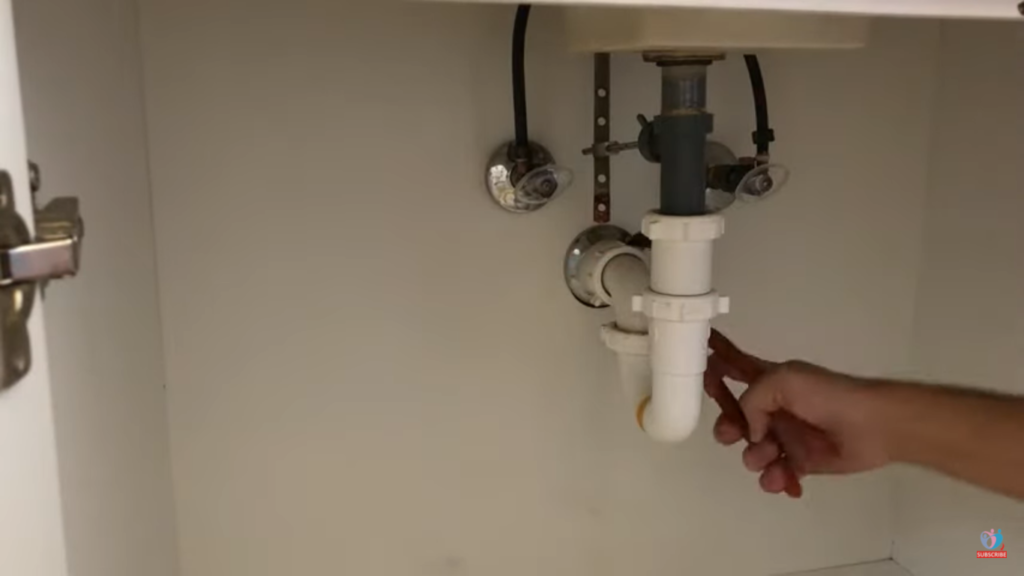
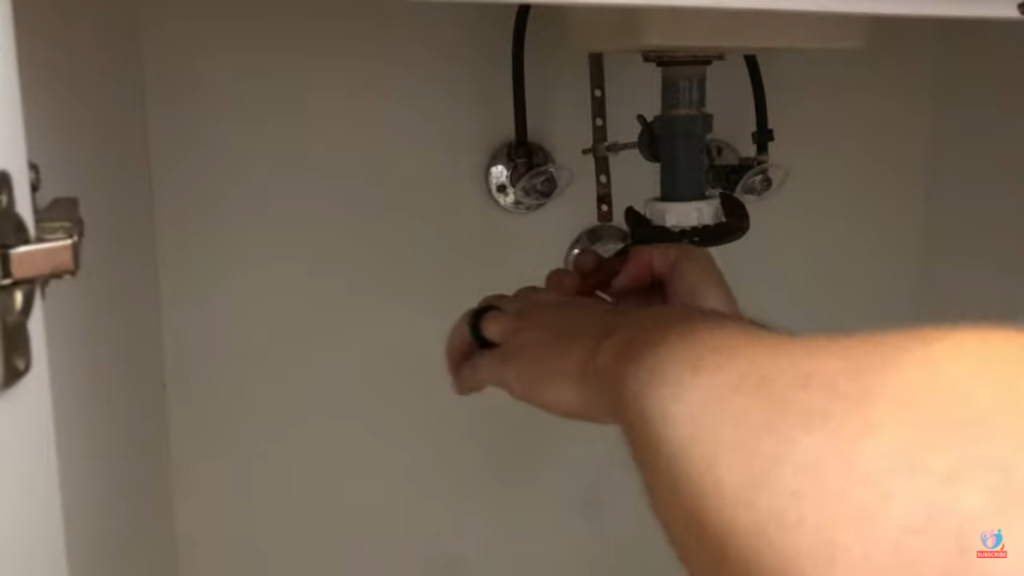
After you have disconnected the faucet hoses. You can use channel locks again to remove the drain piping, joining from the wall to the sink. Move the small rings on the drain piping and then loosen the bigger ring with a channel lock.
Step 4: Removal of Flanges
The next thing to do is to remove the flanges attached to the wall with the help of a flat-head screwdriver.
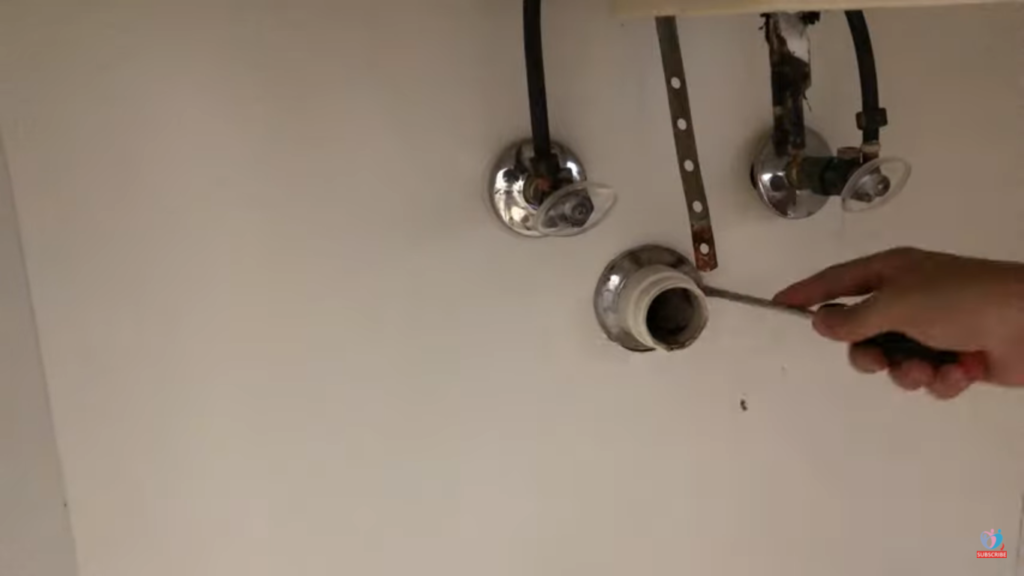
It can be done in no time if you have metal cutters at home, but it wouldn’t be an issue if you don’t want to buy it.
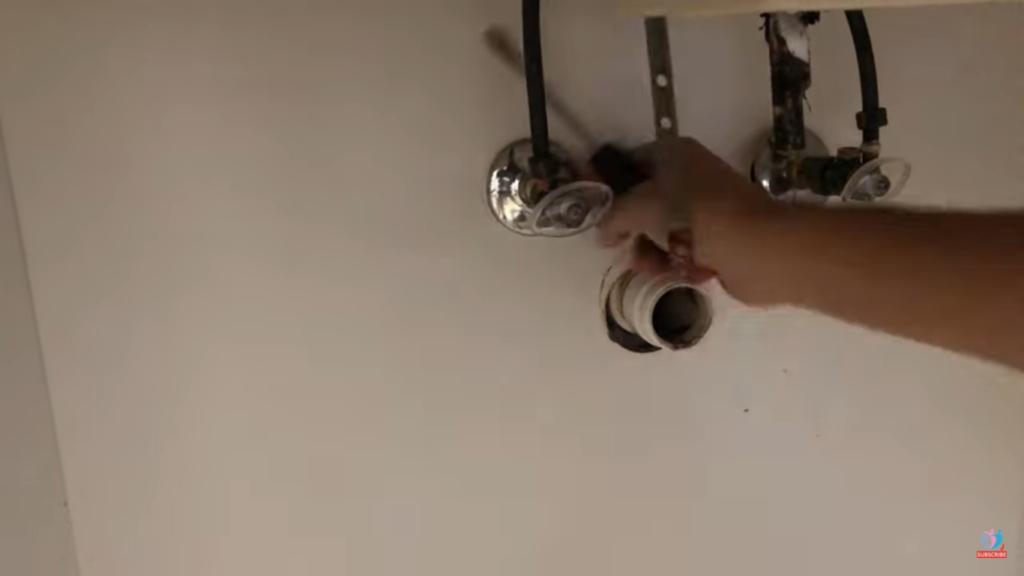
Use a flathead screwdriver to move it forward and move the needle-shaped pliers back and forth. If, however, they are still not coming off, break them with a wrench.
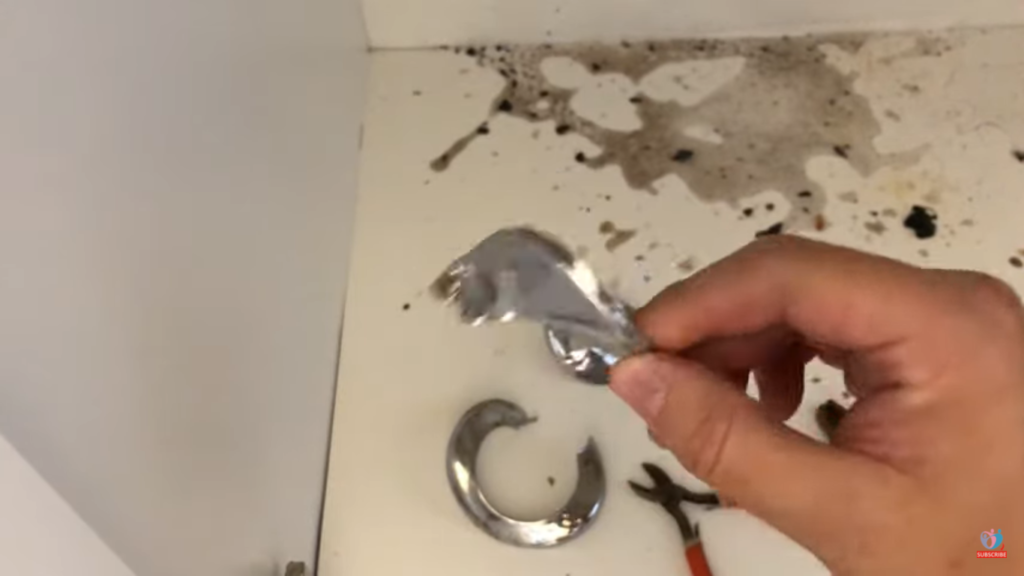
Step 5: Take away Knob from the Valves
Using a drill, remove the knobs on the top of the valves.
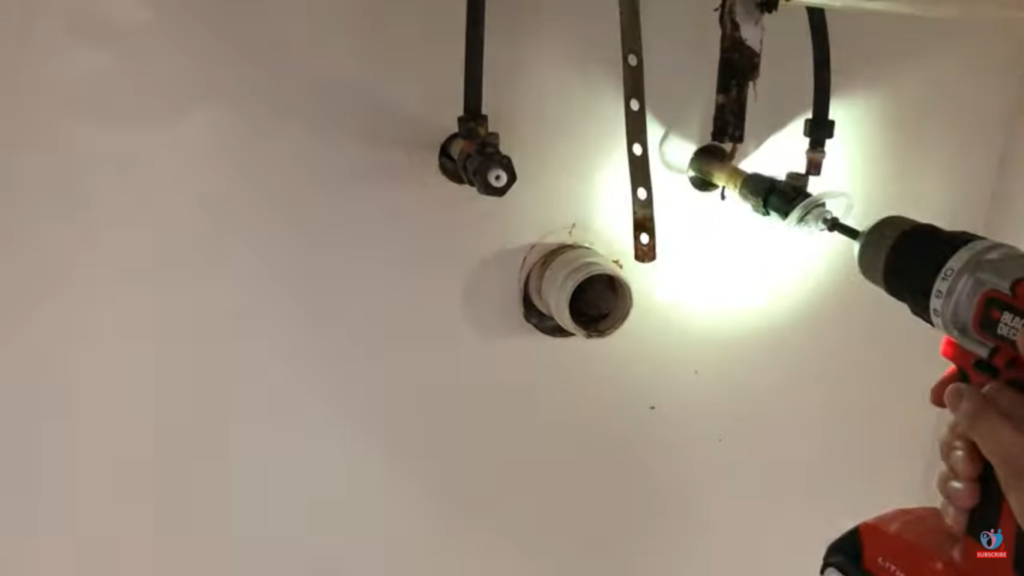
Step 6: Cutting the Edges of Vanity and Sink
When removal work under the sink is done, the edges above the sink should be cut with any pointed tool that fastens the vanity with the wall.
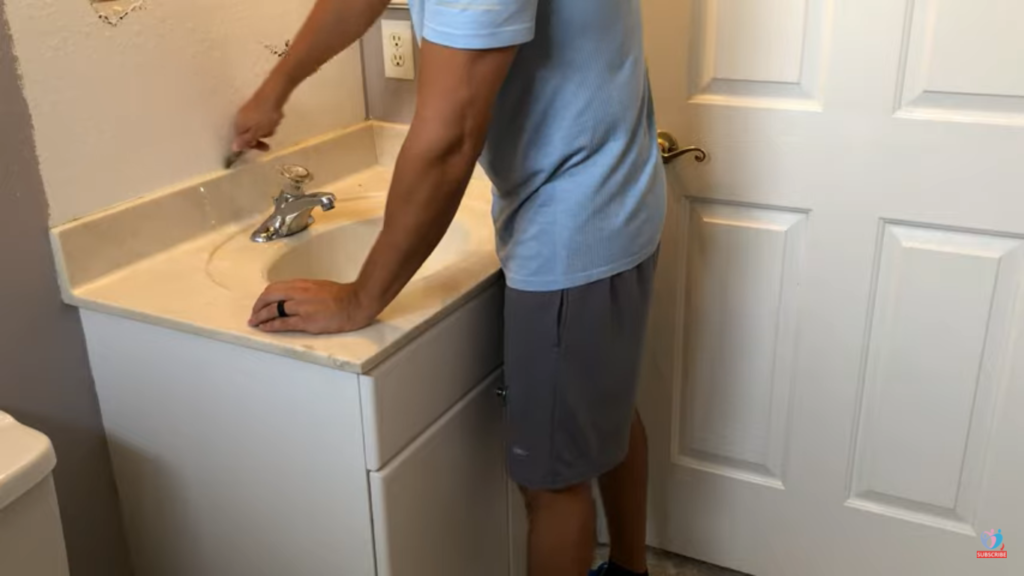
In case your vanity is along with the door you need to remove trim, by breaking or carefully unattached it from the wall, so you can reinstall it again.
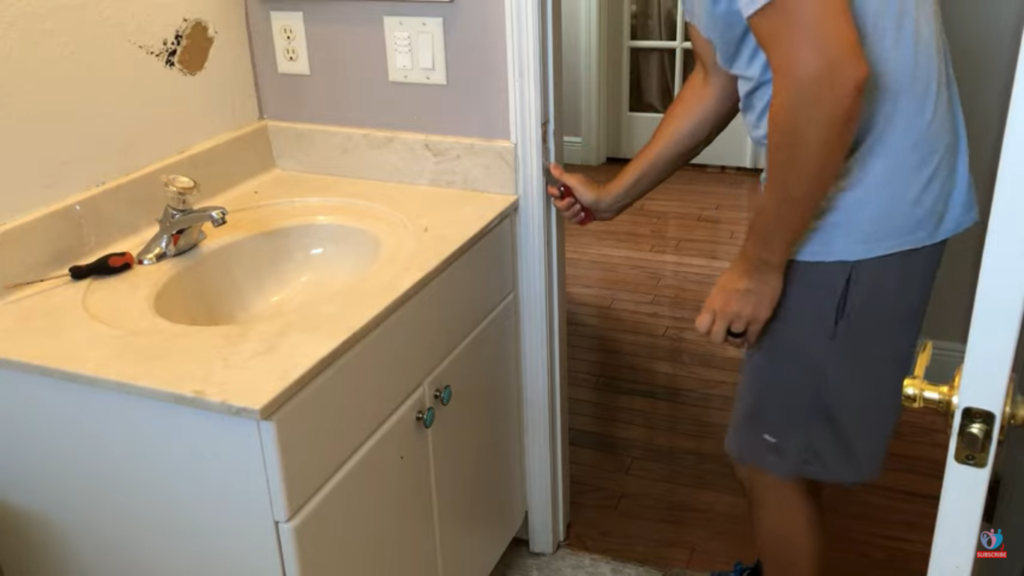
After cutting the sides try pulling out the separate pieces, to remove the vanity out of the place easily.
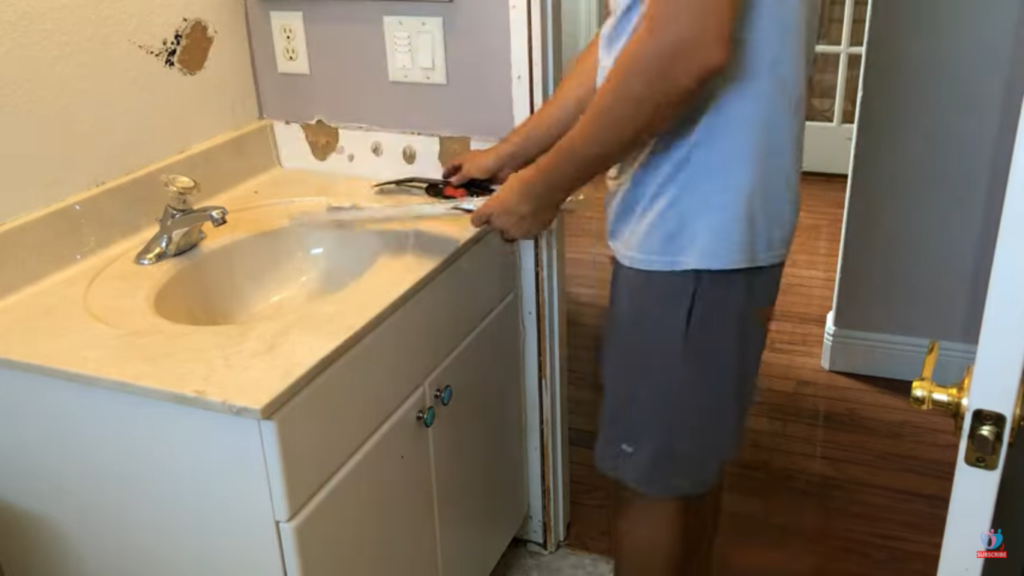
Step 7: Lift out the Panels
Now the turn is to lift out the vanity structure, start pulling out the front panel of the sink and the top of the sink. Remove the screws on the inside panels that attach them to the wall using a drill.
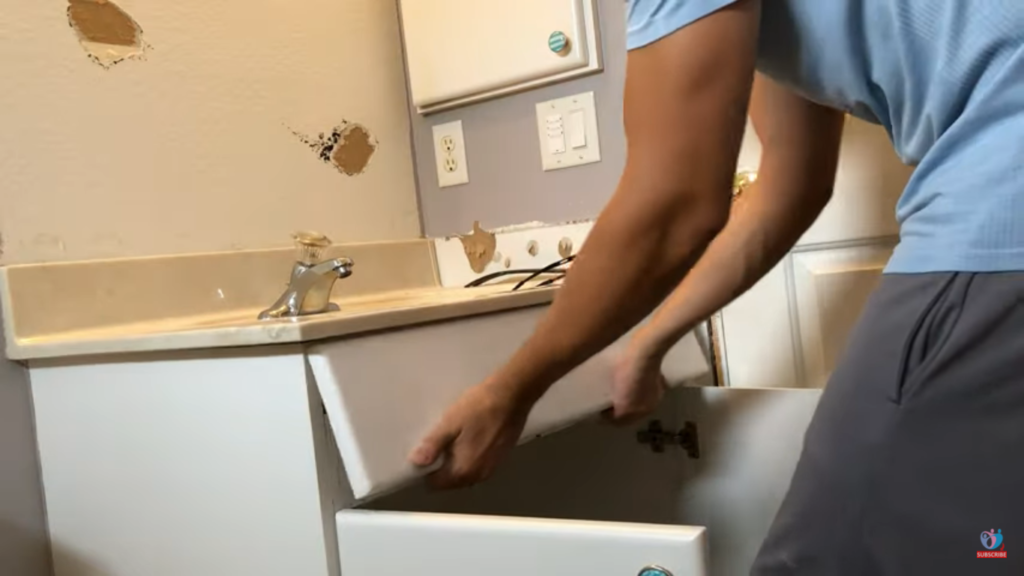
Try to pull out the back cardboard panel of the sink, it would let you easily remove the rest of the vanity structure out of the bathroom.
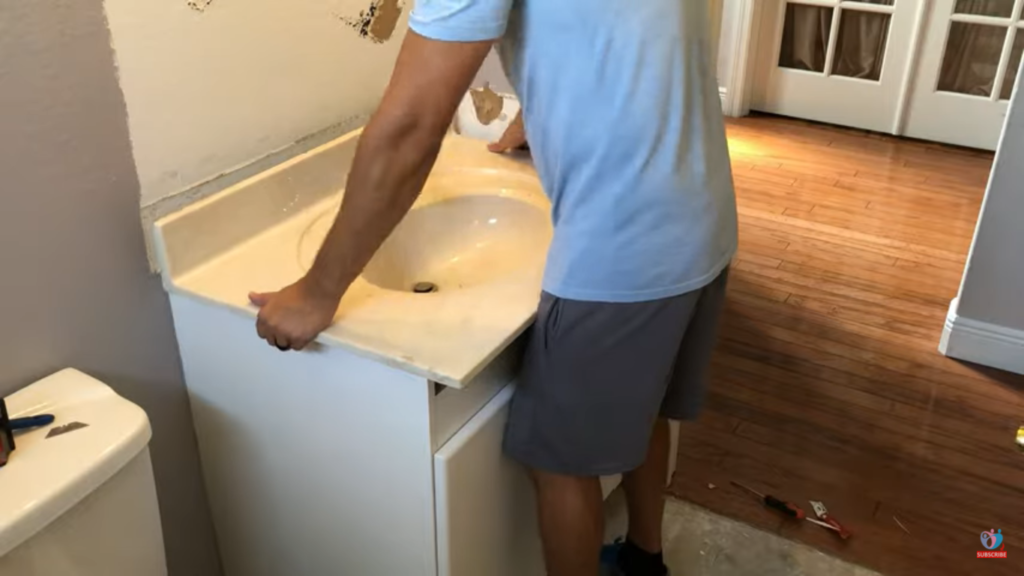
Step 8: Remove the Countertop with the sink
The countertop should easily come off by now along with the sink. Take it out and you’ll be able to see the backboard of the vanity.
Step 9: Remove the screws from the backboard of the Vanity
Since the backboard of the vanity is exposed after removing the countertop, you’ll notice some screws holding the backboard to the wall. Remove them and pull out the top of the backboard with the help of a pry bar.
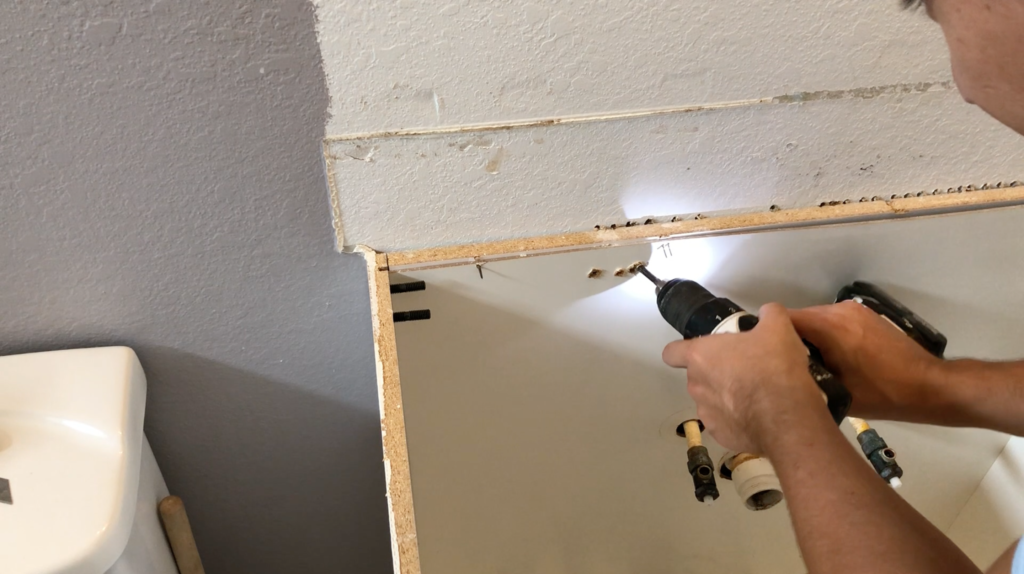
Once the top has come off, you can easily remove the rest of the backboard with your hands but be gentle so that you don’t damage any pipes in the wall.
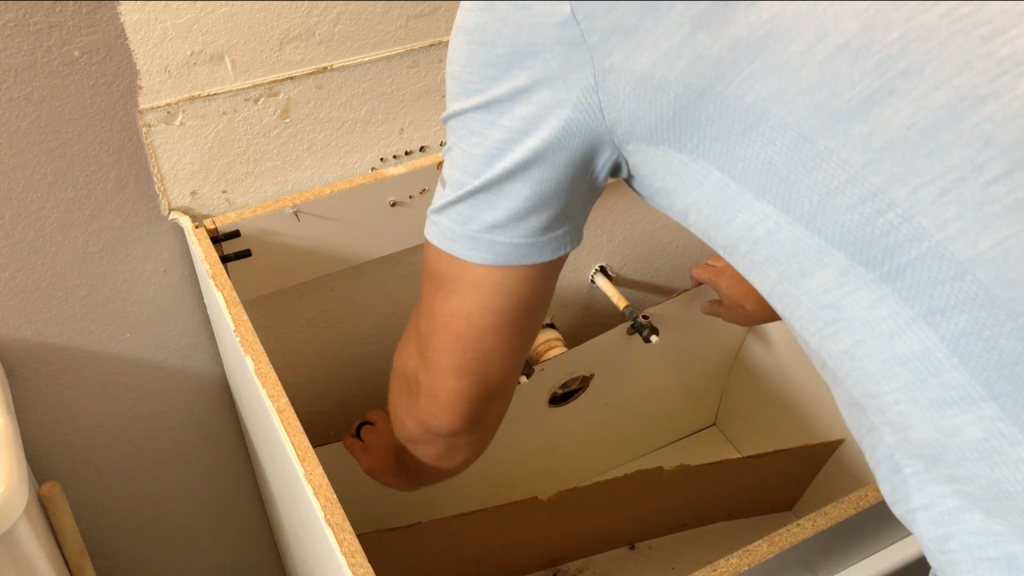
Step 10: Take out the Vanity
By now, the vanity is detached from the wall and you can take it out.
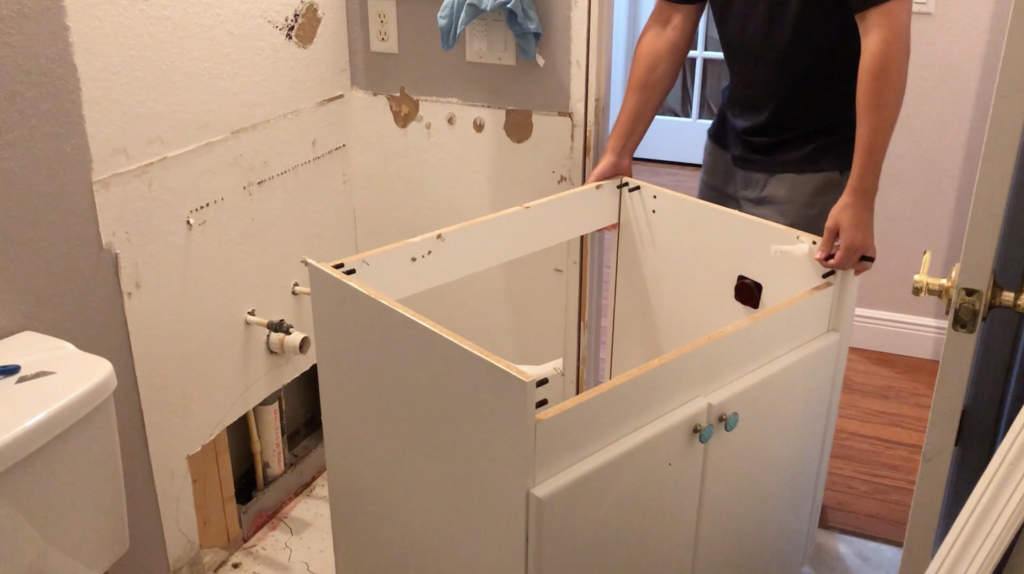
Final words
I hope you’ve found this method easier and it helped you remove your bathroom vanity. In case, you’ve found anything confusing let me know in the comment box below and I would love to guide you on this.
Also, you might want to watch my video on the same topic to clear out any queries that you might have.
Besides, this activity is a part of my bathroom remodeling series. If you’re removing your bathroom vanity, you might want to read my article on “How to Remove Bathroom Hollywood Vanity Light fixture?”

