How to install Durock cement board in the shower?
Are you have trouble figuring out how to install a Durock cement board in the shower area of your bathroom? Well, you are in the right place as I just installed several Durock cement boards in my shower and now I am going to show you how I did it.
While the installation is quite simple, make sure you have these tools before you start the process.
Tools you’ll need

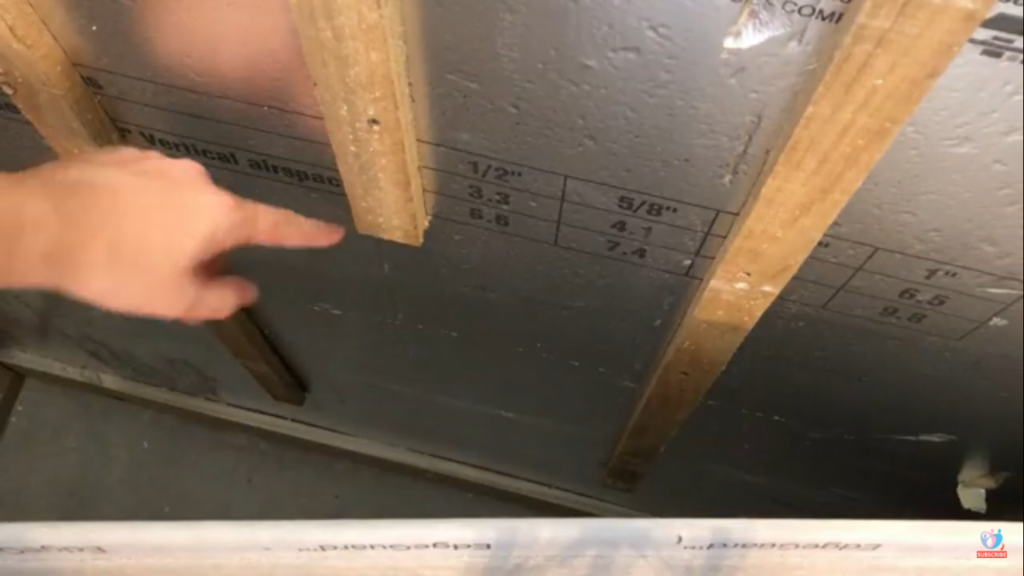
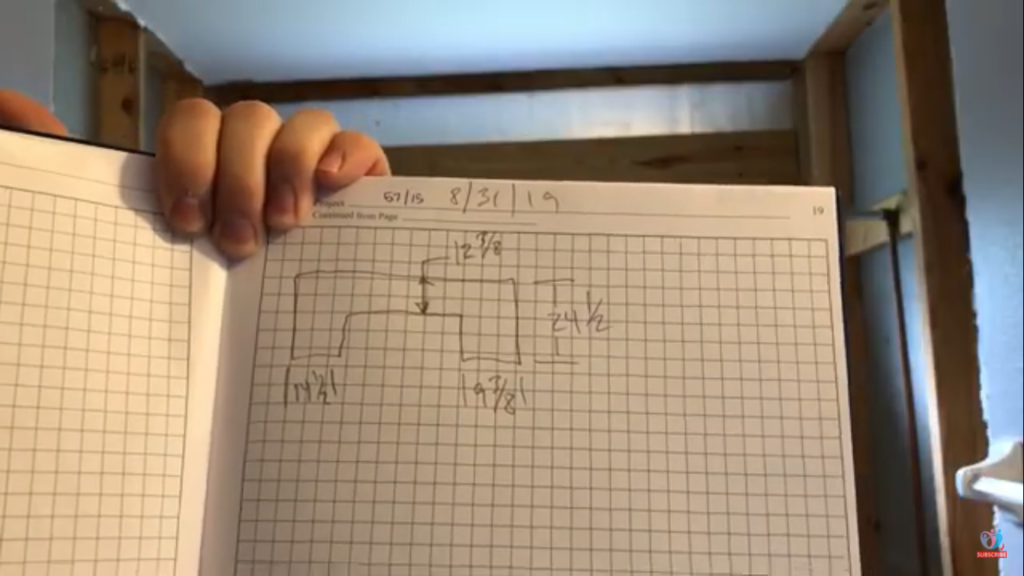
Step 1: Make a sketch of the wooden beams on the walls
Since you are going to be screwing the Durock board on the walls, you should have a sketch that shows the exact locations of the beams.
This will help in finding out where to apply the screws on the Durock cement board.
Step 2: Find out points on the Durock board where to put the screws in
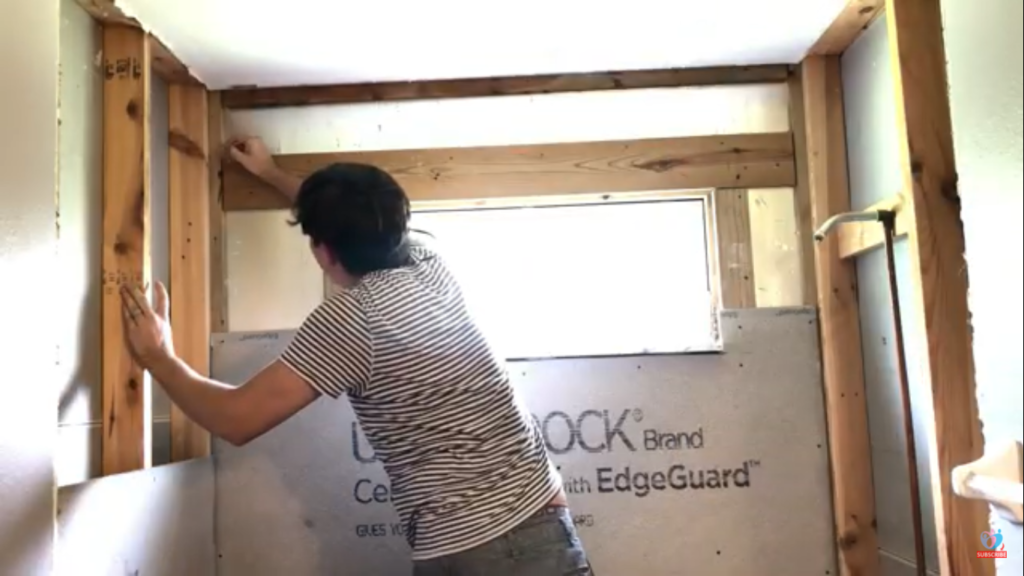
To install the Durock board, you will have to screw it with the wooden beams on the wall.
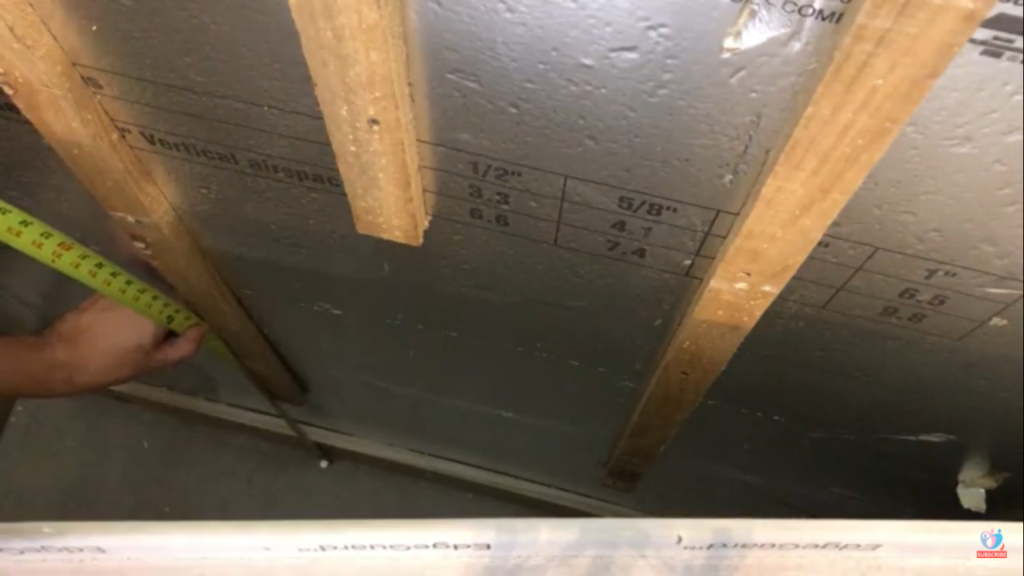
For that, you’ll need to find out points, on the Durock cement board, where to screw it with the wooden beams.
To do that, place the beam right by the wall. It’s better to screw its top to make it stand still and parallel to the wall.
Then mark lines on the Durock board using a pencil and a level, to identify where the beams are behind the board.
Using the sketch from step 1, mark the exact points on the line where the wooden beams end.
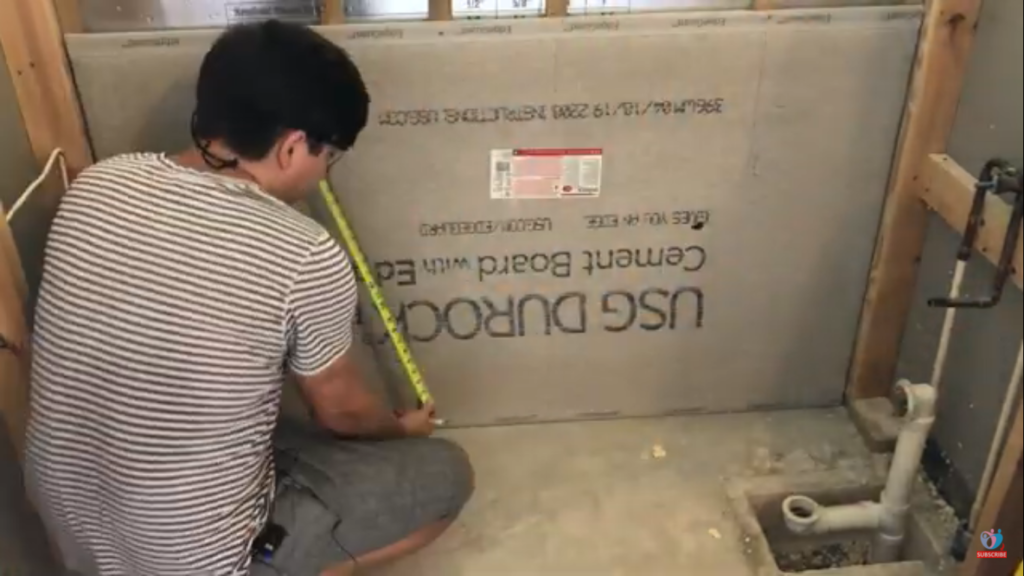
Now that you have quite an accurate idea of where the beams are, mark one point on top of where the beam will be behind the board and one at the bottom.

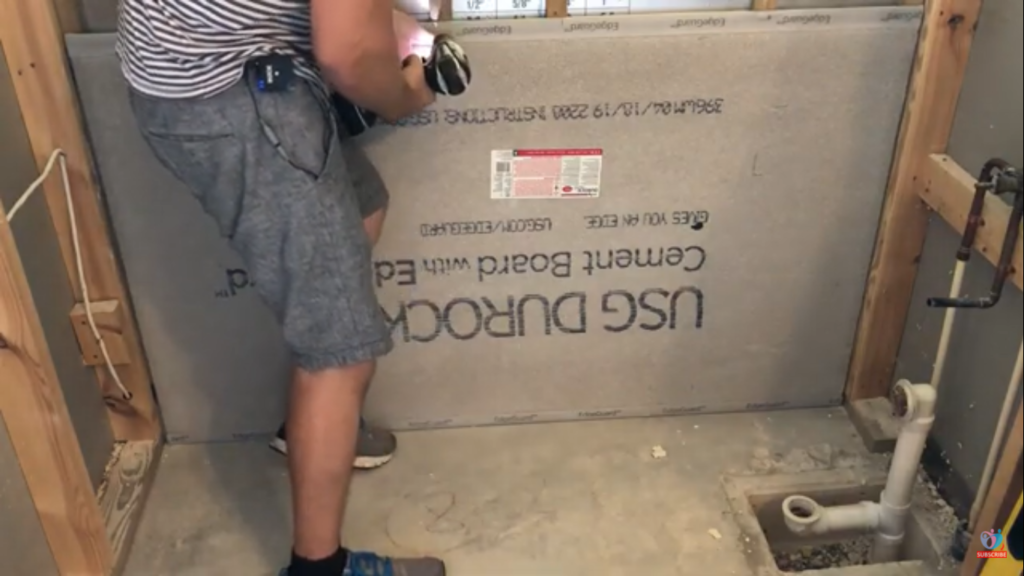
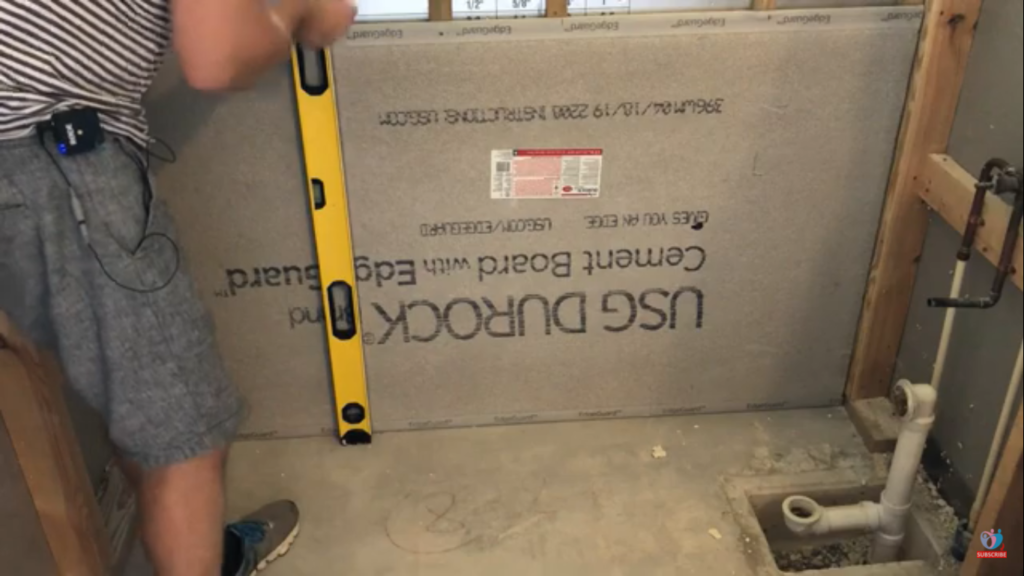
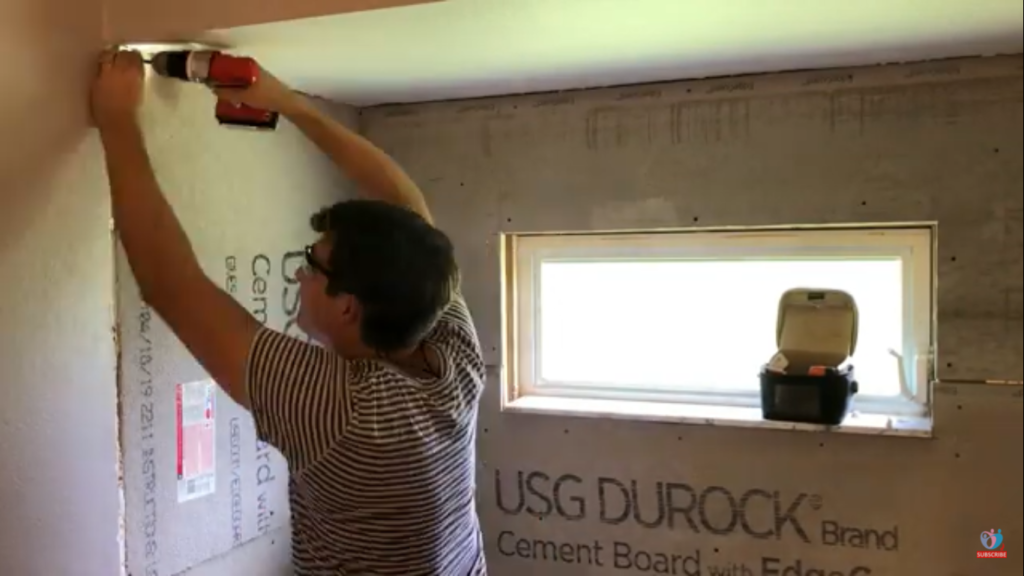
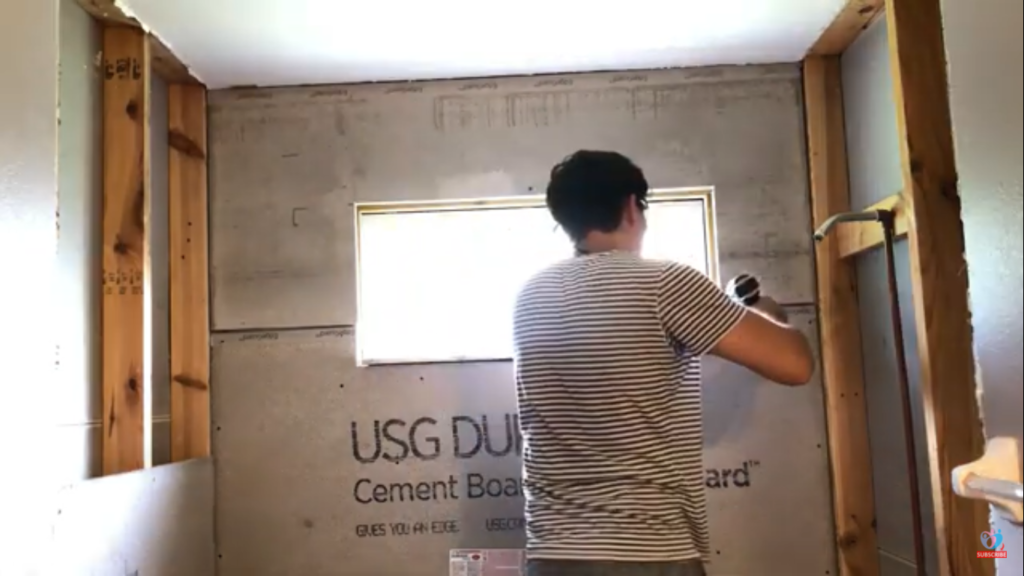
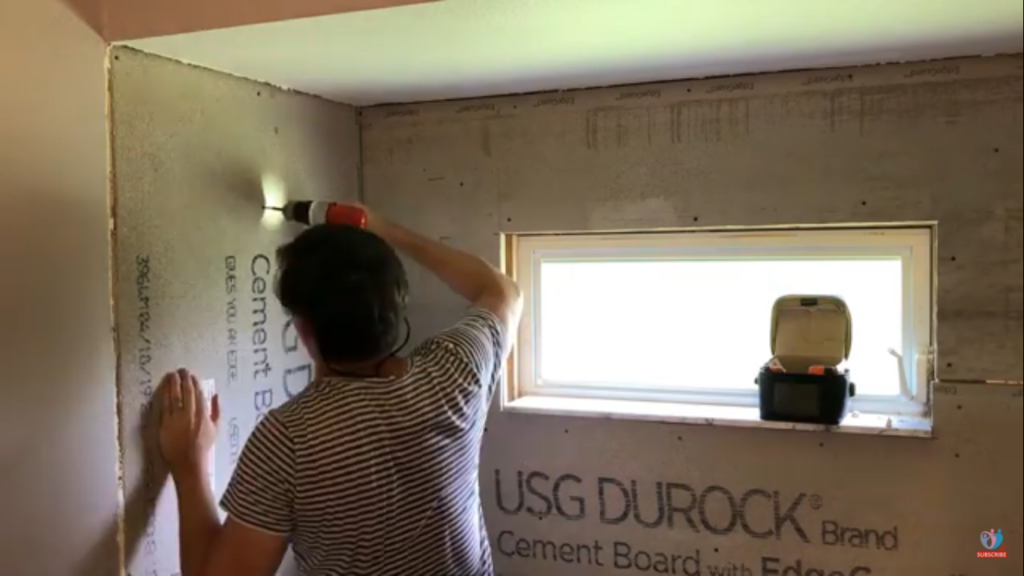
Step 3: Screw in the Durock or Cement Screws
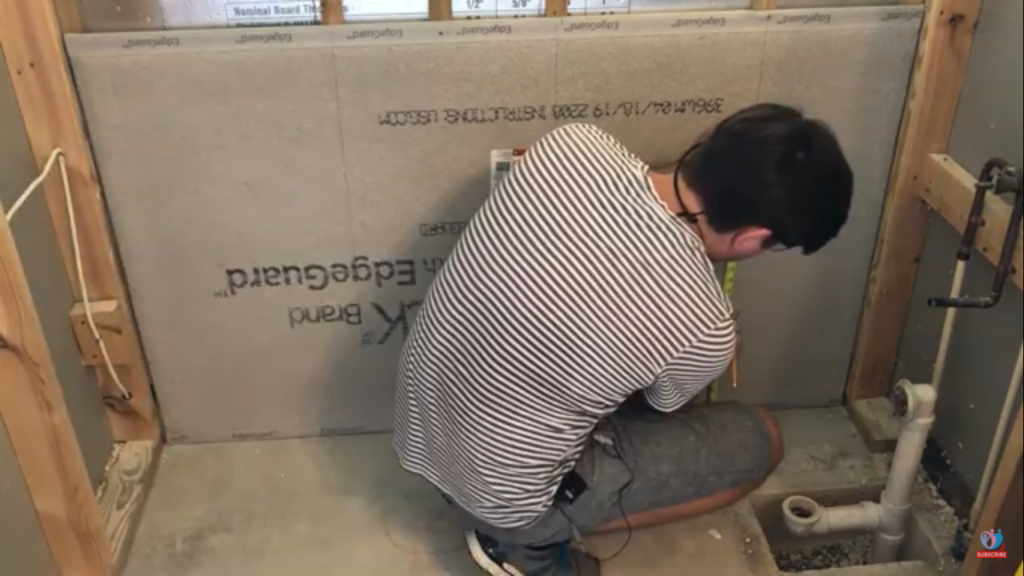
Now drill the cement screws on the drawn line in the Durock cement board. Space them out roughly 6-10 inches apart.
Make sure that each screw goes through the Durock board and into the wooden beam, fixing that particular point of the board.
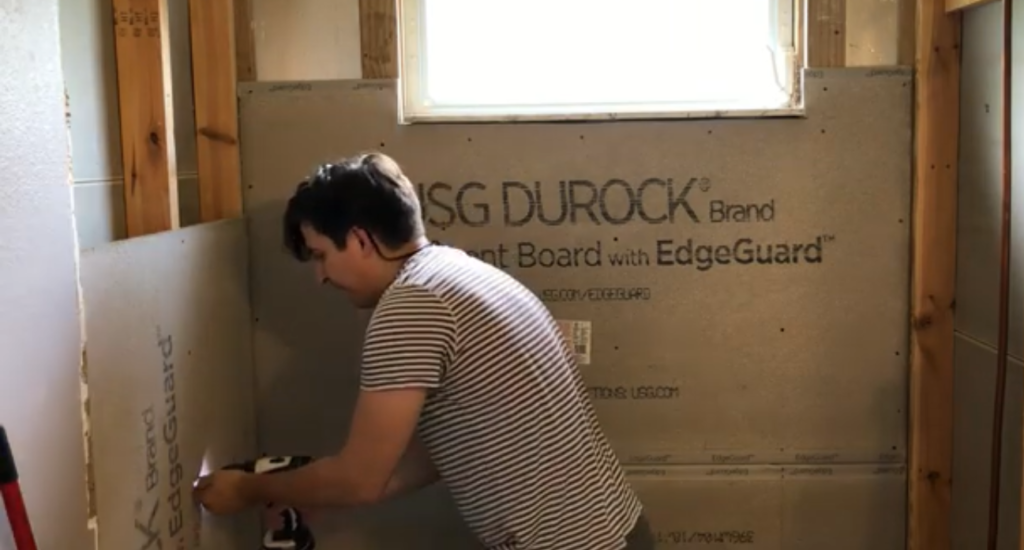
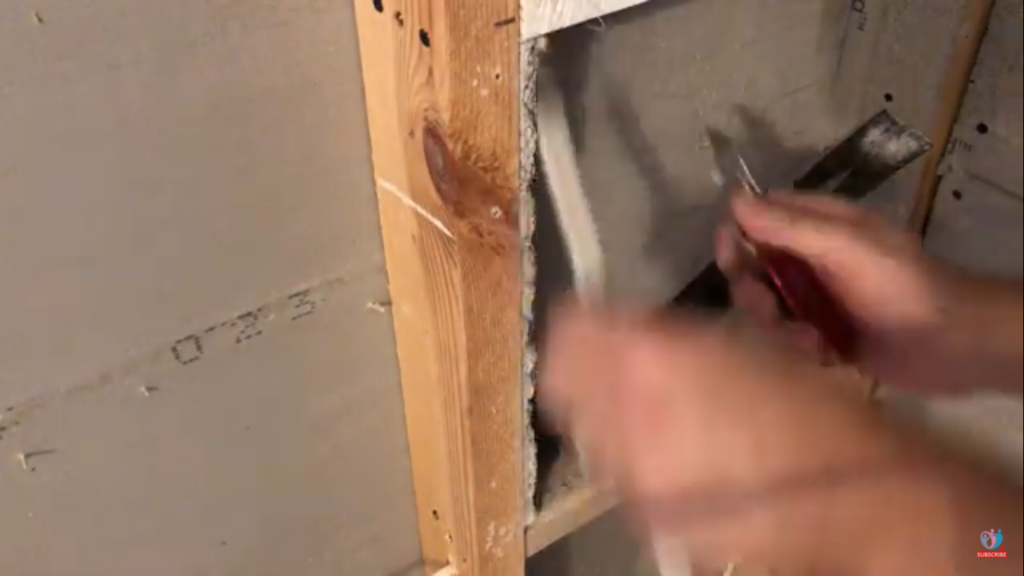
Here is a picture of the cut I had to make around the window. The best way to make this cut is to use a tile saw like this one.
Step 4: Repeat the same process for other Durock boards on the rest of the walls
Now do the same for the other Durock cement board that you’ll be applying to the rest of the walls.
However, make sure you cut each Durock board into the size and shape you need for each specific place on the wall.
Step 5: how to install cement board around a shower notch
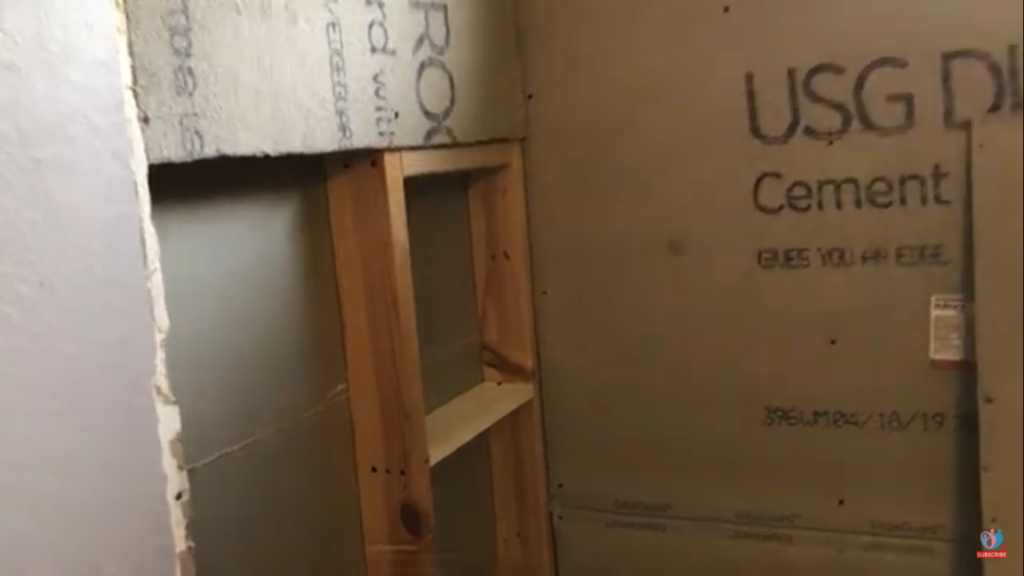
Find a spot somewhere on your shower wall, where you would like your shelf to be and avoid installing a Durock board on it.
Then screw in wooden planks in the shape and size of your desired shelf.
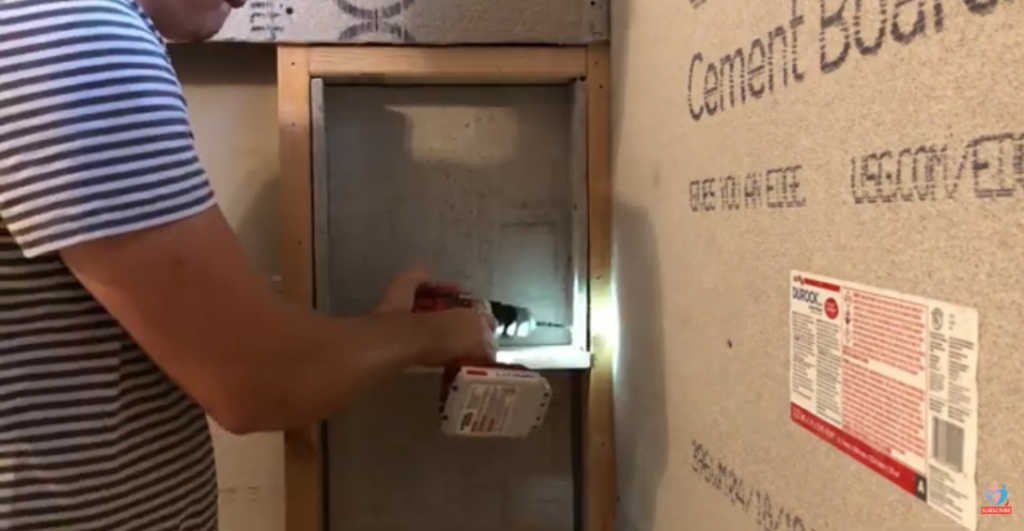
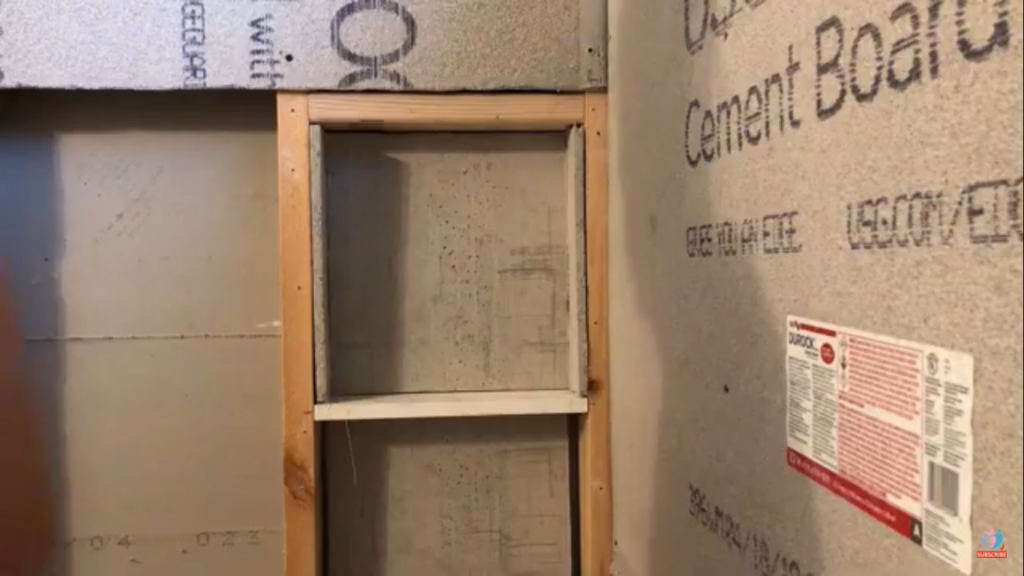
Once all the wooden planks of the shelf are screwed, now you’ll have to screw in pieces of cement board on the insides of these planks.
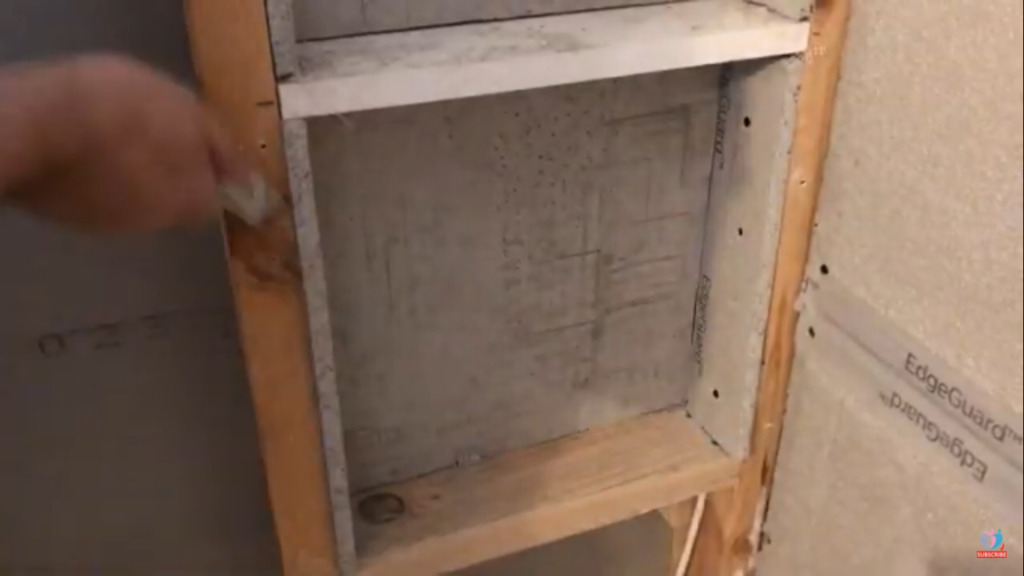
Remove the excessive part of the cement board pieces that you’ve installed on the shelves.
Final Words
That’s it. By now your Durock cement board should be installed. I hope you didn’t come across any hurdles while following this process but in case you did, let me know.
I have similar articles and videos in my bathroom remodeling series, one of them is “How to Convert Bathtub Drain to a Shower Drain?”