How to demolish a bathroom shower?
If you’re considering remodeling your bathroom shower, you’ll have to start with demolishing the existing stuff. I’ve recently remodeled my bathroom shower and I recoded how I demolished the bathroom shower. If you want to follow my procedure, make sure you read this article till the end.
Also, if you’re remodeling your bathroom, you might want to check out my other videos from my bathroom remodeling series.
Before we start, I want you to get these items so you don’t get interrupted in between.
Tools you’ll need

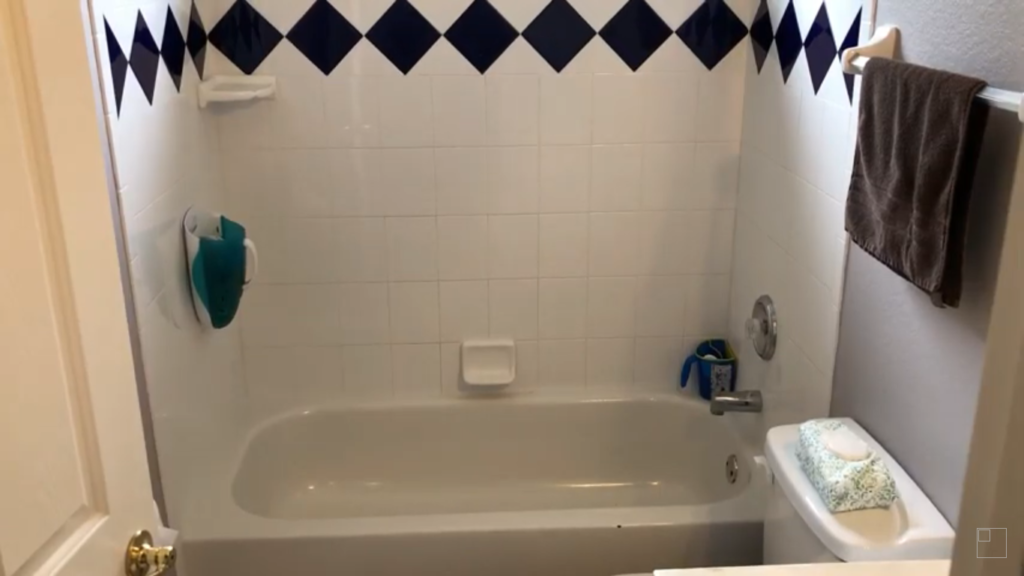
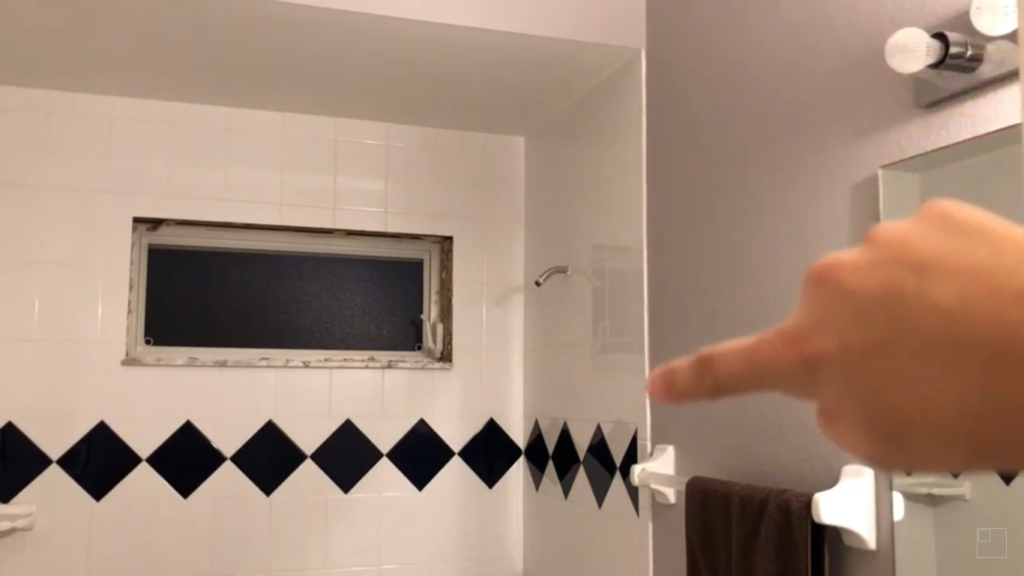
Step 1: Get rid of all extra accessories from your shower area
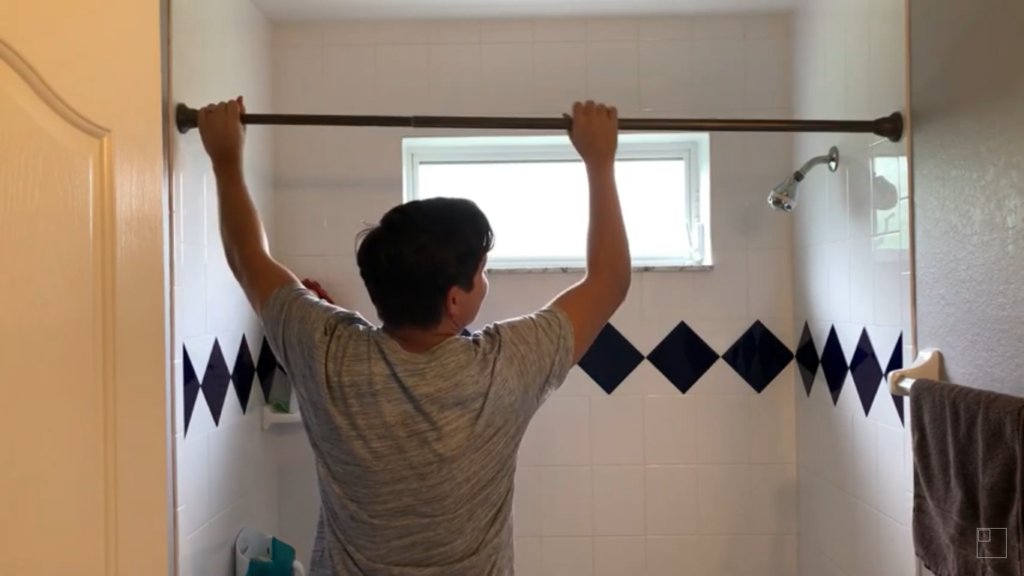
Before you start demolishing your bathroom shower area, remove all the accessories.
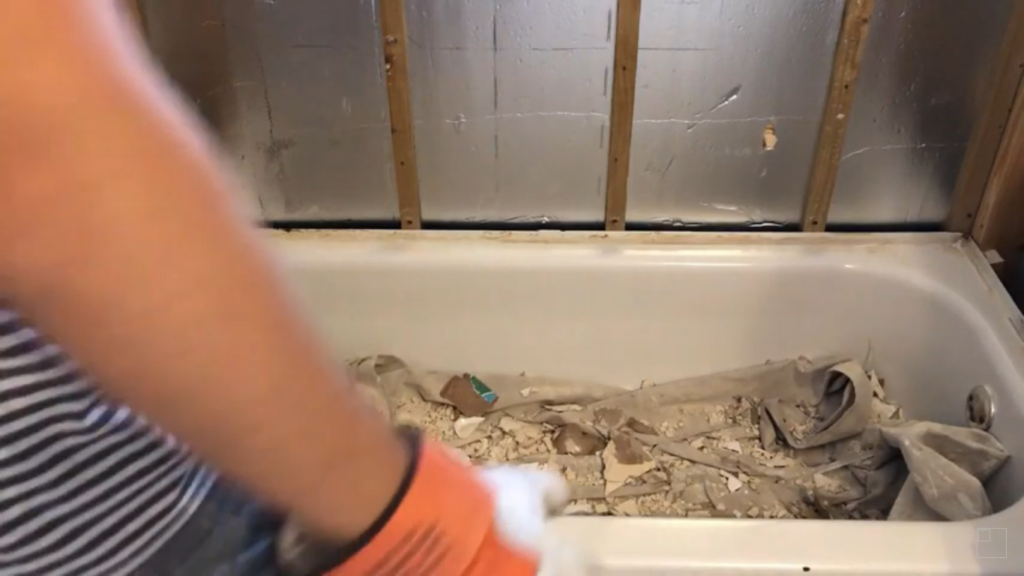
Step 2: Cover the bathtub with a rag
Since all the tiles and debris are going to fall on the bathtub, you’d want to prevent it if you want to use it later on.
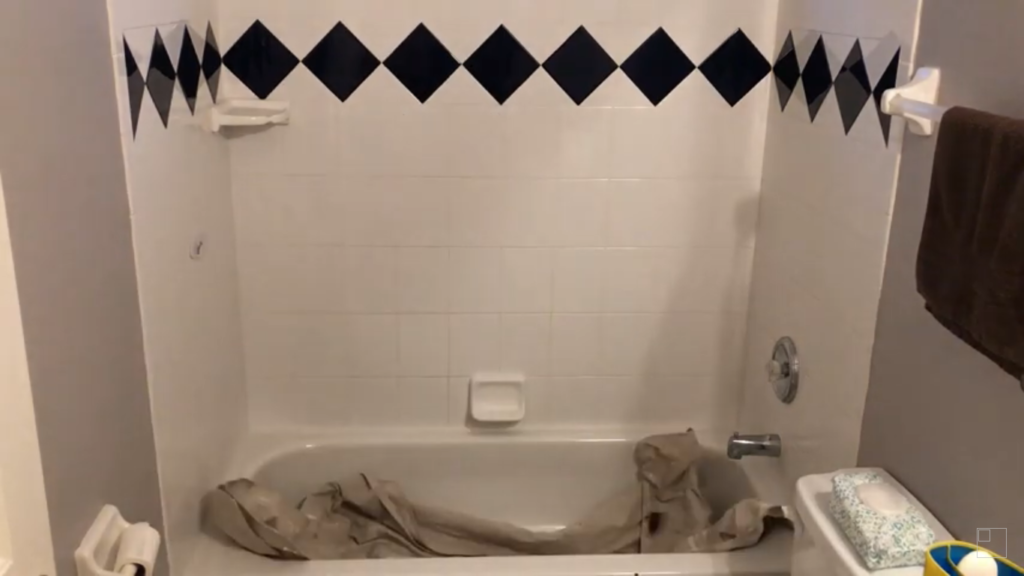
Even if you’re considering getting rid of your bathtub, covering it with a rag will make it easier to clean later on.
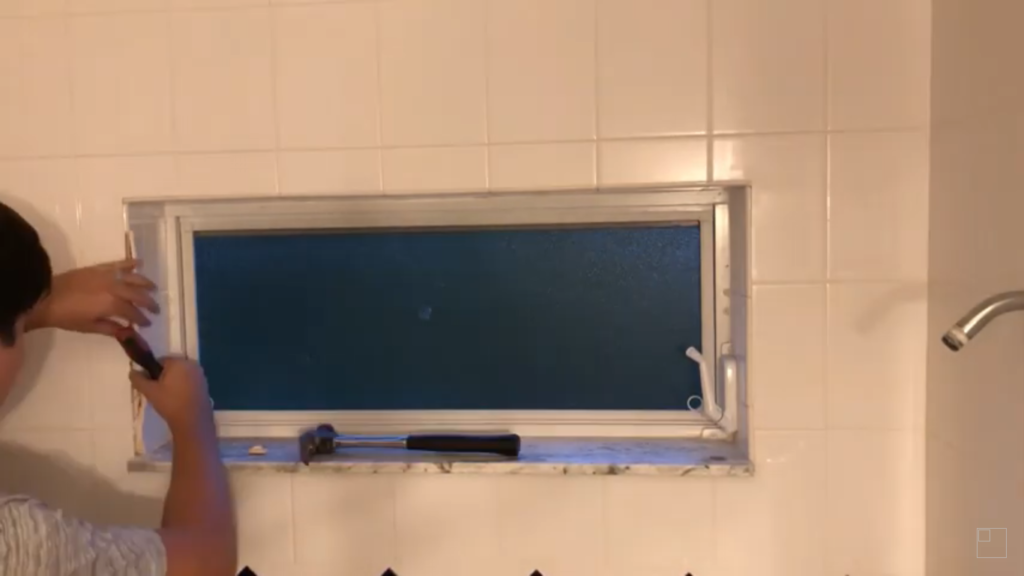
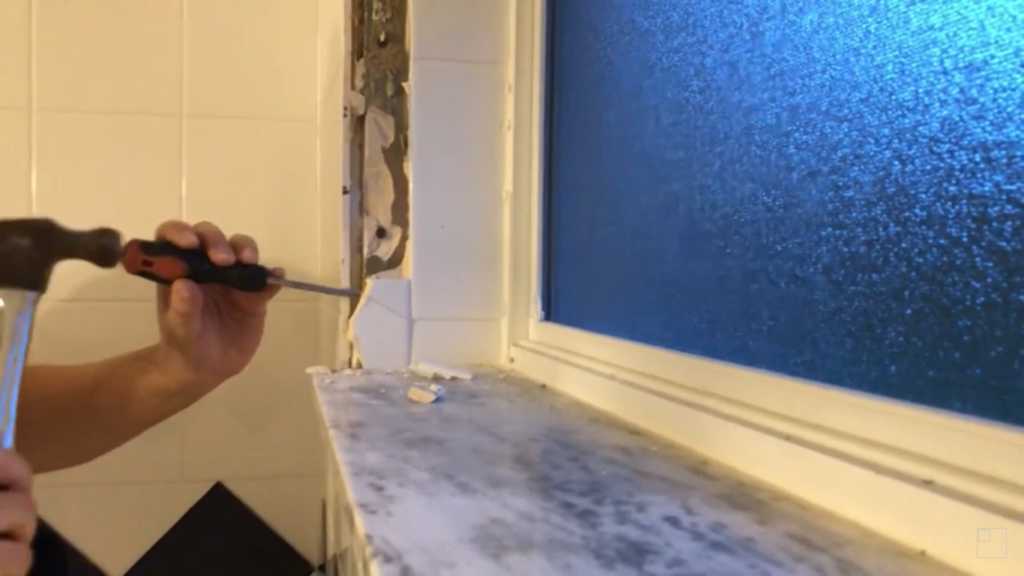
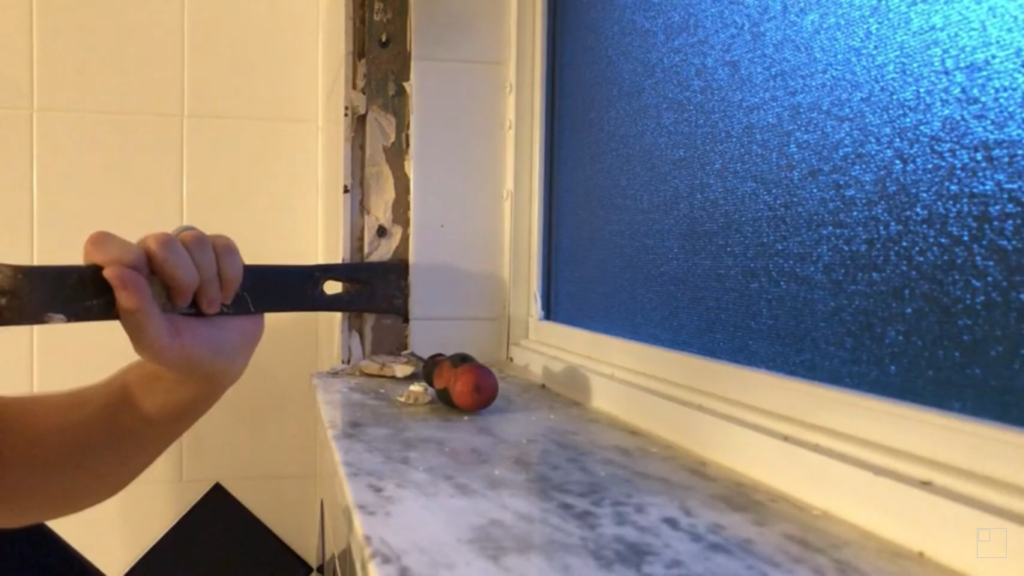
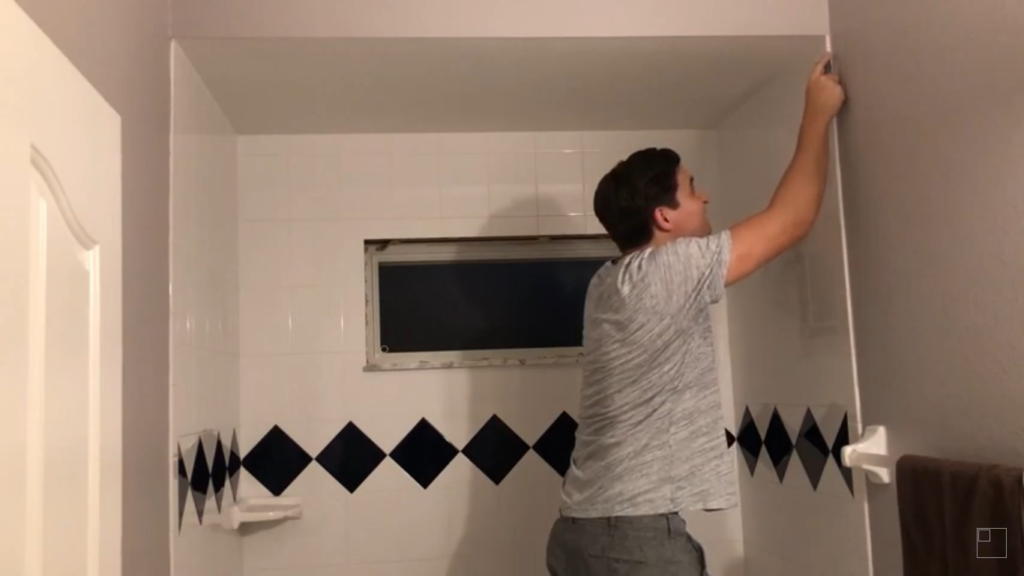
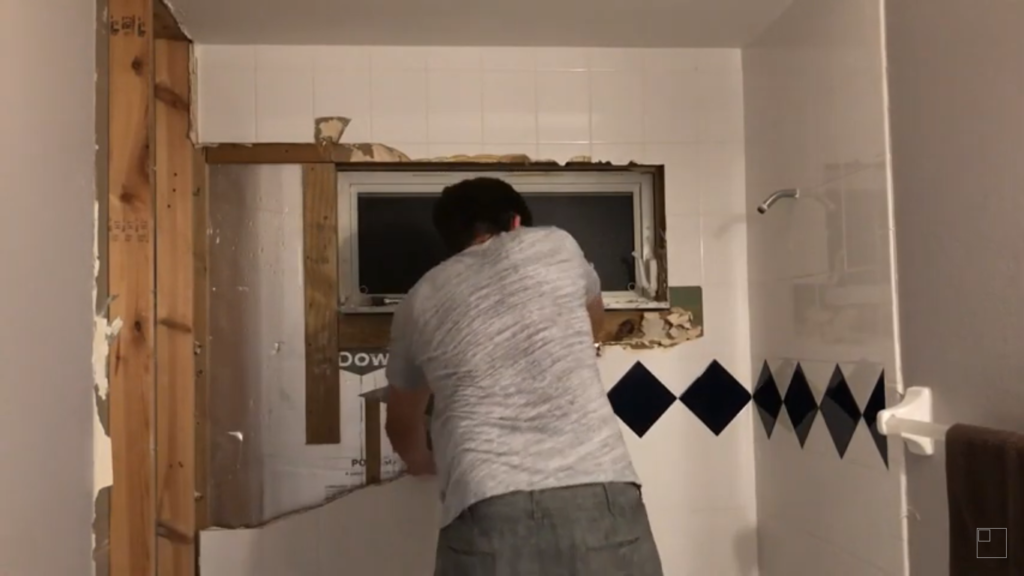
Step 3: How to remove shower wall tiles
While you can start removing the tiles from any corner of the bathtub shower area, I started from around the window because it was easier.
The way to remove tiles, when you start, is by hammering a flat head screwdriver or a chisel of some sort into the sides of the tiles.
Later on, you can use a ply bar to make it faster and easier.
I wanted to protect my window sill and I think you should too. For this, make sure you don’t hit the sill with the hammer or damage it in any other way.
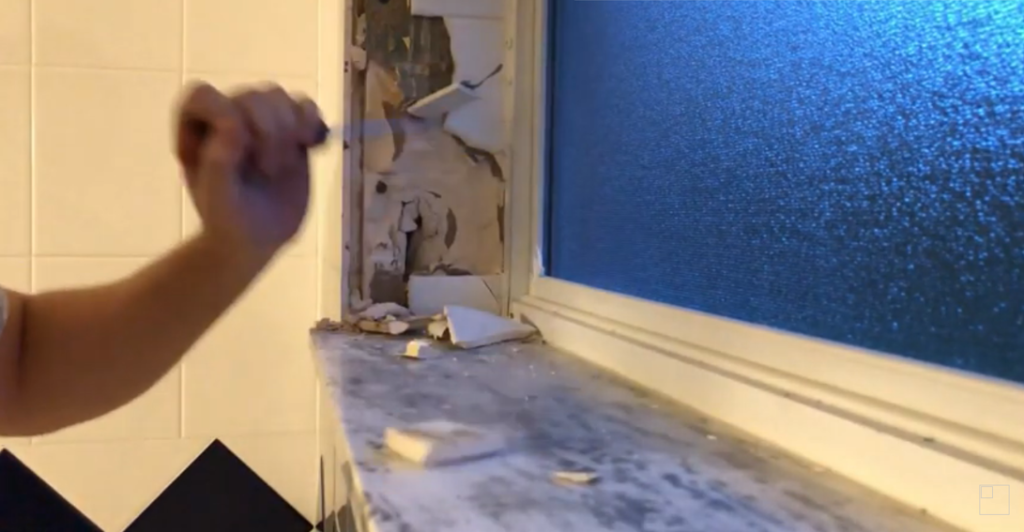
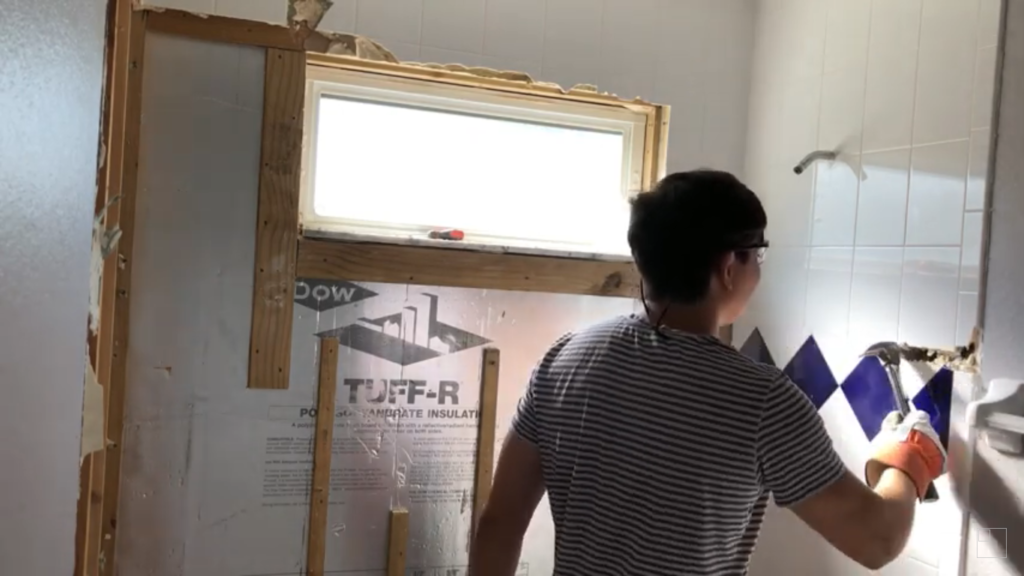
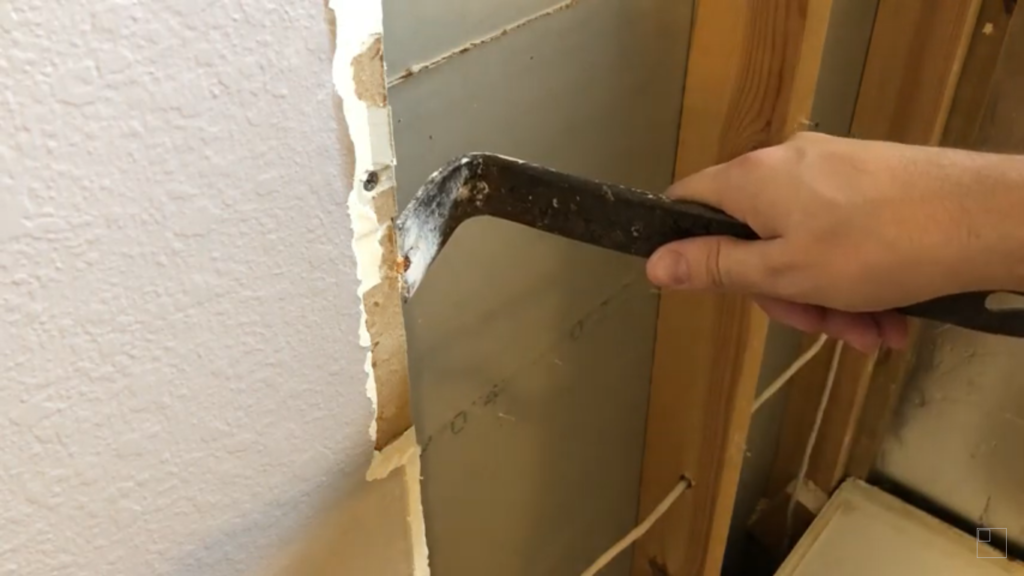
Step 4: Cut along the edges of the shower area
To prevent the demolition from damaging your drywalls and paint, you’ll have to cut the tiles on the border of the shower area from the wall.
You can do that by pressing a knife or cutter around the edges.
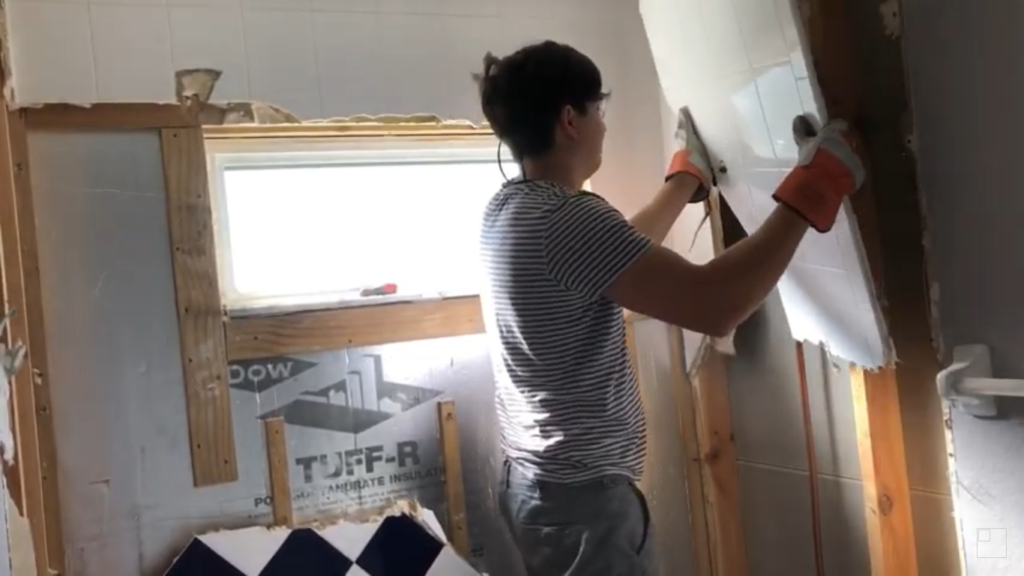
Step 5: Start removing the tiles from the borders of the shower area
Now you can remove the tiles from the borders of the shower area. Make sure you’re wearing glasses while you’re hammering the tiles.
However, first, try to gently remove the tiles that are right at the borders to prevent the damage from reaching either the drywall or the paint.

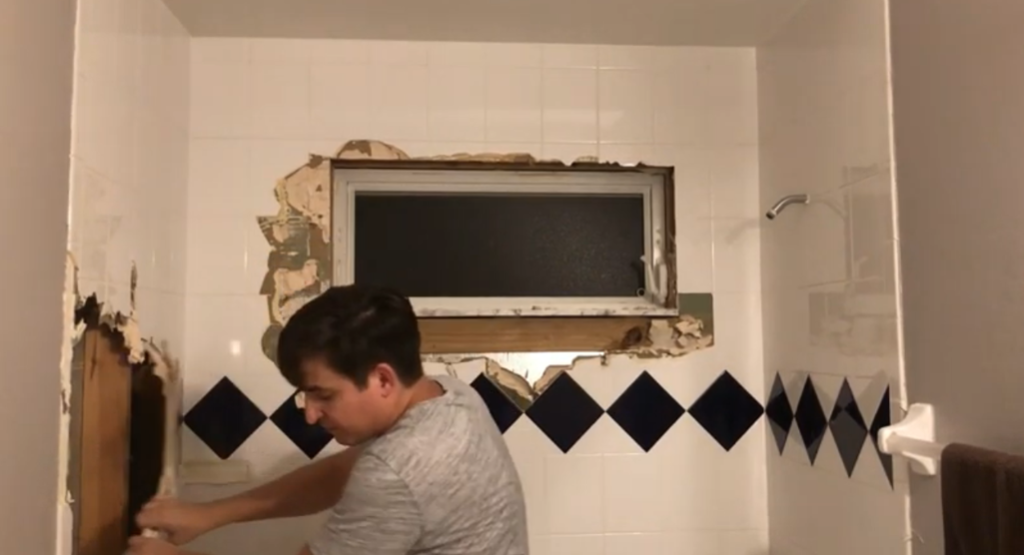
Step 6: Break the rest of the tiles with the board
Once the bordering tiles are removed, you can now break the rest of the tiles with a hammer.
While hammering the tiles, you’ll notice the cement board breaking. Don’t worry about it, it’s good to remove it as a whole piece.
Start and finish one side of the wall first and then move on to the next side.
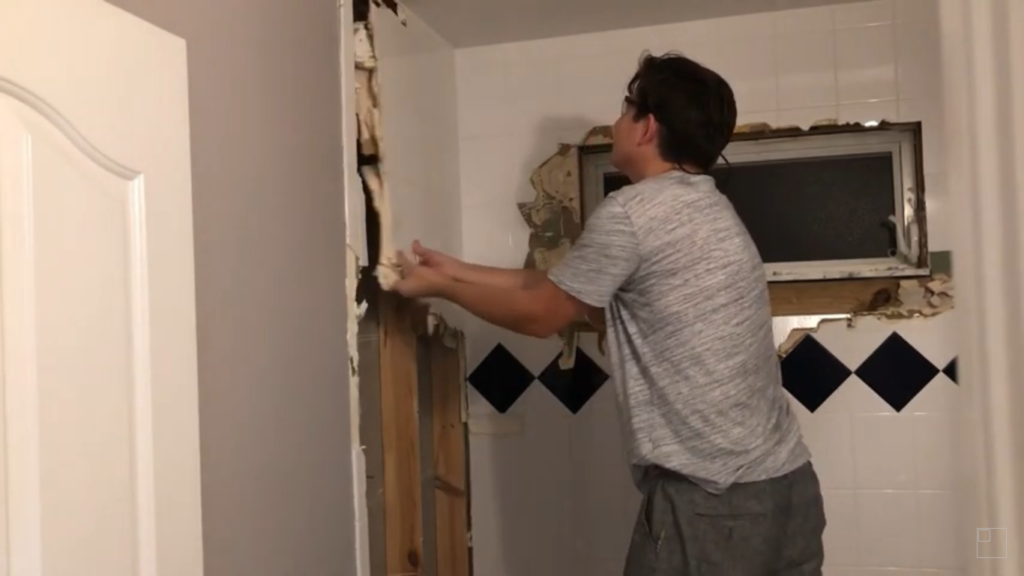
Step 7: Remove the screws from the wall frame
Once all the tiles and the panels are removed, drill through and remove the screws in the wall frame.
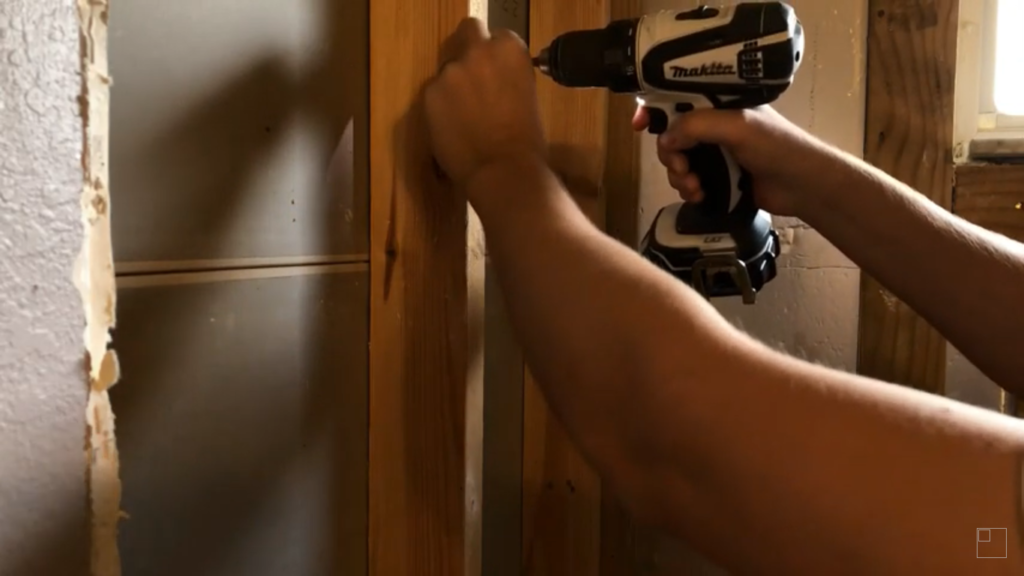
Also, make sure to remove the nails with a ply bar.
Step 8: Fold the rug and take it out
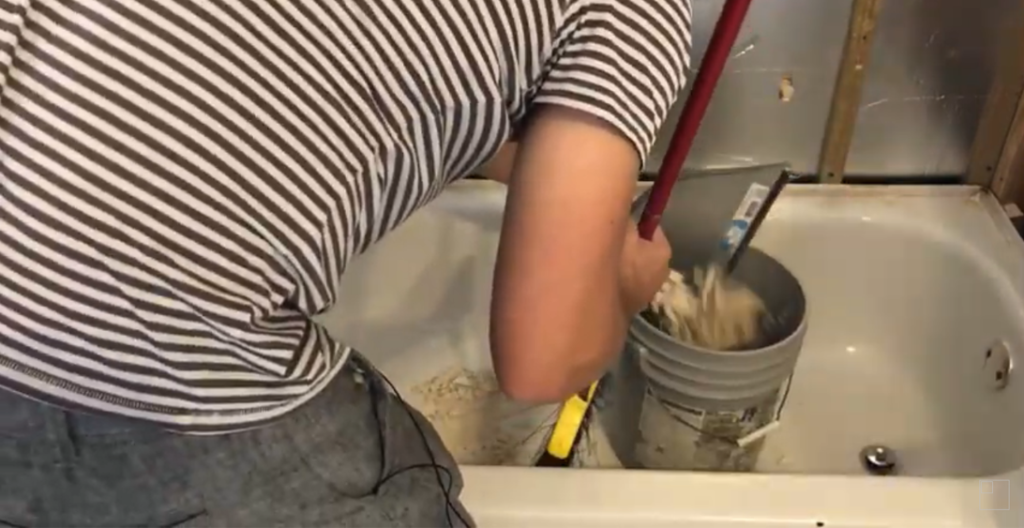
By now all the tiles and debris should have accumulated in the rug.
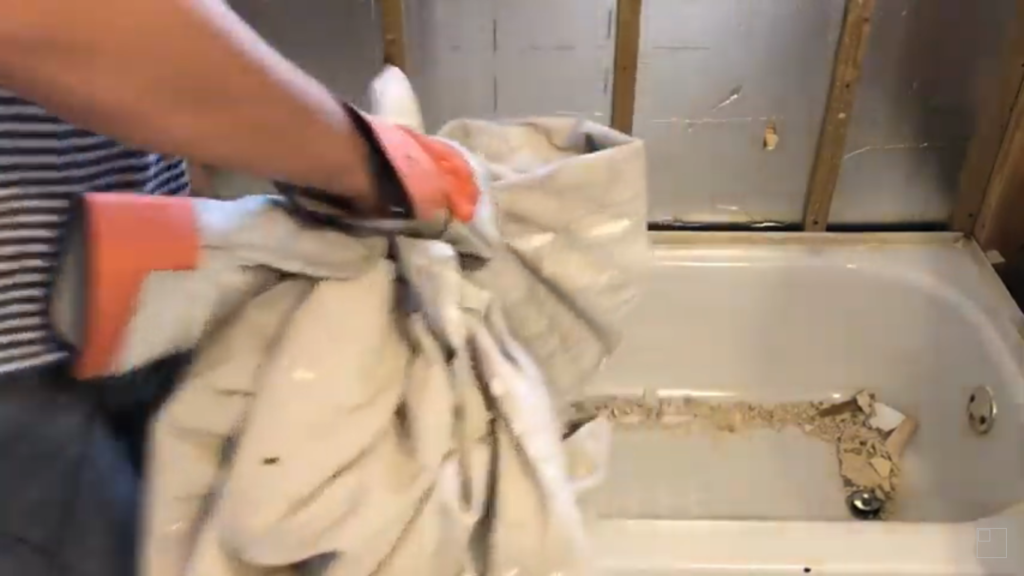
If some of it has fallen outside, pick it up and throw it on a dustbin.
Step 9: How to Remove a Bathtub
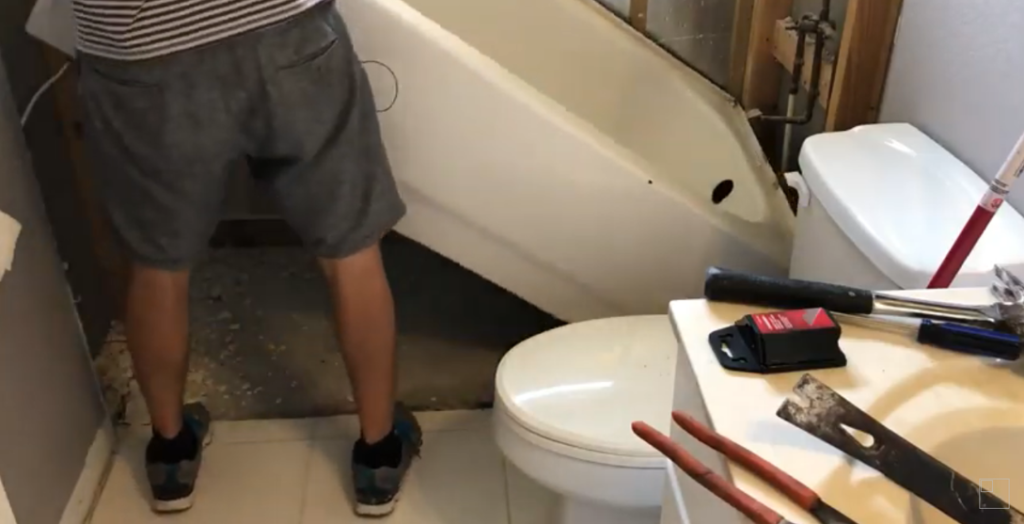
Once all the tiles have been removed and the debris removed, now it’s time to take out the bathtub.

Related bathroom remodel article: How to Replace a Copper pipe with CPVC Pipe in a Shower?
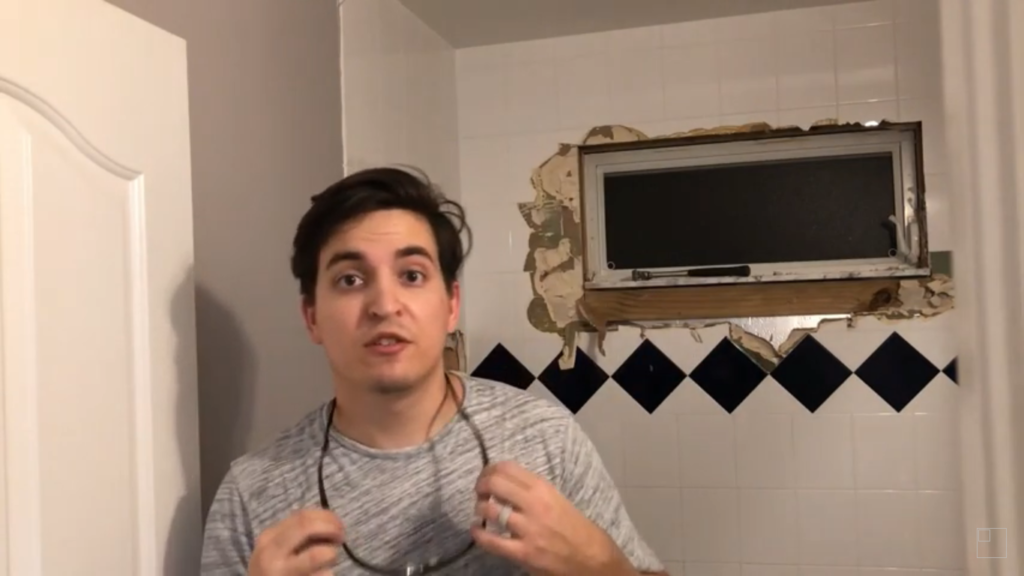
Final Words
That’s it. I hope you didn’t come across any hurdles while following this process but in case you did, let me know in the comment section below.
Also, In case you find text guides hard to understand, I have a video on this process that might be easier for you to understand.